- Computers
- Steel
Computer case
Introduction
Late February 2003, (at work) we had an immediate requirement for a fast computer. I chose a dual Pentium 4 Xeon 2.6GHz processor machine, using the Intel SE7500CW motherboard. Looking at a number of the local component supplier's cases, I decided that it would not fit in any of them (most of them the processors would interfere with the 5.25" drive bays), and I would make a case. Since I was working on the Steel cobra, I had most of the materials I needed.
Initial designs
The 50mm diameter tube I had would be ideal for legs, and the 25x2.5mm flat bar would be great for framework. So, I decided that the corners would be the tube, with the frame sitting between it. The sides would be welded into place, whilst the front and back would be removeable.
The motherboard measured 12"x13", so the case would be at least 14"x14". In order to accomodate the PSU and drives, the internal dimension was 20cm, so the total height was 23cm. Yes, it's odd mixing imperial and metric sizes, but sometimes it has got to be done!
Construction
Since I was making a lot of parts similar sizes, I made a jig which allowed me to cut everything to size:
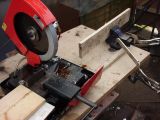
Using the jig, the following were made:
- Four 50mm tubes, 230mm long.
- Twelve flat bar sections, 14" long.
- Eight flat bar sections, 150mm long.
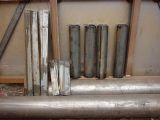
After cleaning:
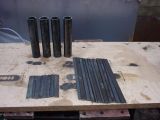
Using two of the longer bars, and two of the shorter bars, a rectangle 14"x200mm was made, and then a steel panel was cut out the same size. Using a steel hole punch, holes were cut out along the panel, allowing it to be spot-welded to the rectangle:
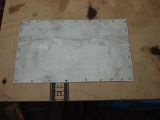
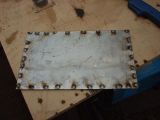
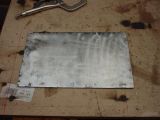
Two of these were required for the sides, with an additional one for the front (the back ended up being something special...). The sides were welded to the legs:
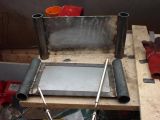
Now the sides were capable of standing by themselves, the bottom was the next thing to do. Using some 50mm wide flat bar, a length across the width of the case was welded into place - with the corners being cut off first to get around the tube:
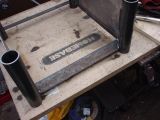
Two more bars were similarly placed, and also the front's top and bottom bars:
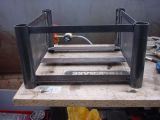
More 50mm wide bar was used at the top, to make everything nice and rigid:
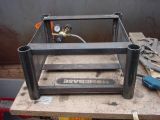
Special construction
With the main parts of the case complete, it was time to do all the fiddly work - drive brackets, PSU, PCI slots and so forth. Using an old AT case of a machine I'd just decomissioned, I removed it's 5�" drive bays, and shortened it to one (since it would only have one DVD drive). I also removed the 3�" drive bays, shortened it to one drive and welded it underneath the 5�" drive. This combined unit was welded to the front panel:
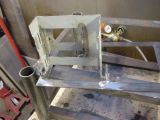
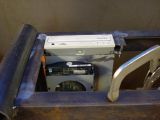
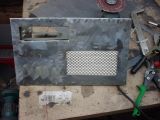
A panel was spot-welded to the front, with two holes - one for the 5.25" drive bay, and the other for a grill for the CPU fans:
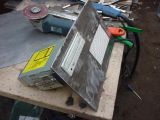
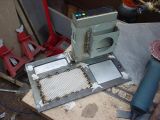
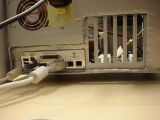
The next thing to do was to work on the back. This is actually very difficult to achieve - all the I/O ports are at the back, which means that the PSU, PCI slots and the parallel/serial/monitor/USB/ethernet ports need to be in the right place (although the PSU is less important). Because of this difficulty, I decided that the rear would be welded into place. Using more parts from the case, I welded the PSU and the PCI holes into place, and also some thin strips to hold the other I/O parts' back panel into place:
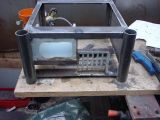
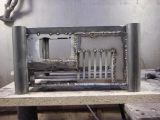
With the back more or less done, the bottom was welded into place. This was a thicker steel than the front:
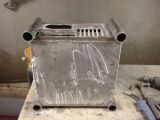
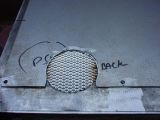
Next, the top had some more work done to it. Since the PSU had a fan at the top, the top panel would need a grill, and some 25mm bar was used for this purpose:
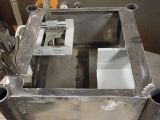
Holes were drilled and tapped to take M6 button head stainless bolts to hold the front panel into place:
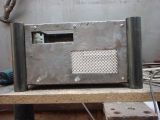
Similarly, a sheet of steel for the top was cut, with bolts to hold it in place:
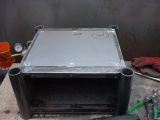
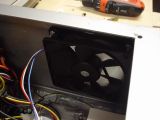
With the PSU in place, it was possible to cut the grill and the panel so that the fan could suck air in quite happily:
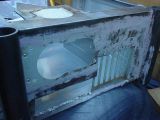
The next job was to tidy the back - there were a few weld marks present. This could not be done properly without a die-grinder, which I don't have:
Painting
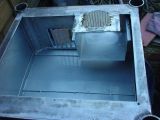
Now the basic case was complete, it was time to paint it. First, the inside:
While that was drying, the front had some car body filler placed on it to fill some of the welding pits left over by the spot weld cleanup:
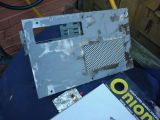
Then, the outside was painted:
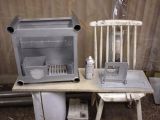
The top panel didn't need any work, and it was painted black (as a styling exercise):
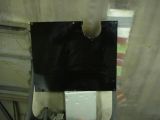
Fitting it together
The final stages were to put everything together:
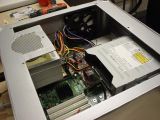
We tested it to see how hot it would get under constant use. It didn't seem to bad (49°C), so it's now in a rack.
