Martian - day 3
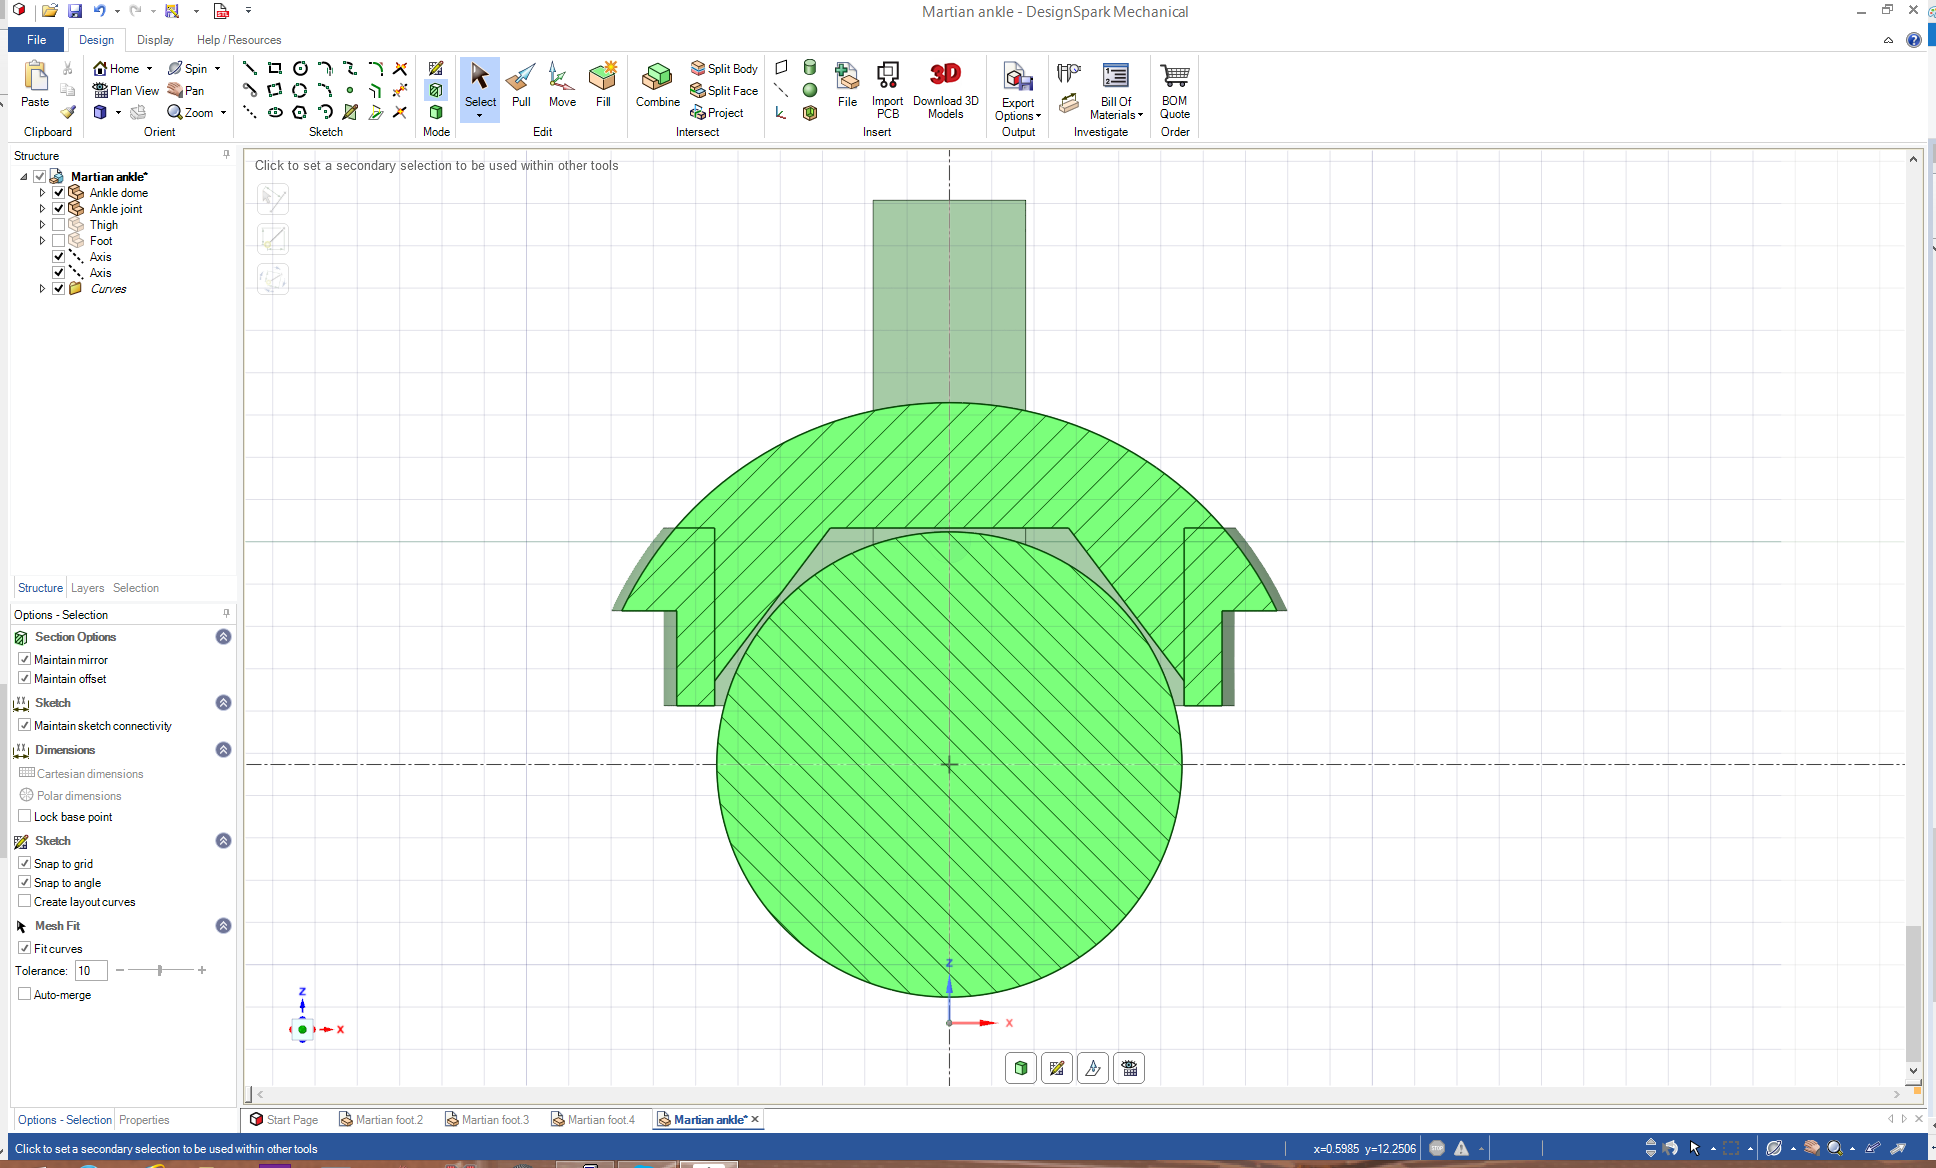
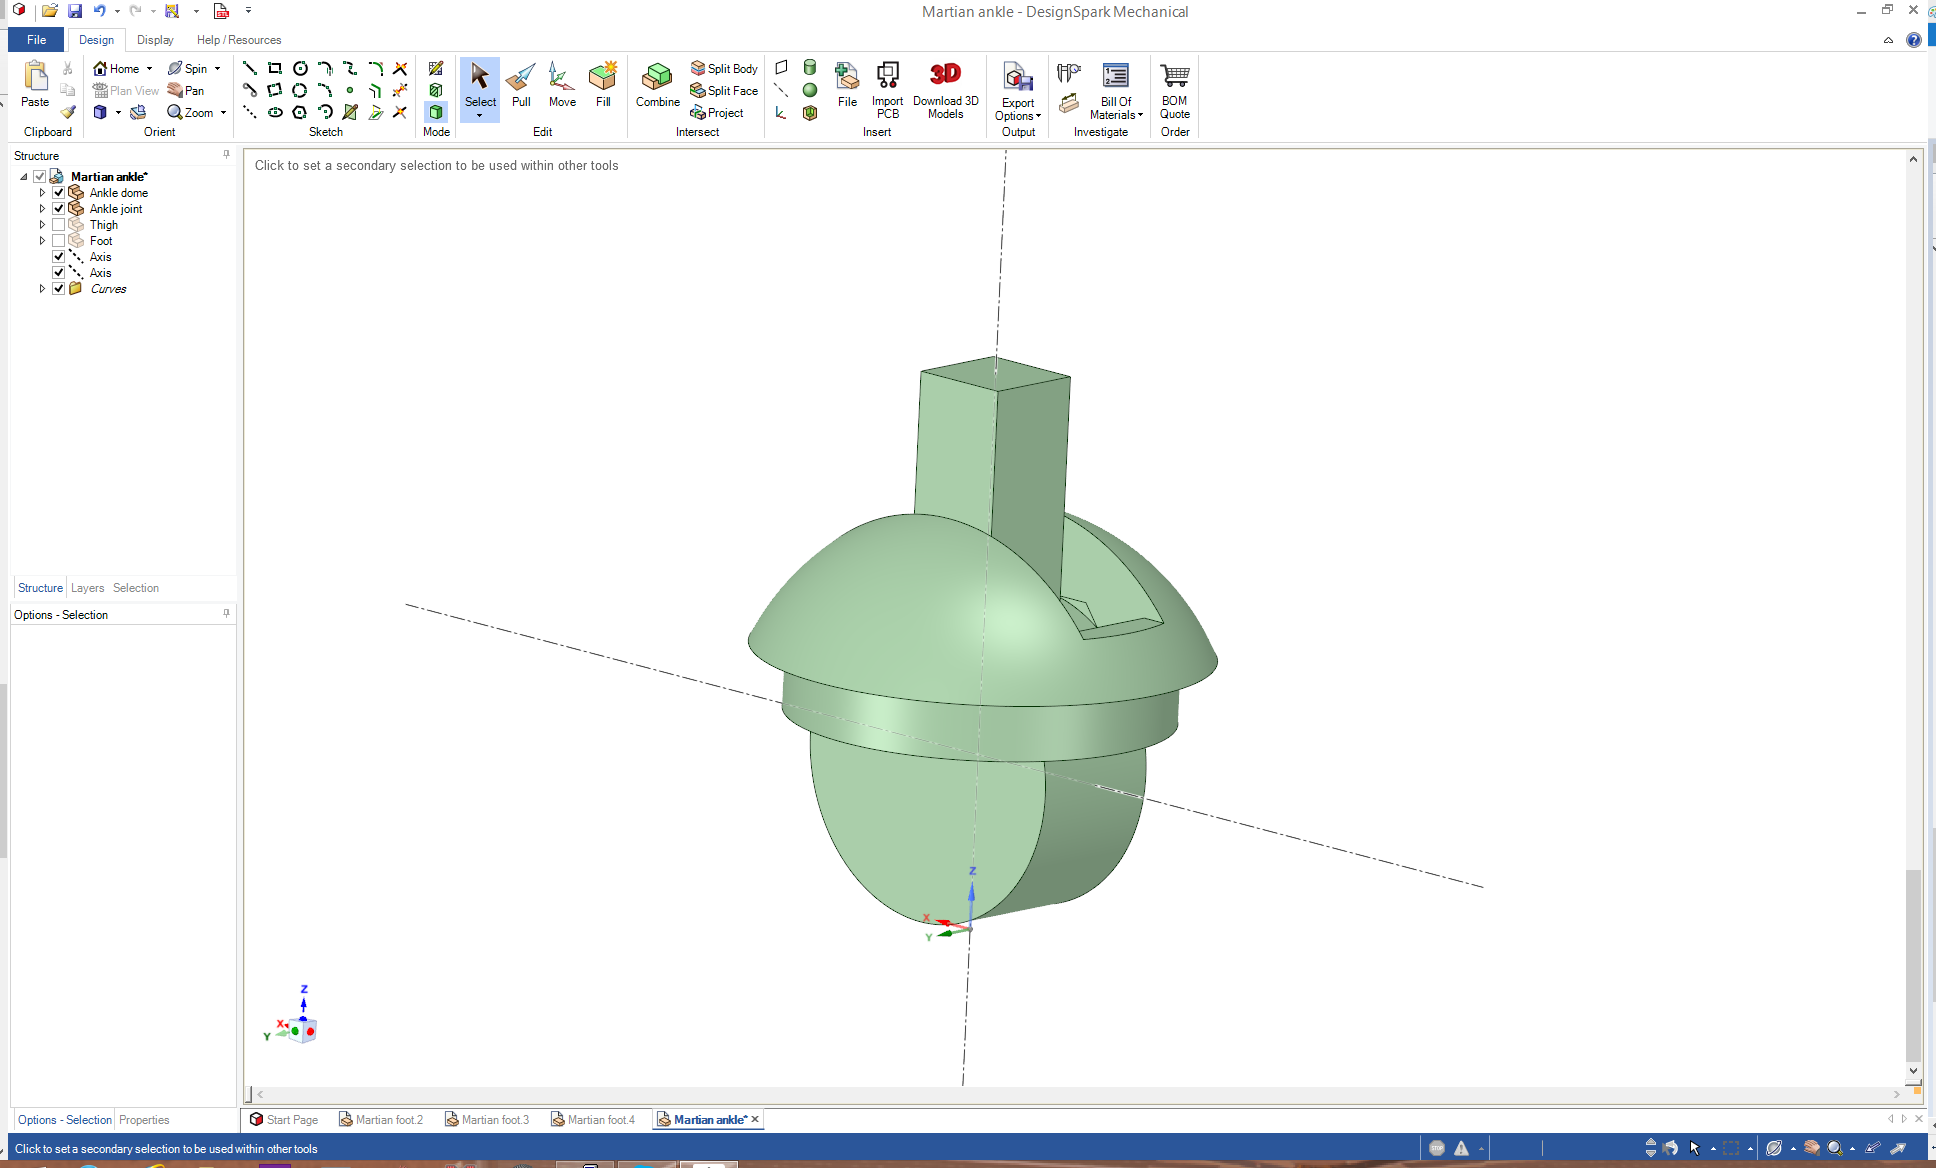
With the foot designed, I wanted to get the ankle made. I used a simple cylinder with a square pin in it, sandwiched with a cap above it. This is a cut-away view of the mechanism:
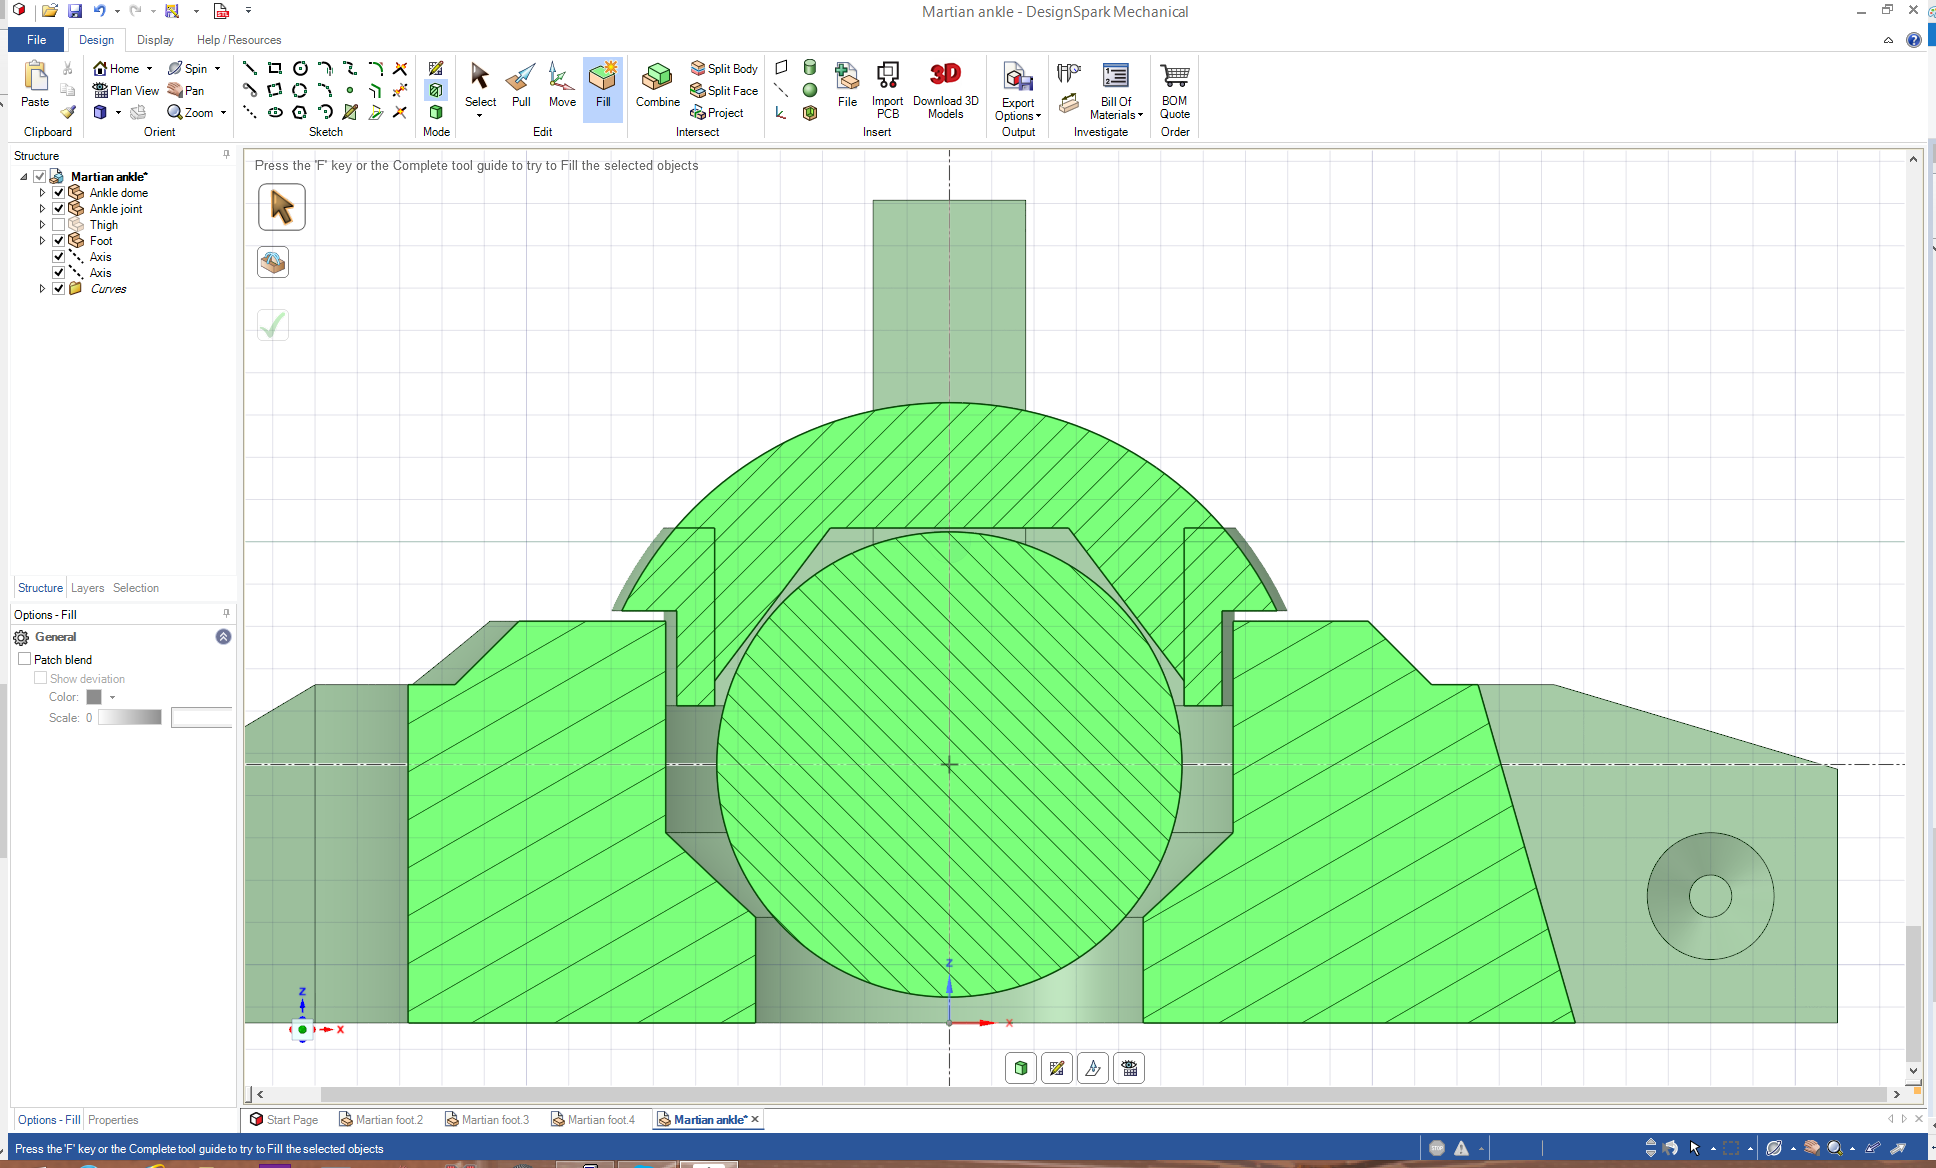
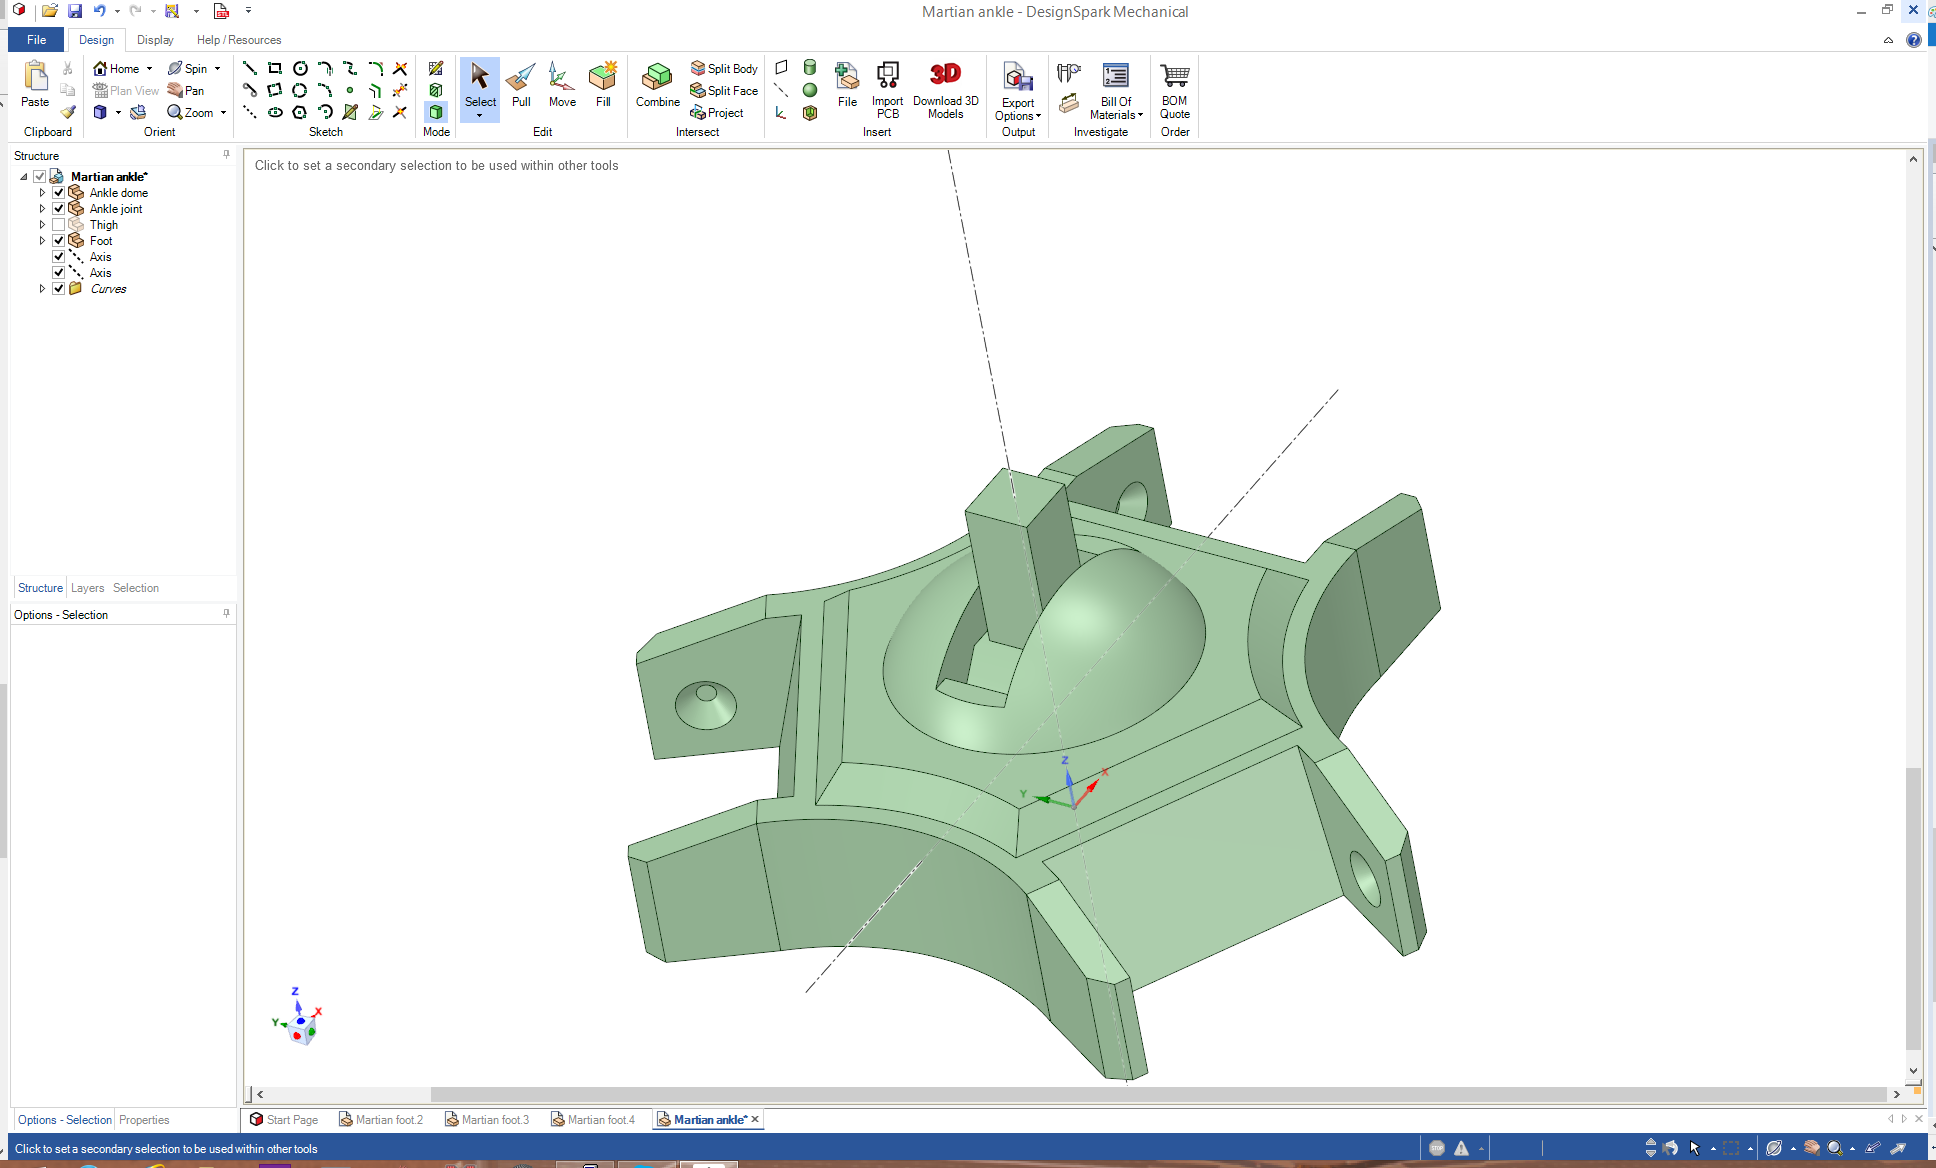
When seated in the socket (toes have been removed - they're not needed for this model):
And then I made the shin - this now gives me the scale. It should stand about 40cm tall when it's finished!
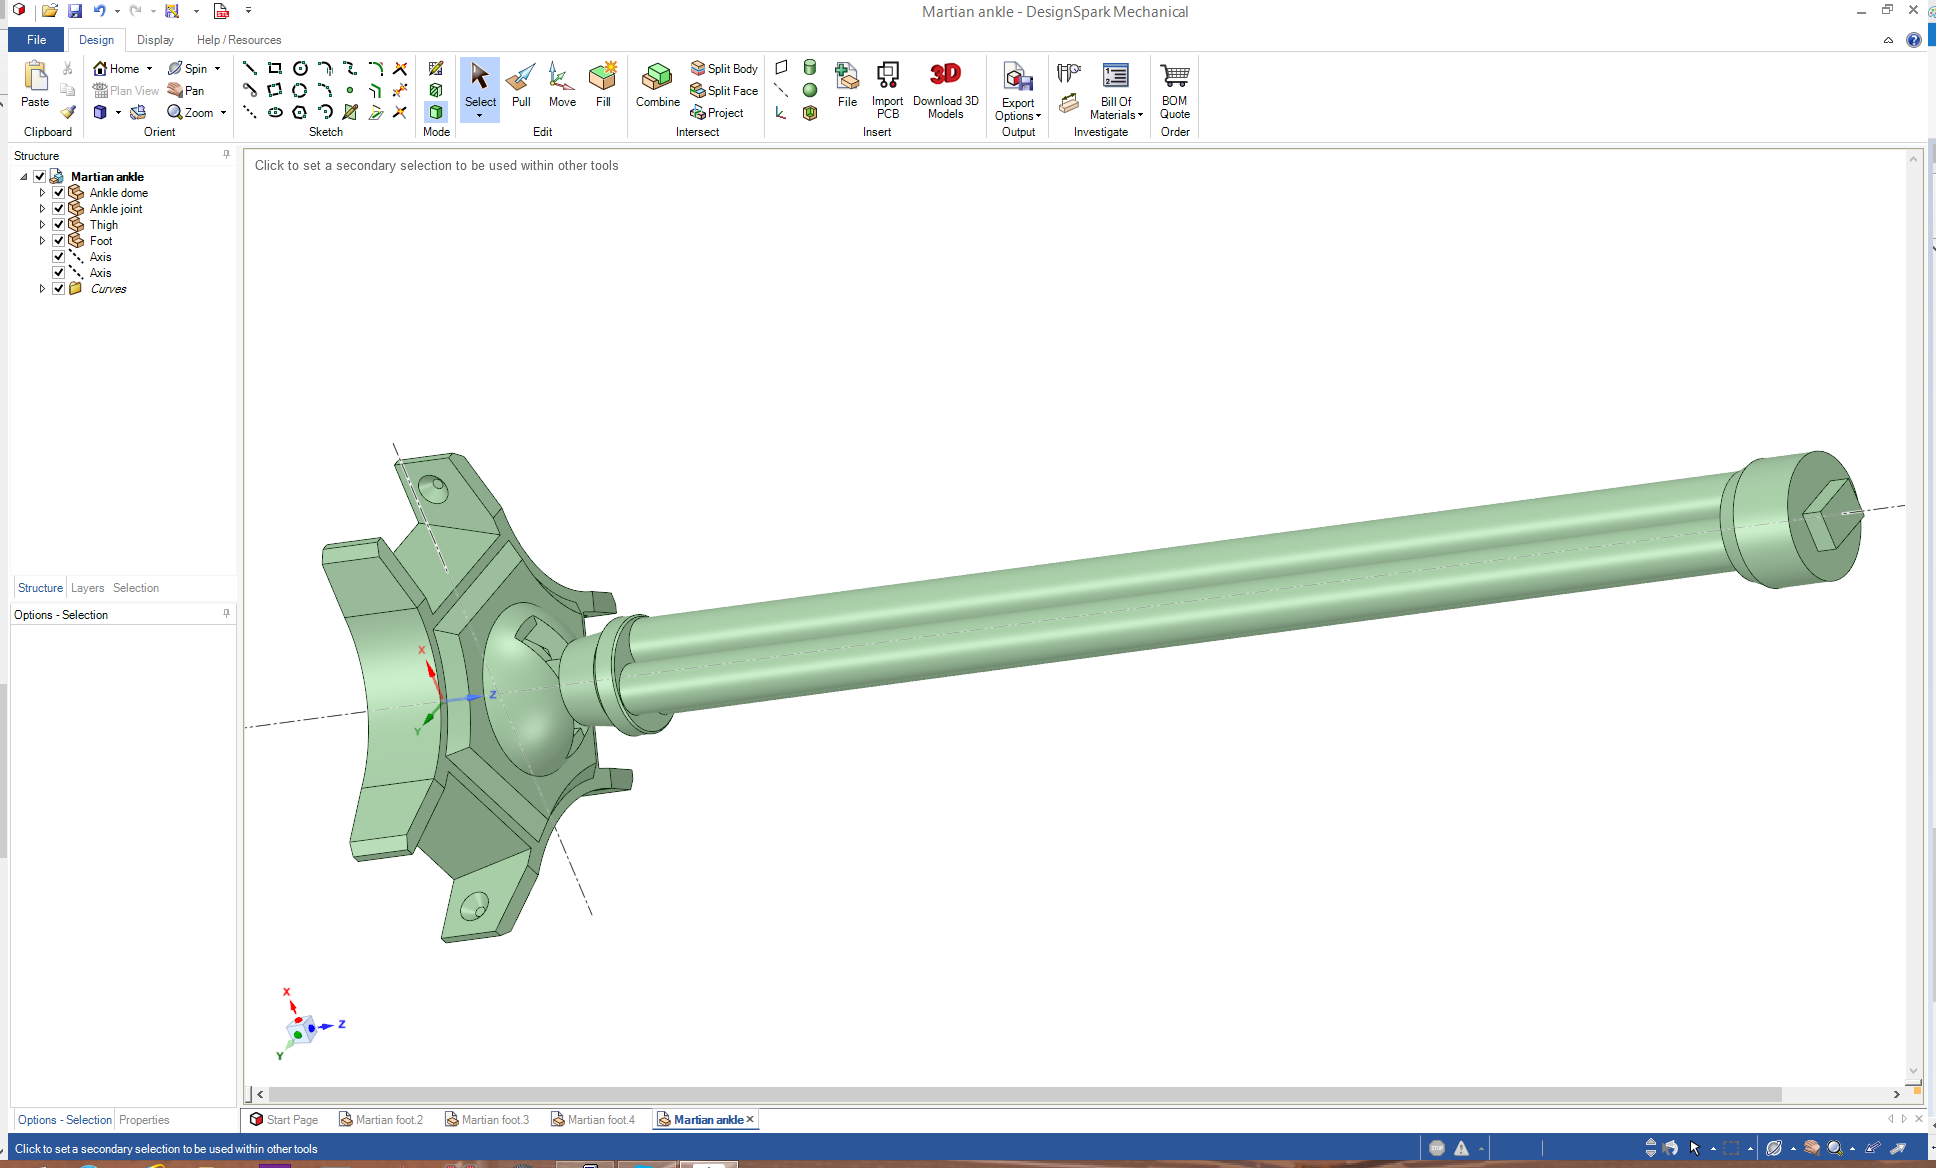
The rectangle at the top is to mount the next section of the leg - which is a bit more complicated than this section in that the three cylinders splay outwards towards the top.
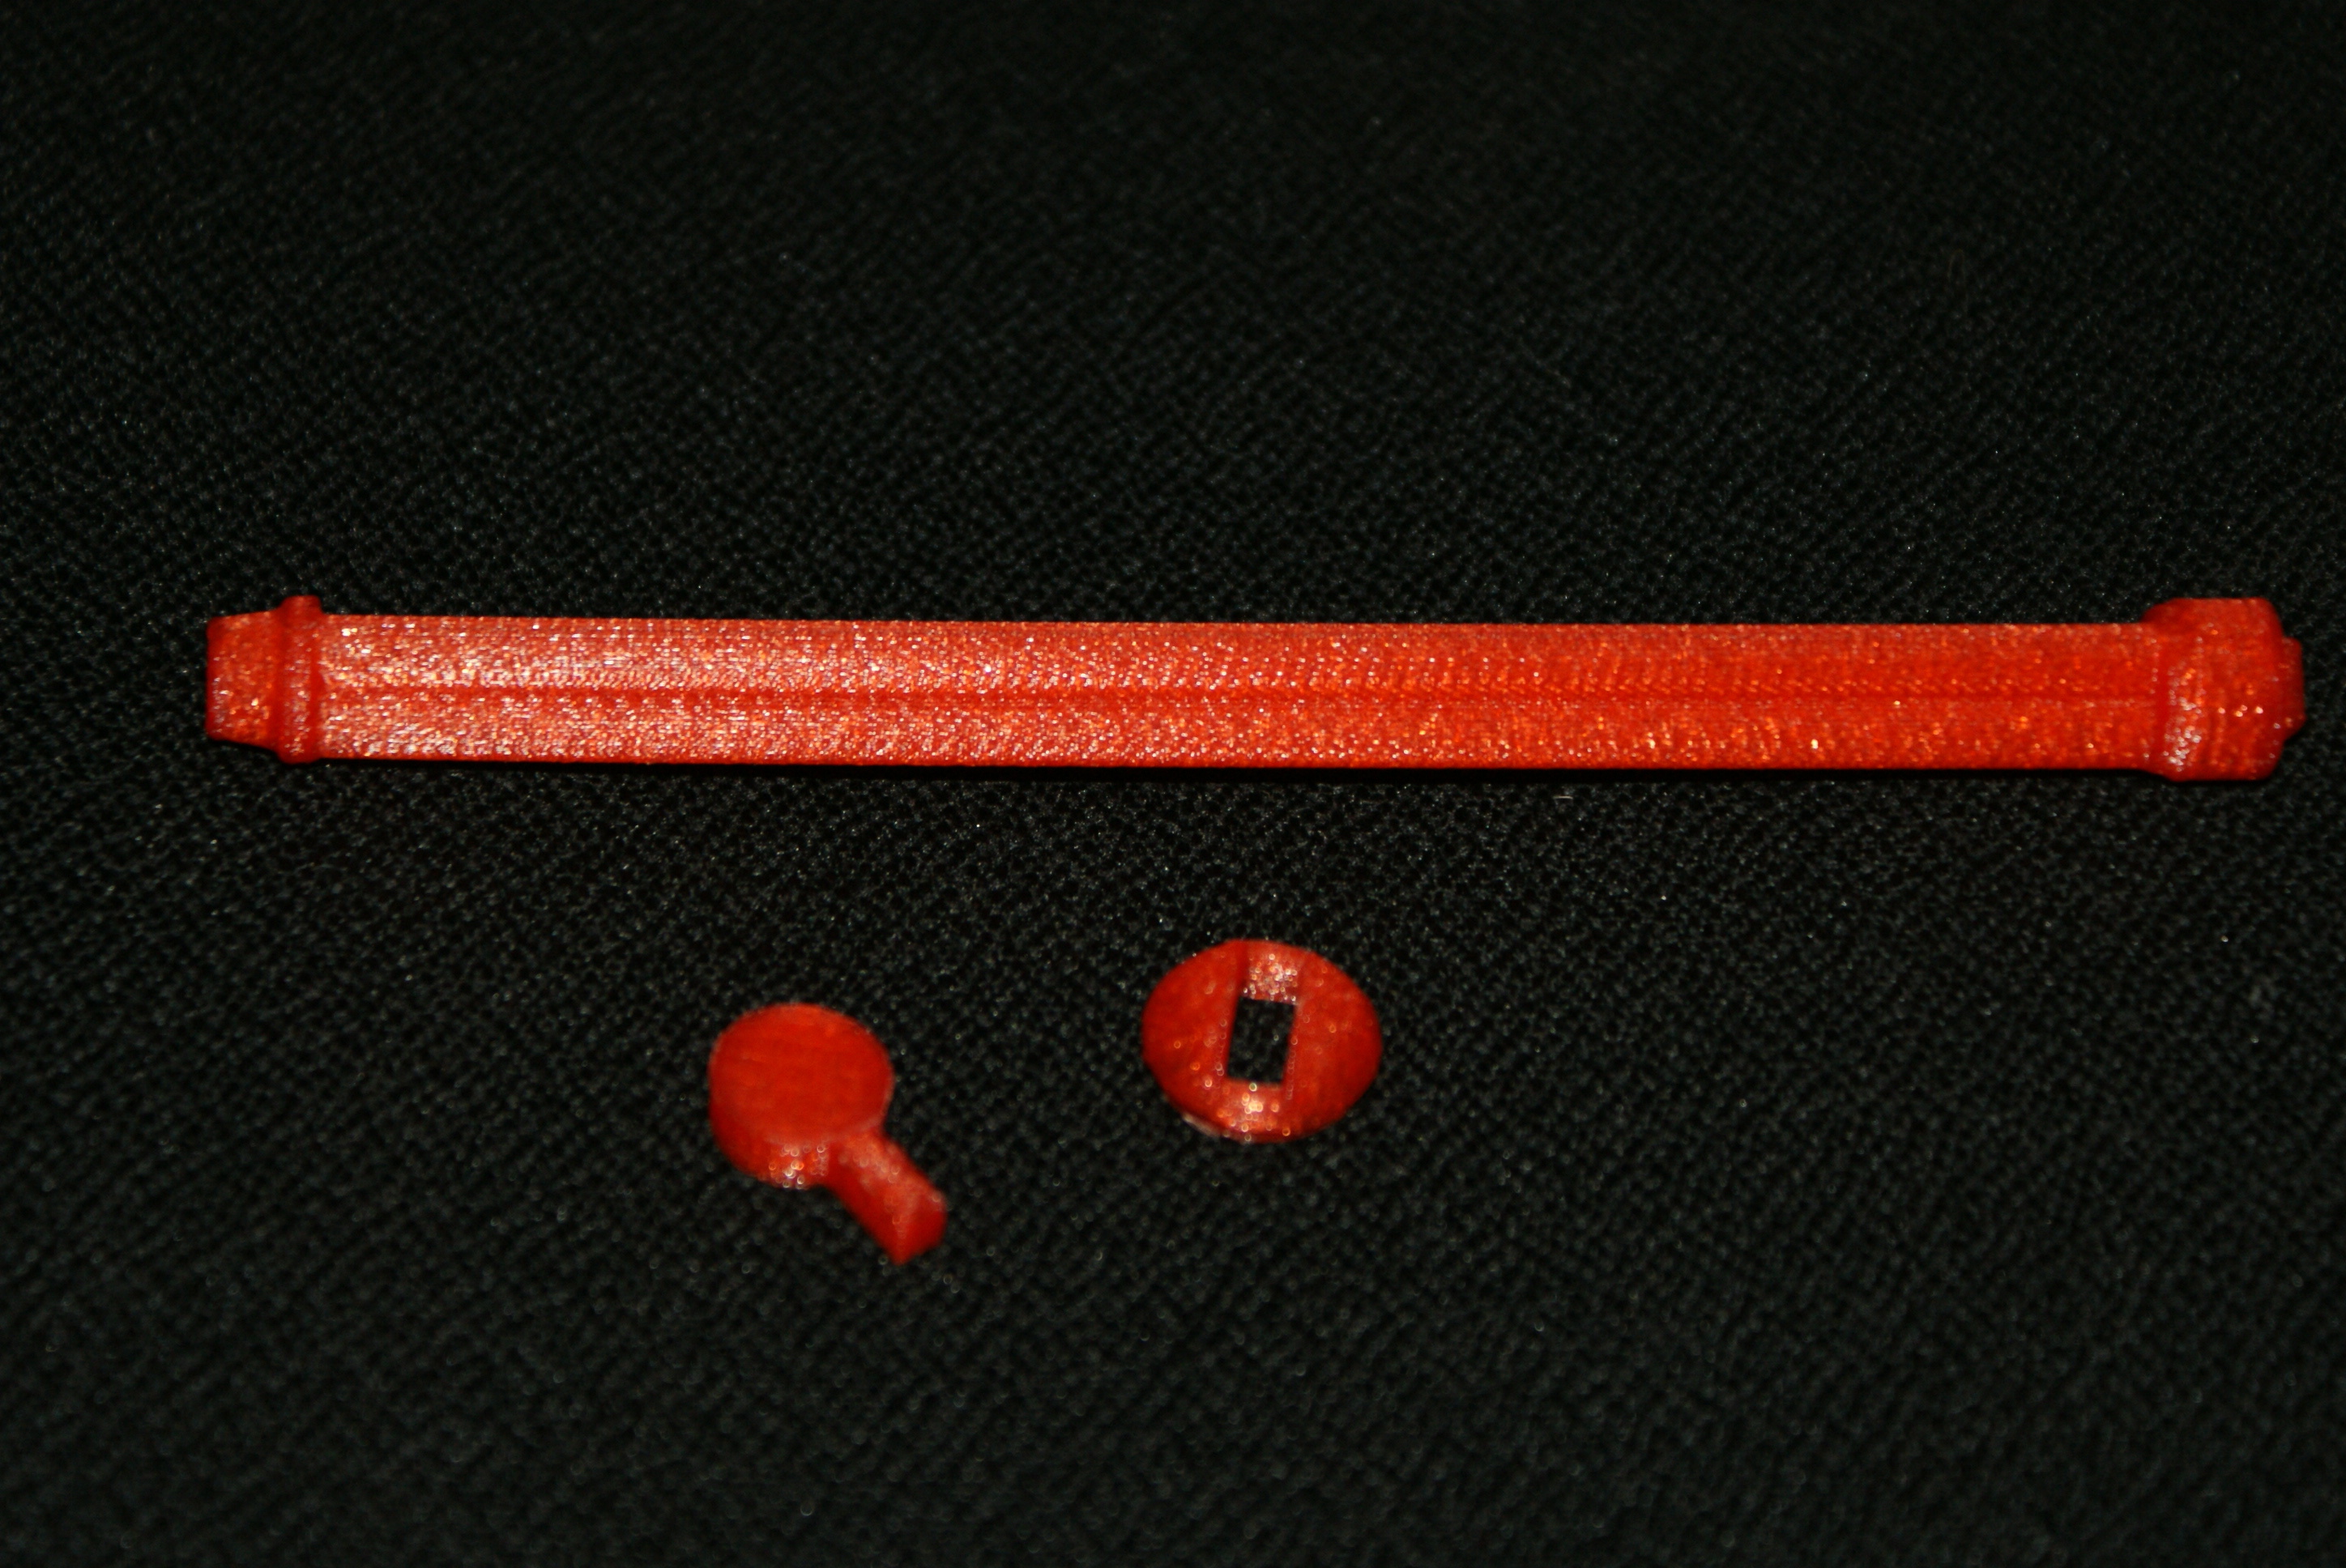
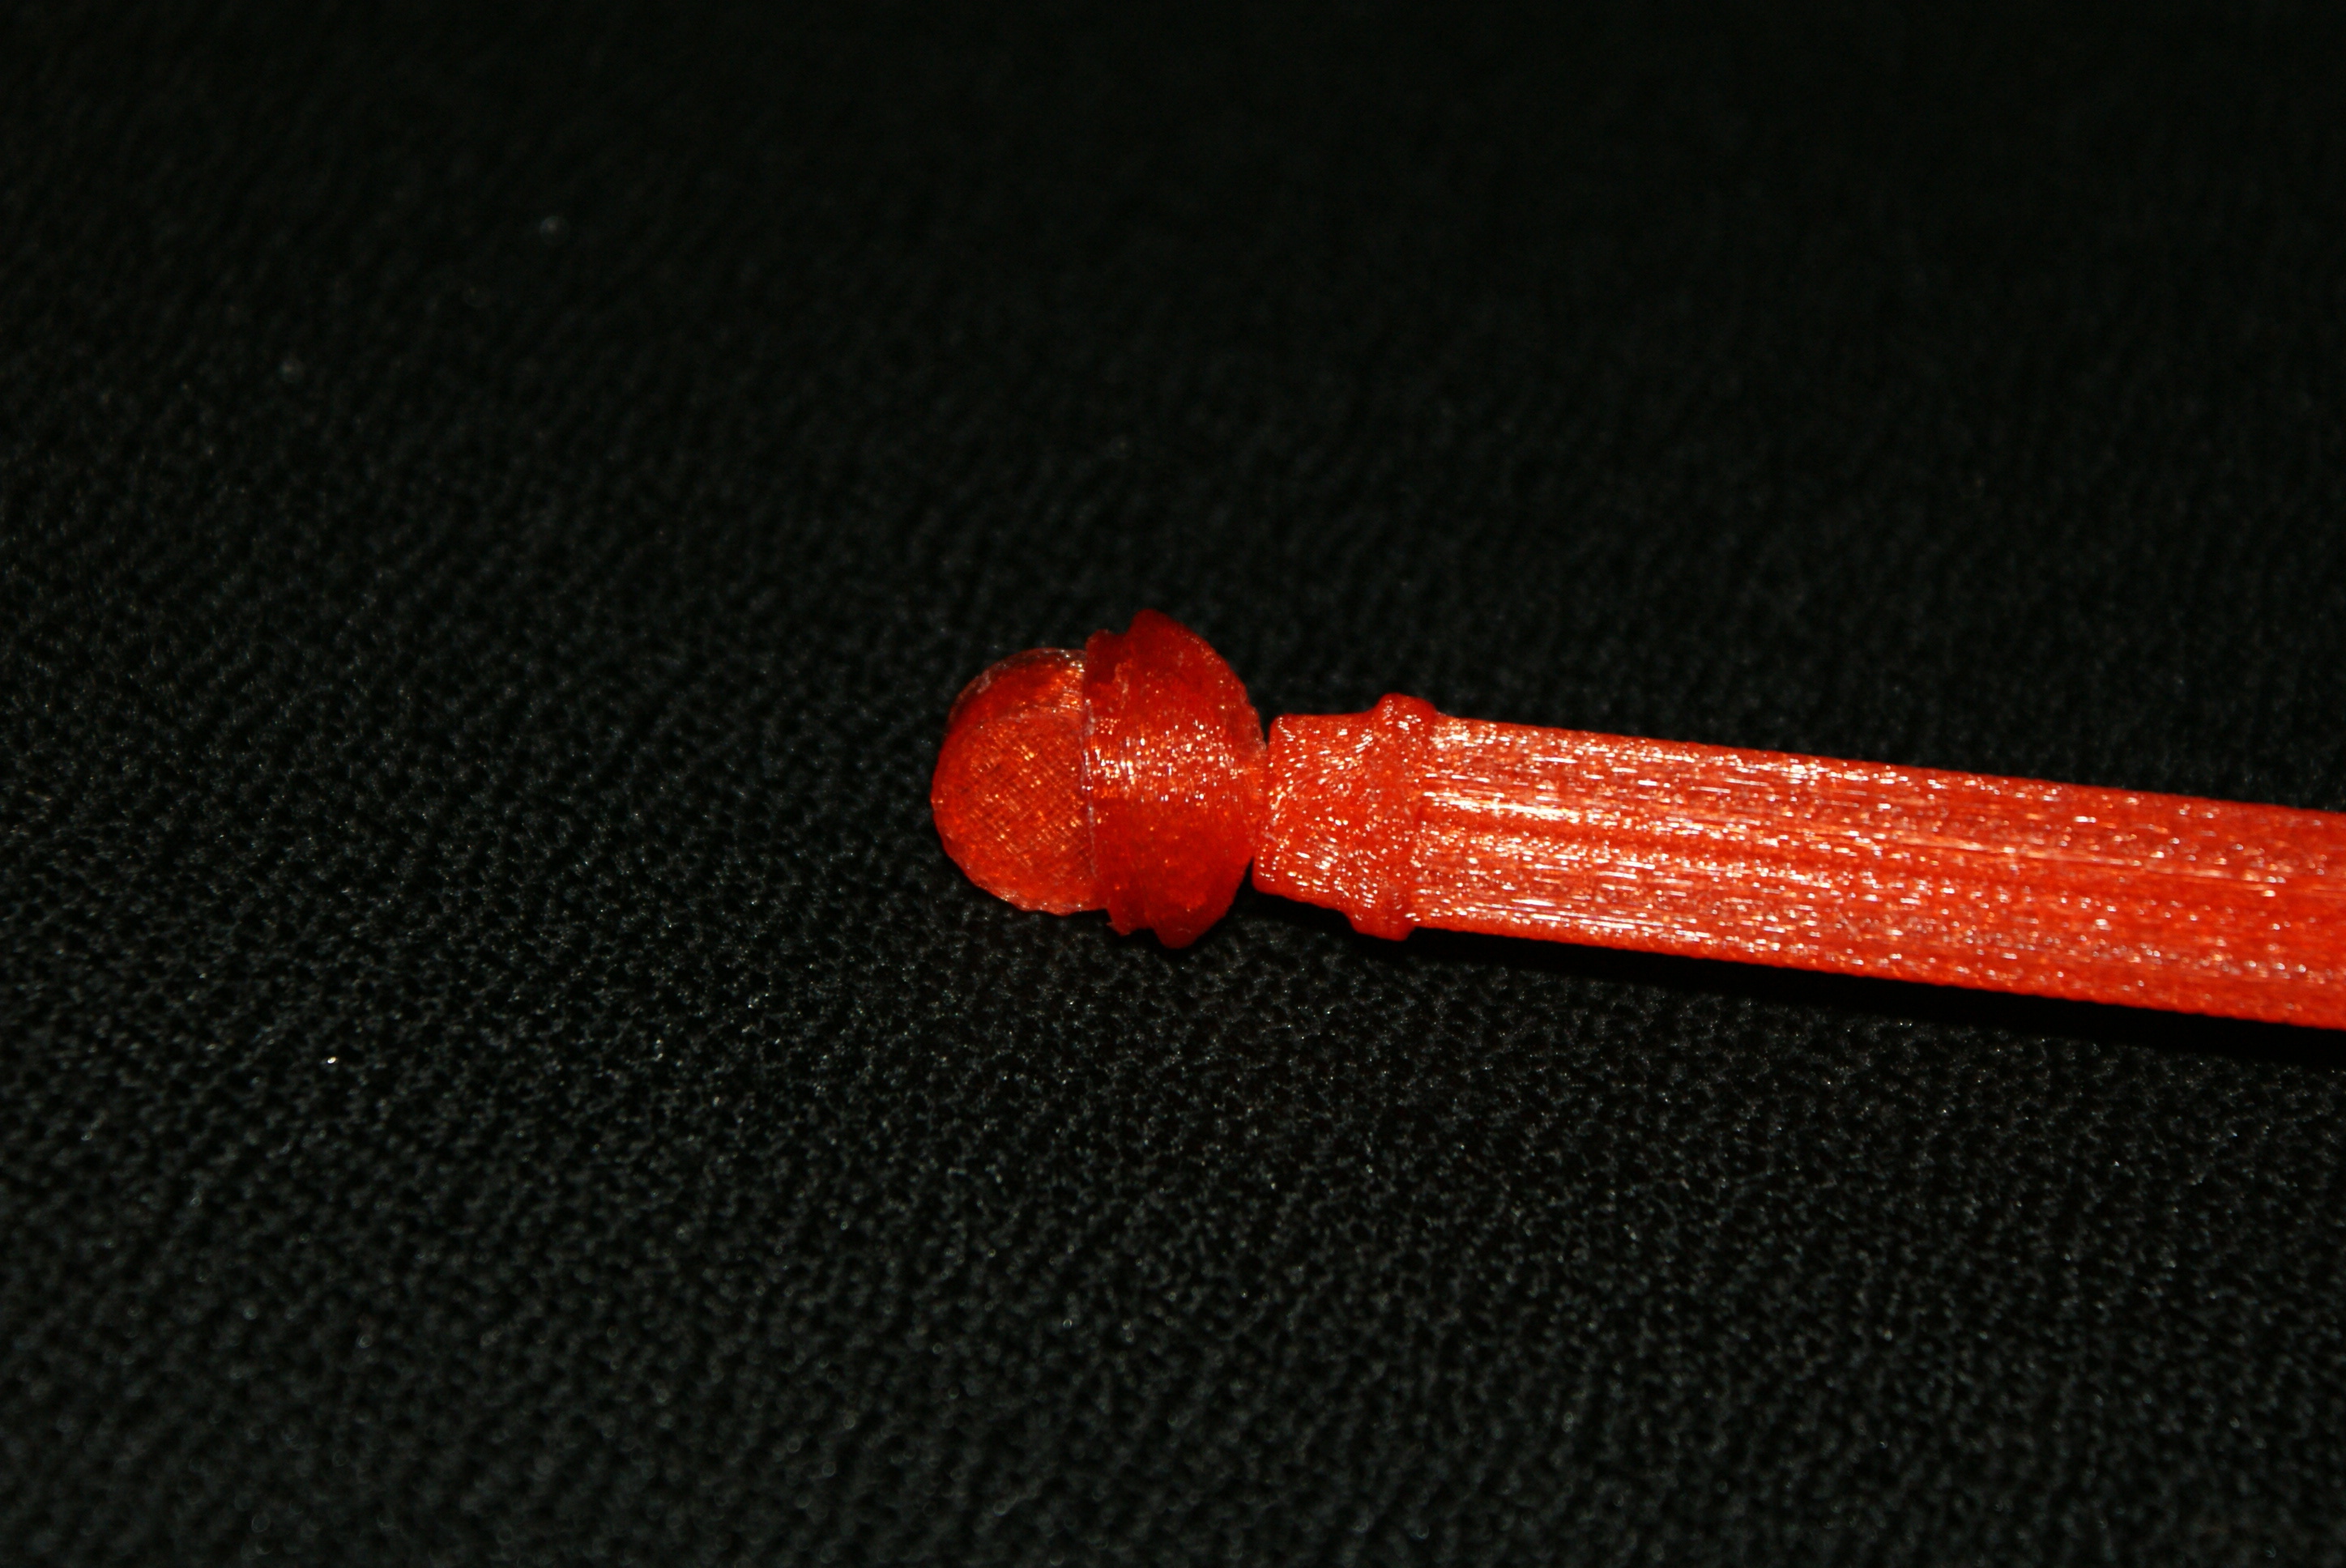
I printed the three pieces - ankle joint, ankle cap and shin:
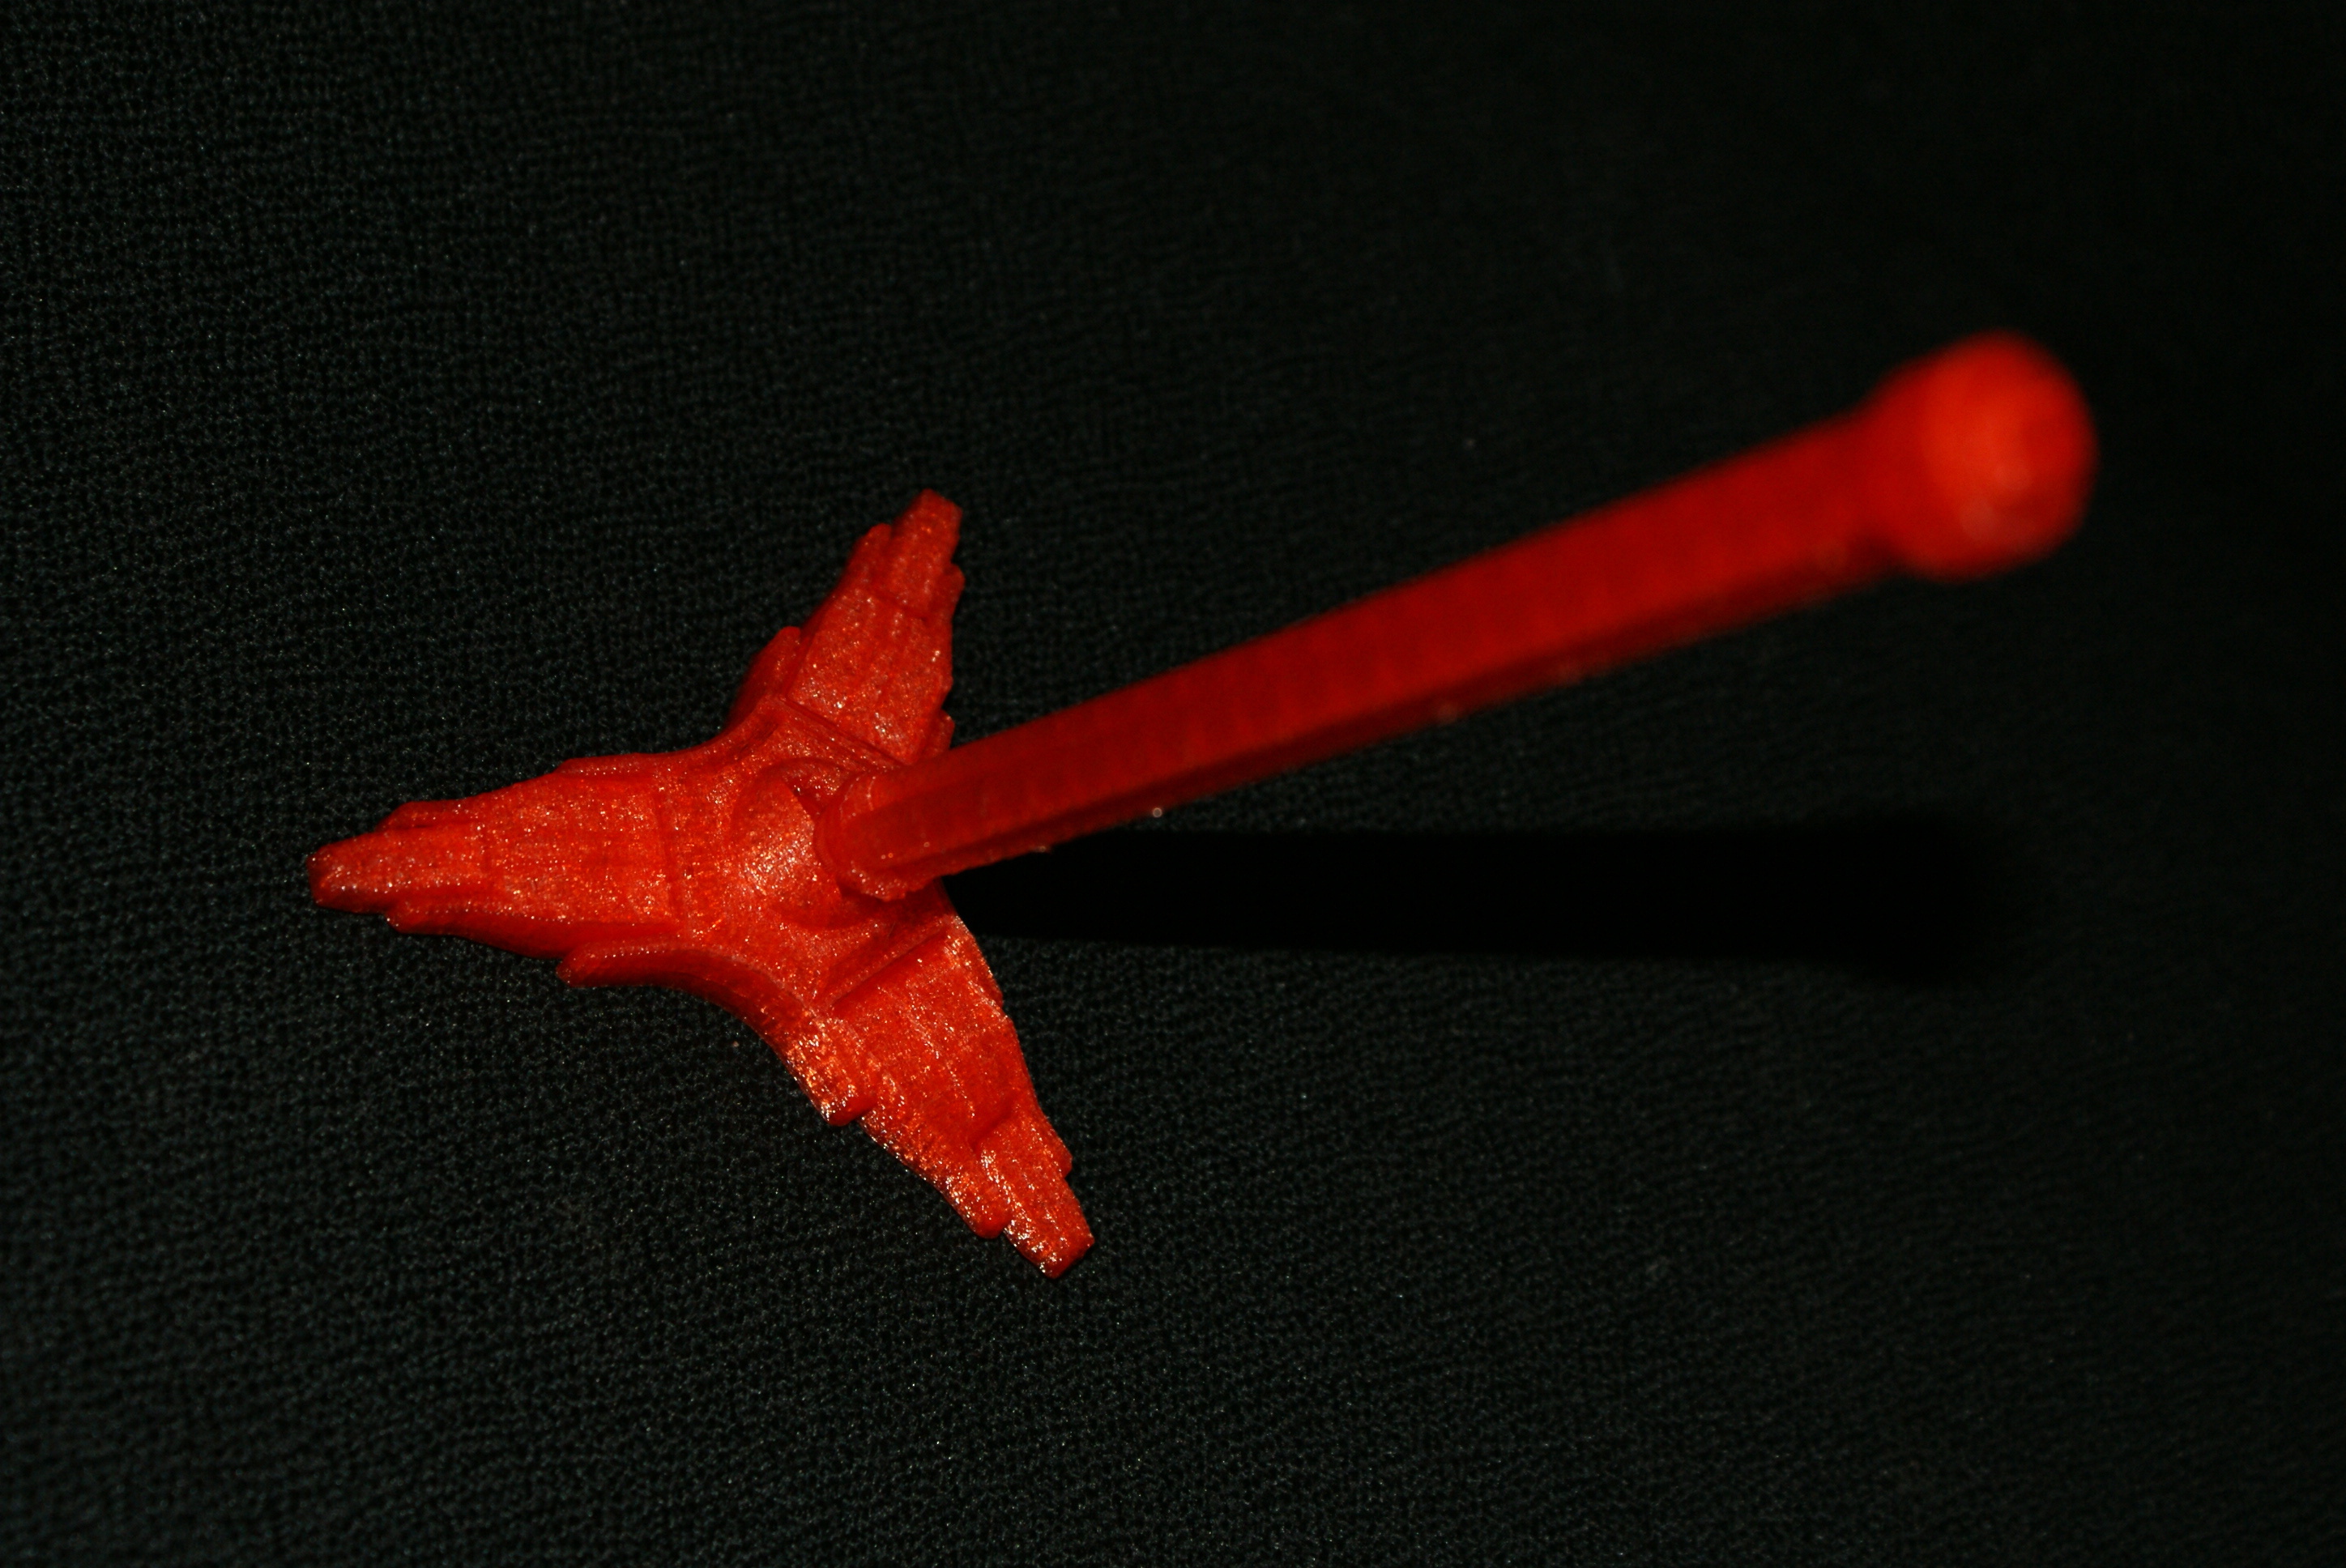
And when fitted to the foot:

Date last modified:
2019-10-20 15:44:22