- Electronics
- Xilinx
Making it useful
Up until now, I hadn't concentrated too much on whether the pixels that were being written were being placed in the right place, or if the monitor was able to sync correctly without pressing buttons.
I firstly needed to plot some test data, and I used the pattern from before, but put some dots around the outside. There were a number of problems with this initial test:
- The line was taking the last pixel from the previous line as the first pixel
- The display was off to the right
- The display was too high
I fiddled with the front and back porch settings to suit the monitor, and changed the line buffer to be a fall-through FIFO (which meant it was able to read the first pixel before requesting it).
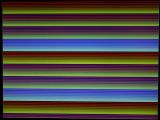
That fixed most of the problems, although the top two lines are missing. I can live without them (to fix this may require some odd clock settings - I did play with the settings for quite some time to no avail).
As a precursor to plotting characters, I implemented the pixmap command. This takes a number of bytes, and where the bit is 1, it will plot in the current colour; where it is 0, it does not plot. I used an alternating sequence of 0x55 and 0xaa in a 16x16 block in the top-left for that.
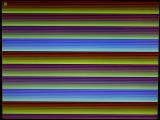
I then started to implement the mid-length hline code - and saw that the wobbly black line problem had returned:
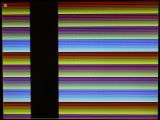
This ended up being a problem with the write buffer FIFO overflowing, so I put some code to make sure the FIFO was empty before doing large operations (and periodically during very large operations). This fixed that problem:
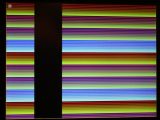
I then finished the mid-length and long-length hline code, and drew 400 pixels in the shaded colour followed by 400 pixels of black.
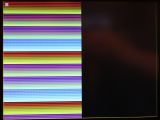
Then, it was time for the big one. Getting something useful on the screen.
The aim for this project is to have an LCD display for my car's dashboard. When you first power it up, it'll display the Aeon Sportscars logo, and then switch into the display for the gauges and the like.
I used the copy of the Aeon logo I already had, tweaked it (to fix some of the path problems), and then wrote a program to convert it to scan-line data. The scan-line data is used twice - once for a shadow, and the second time for the image itself:

This is actually displayed on a simple grey background - the graduated effect here is purely a lighting effect where the camera isn't in the right place, and there's some ambient light.
Nice!
It will need to make a bit better use of the memory - it's about 15K of data, but it should be possible to compress it down significantly more than that.
