- Mechanical
- Steel
STLCutter 2 - Day 3
With the start made yesterday on the Y-axis frame, I continued by cutting out two 1500mm long sections of steel to make the Y-axis frame. The first of these was welded to the top of the two uprights cut yesterday:
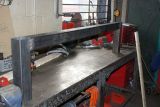
This took a bit of time to make sure that everything was square - unfortunately the bench I was using is not level, so it took a couple of attempts to make it right.
The second was welded below it, at about the same distance (well, to the nearest mm) between the two Y-axis carriers that were bolted onto the Z-axis frame yesterday:
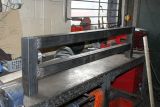
I then drilled, tapped and bolted the top rail to the top frame:
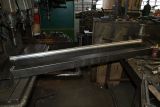
And using the Z-axis mechanism, I tapped and bolted the bottom frame:
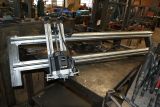
I put the router on there to see how it was looking. Note that not all the bolts have been fitted - they'll be done when the new ones arrive (which should be today, but I got them sent to my office, so I'll need to pop in tomorrow on the way to the workshop).
Then, I had a fairly long head-scratch about where and how to place the Y-axis ballscrew. I opted to put it on top of the bars (I did consider behind it, in between the two horizontal sections, but putting it on top allows me to use gravity to help it be position correctly).
Two 10mm thick plates were drilled and tapped (annoyingly, I couldn't find a 6.8mm drill bit, nor a 6.5mm, or 7mm for the tap, so I had to use a 1/4" instead), and then welded on top.
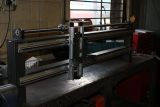

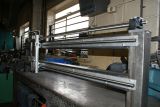
In case you're wondering, there's a large steel cab for a crop sprayer in front of the bench, which means I can't take any straight-on shots. It should be going off to be painted soon (I hope!).
