STLCutter 2 - Day 12
Re-attaching the ballscrews
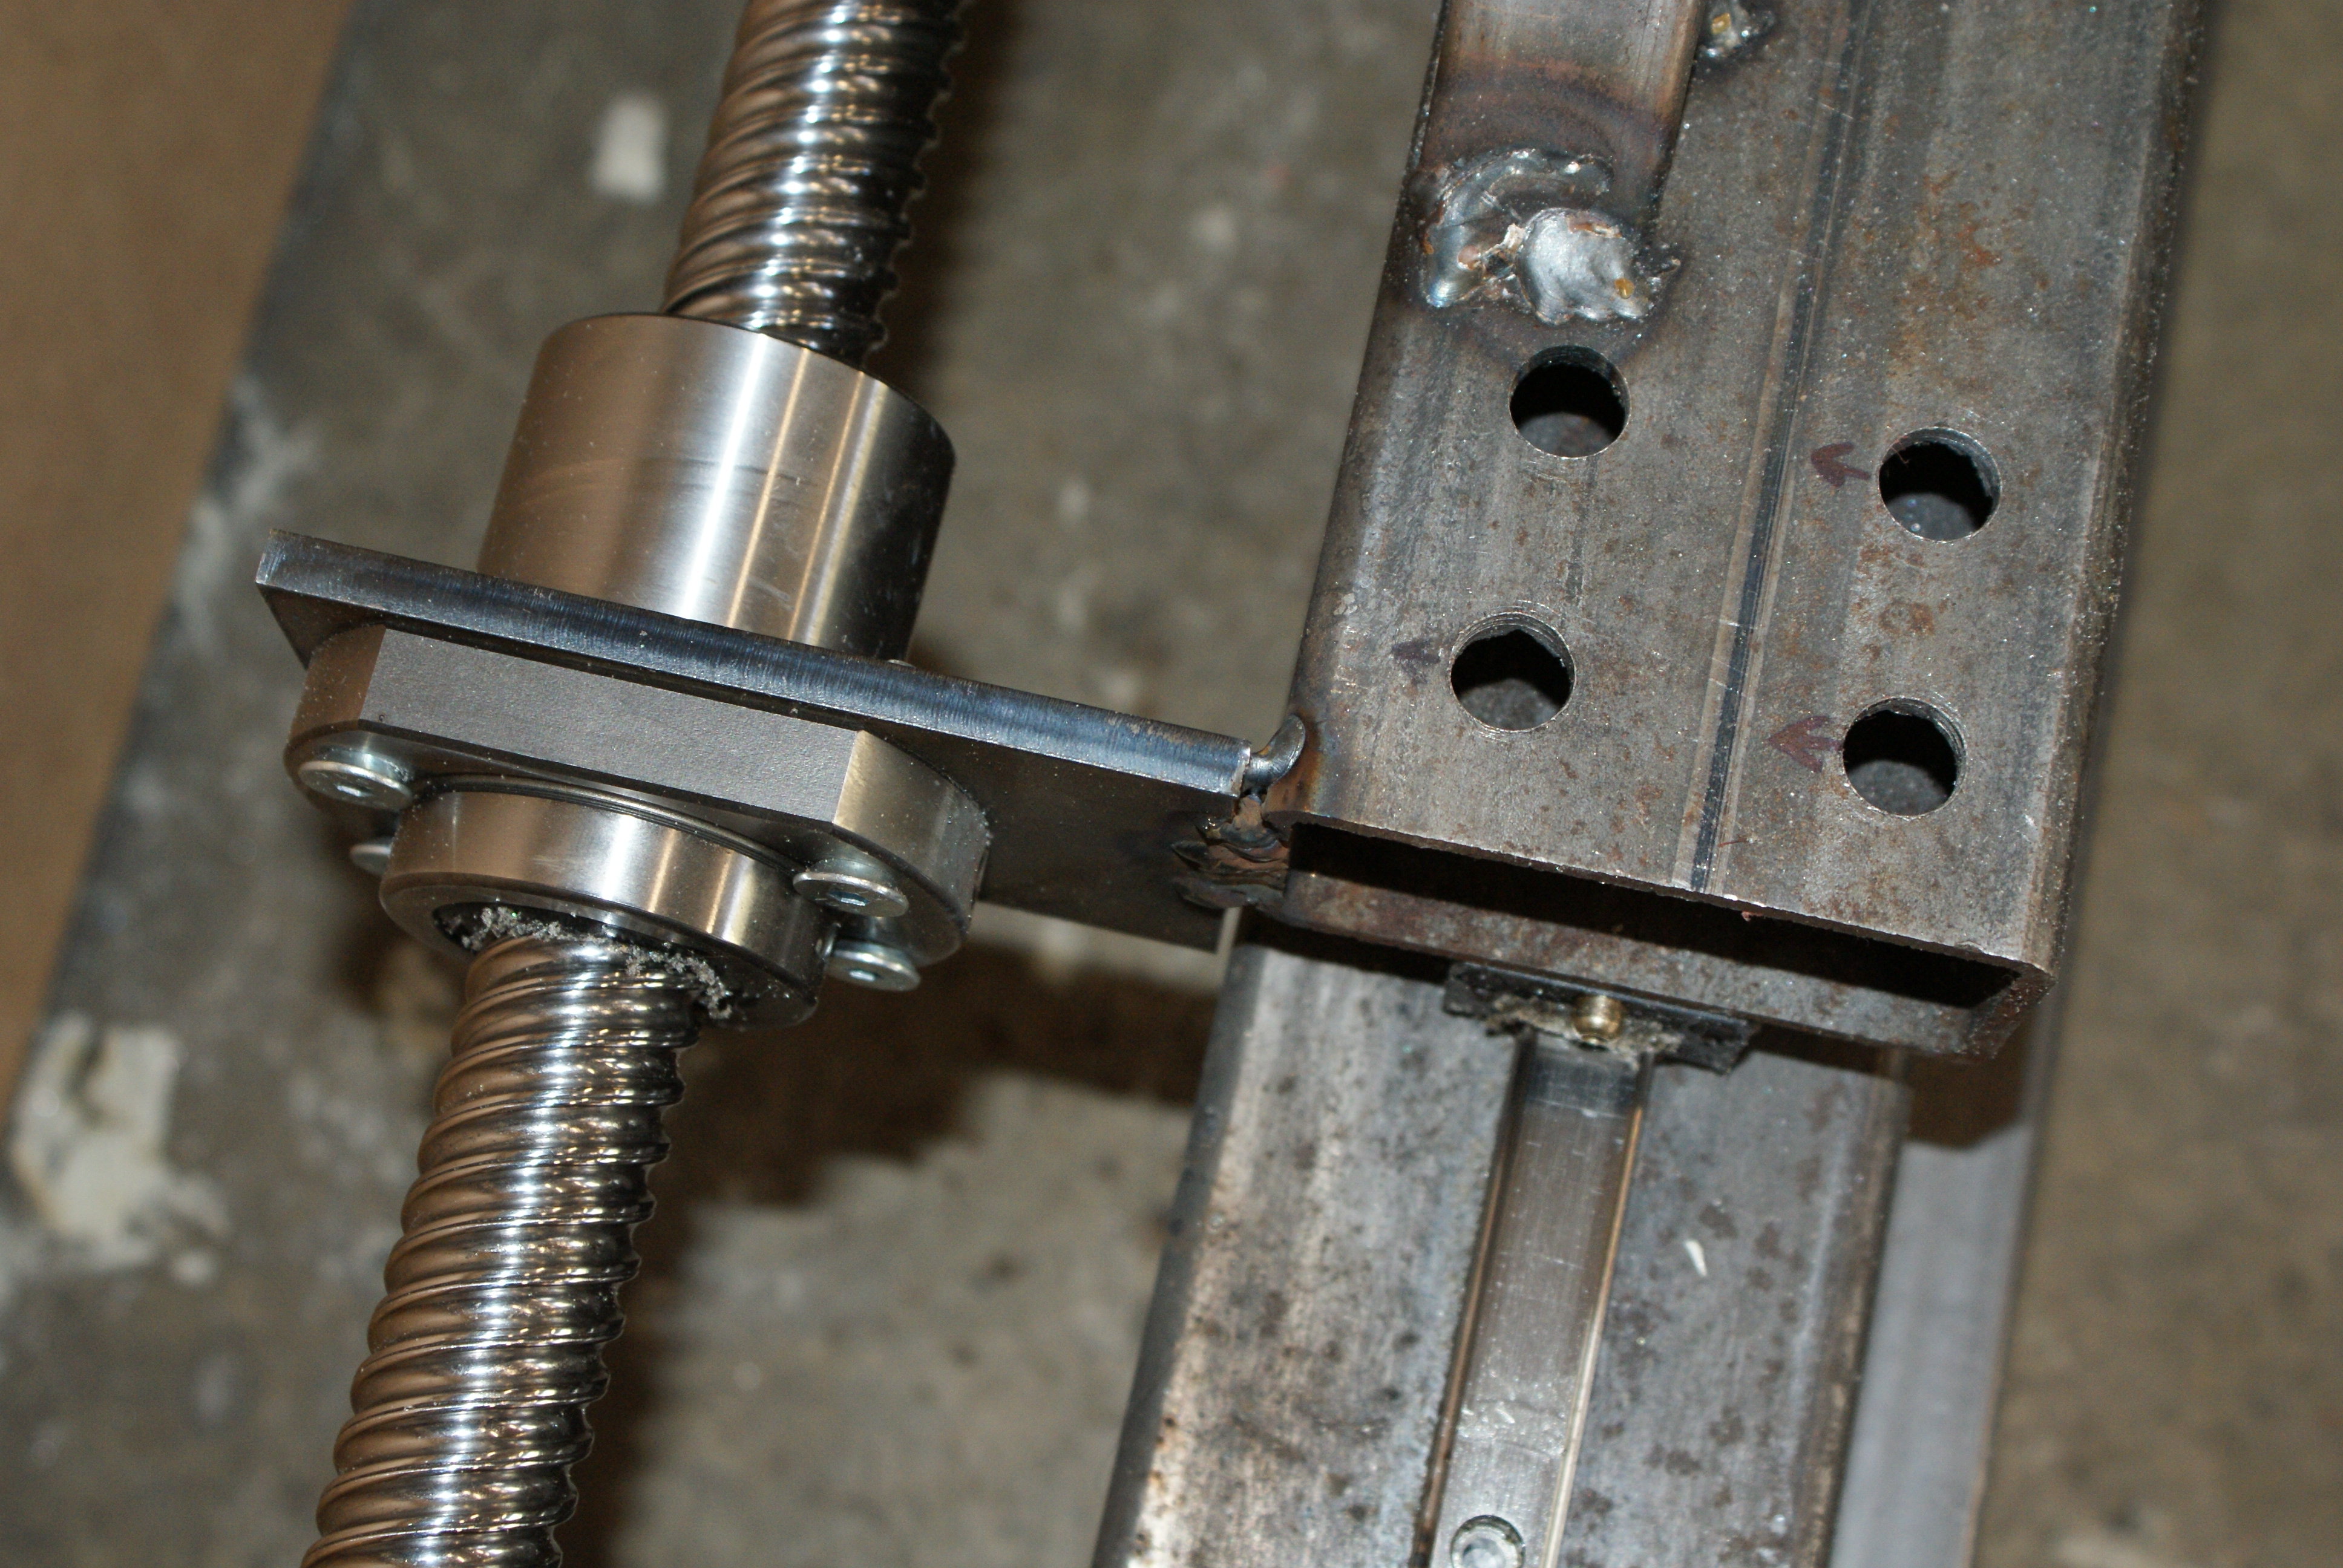
Since I'd removed the ballscrews the other day, I now needed to weld them back on.
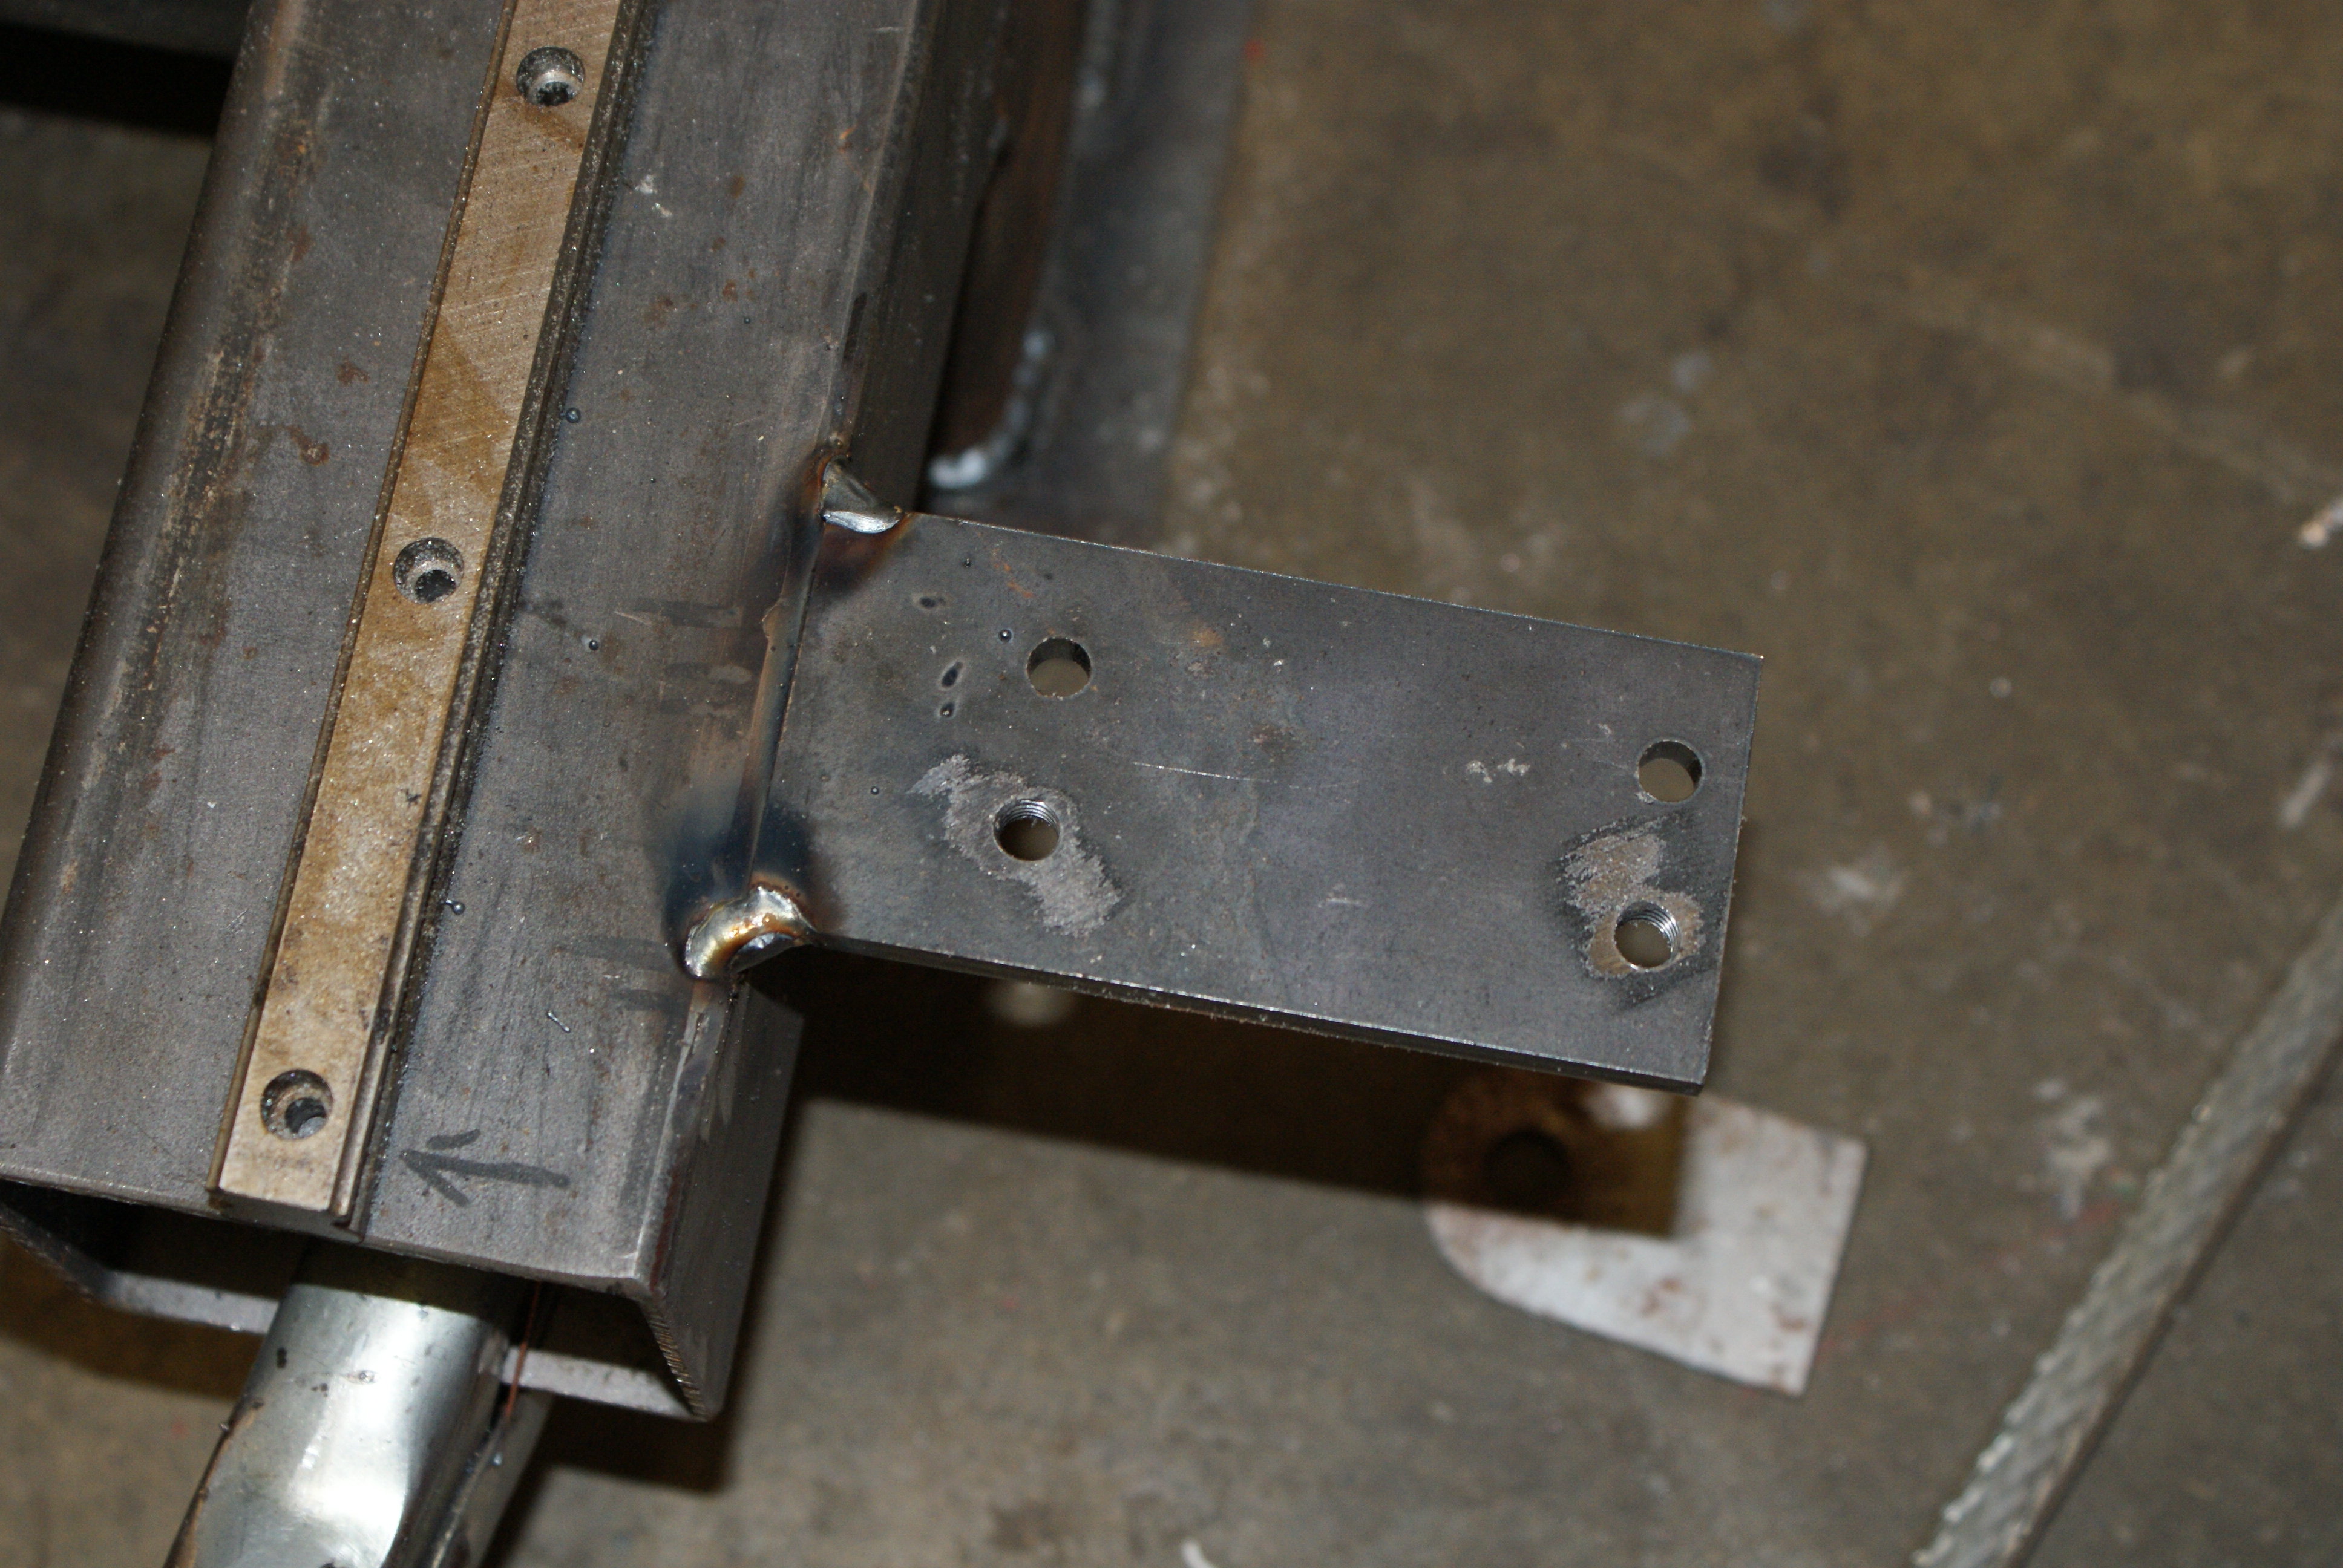
The pieces I had laser cut were tapped prior to welding (it's a little easier when you can put them in a vice).
The motor mounts were also tapped and welded.
Note that the fixed bearing block takes four bolts, whilst the floating block only takes two. However, all the pieces were drilled with 4 holes, and only two were tapped for the floating blocks.
I did the same the other side, and mounted the ballscrew as a measure.

Excellent. The laser cut pieces made the job so much easier.
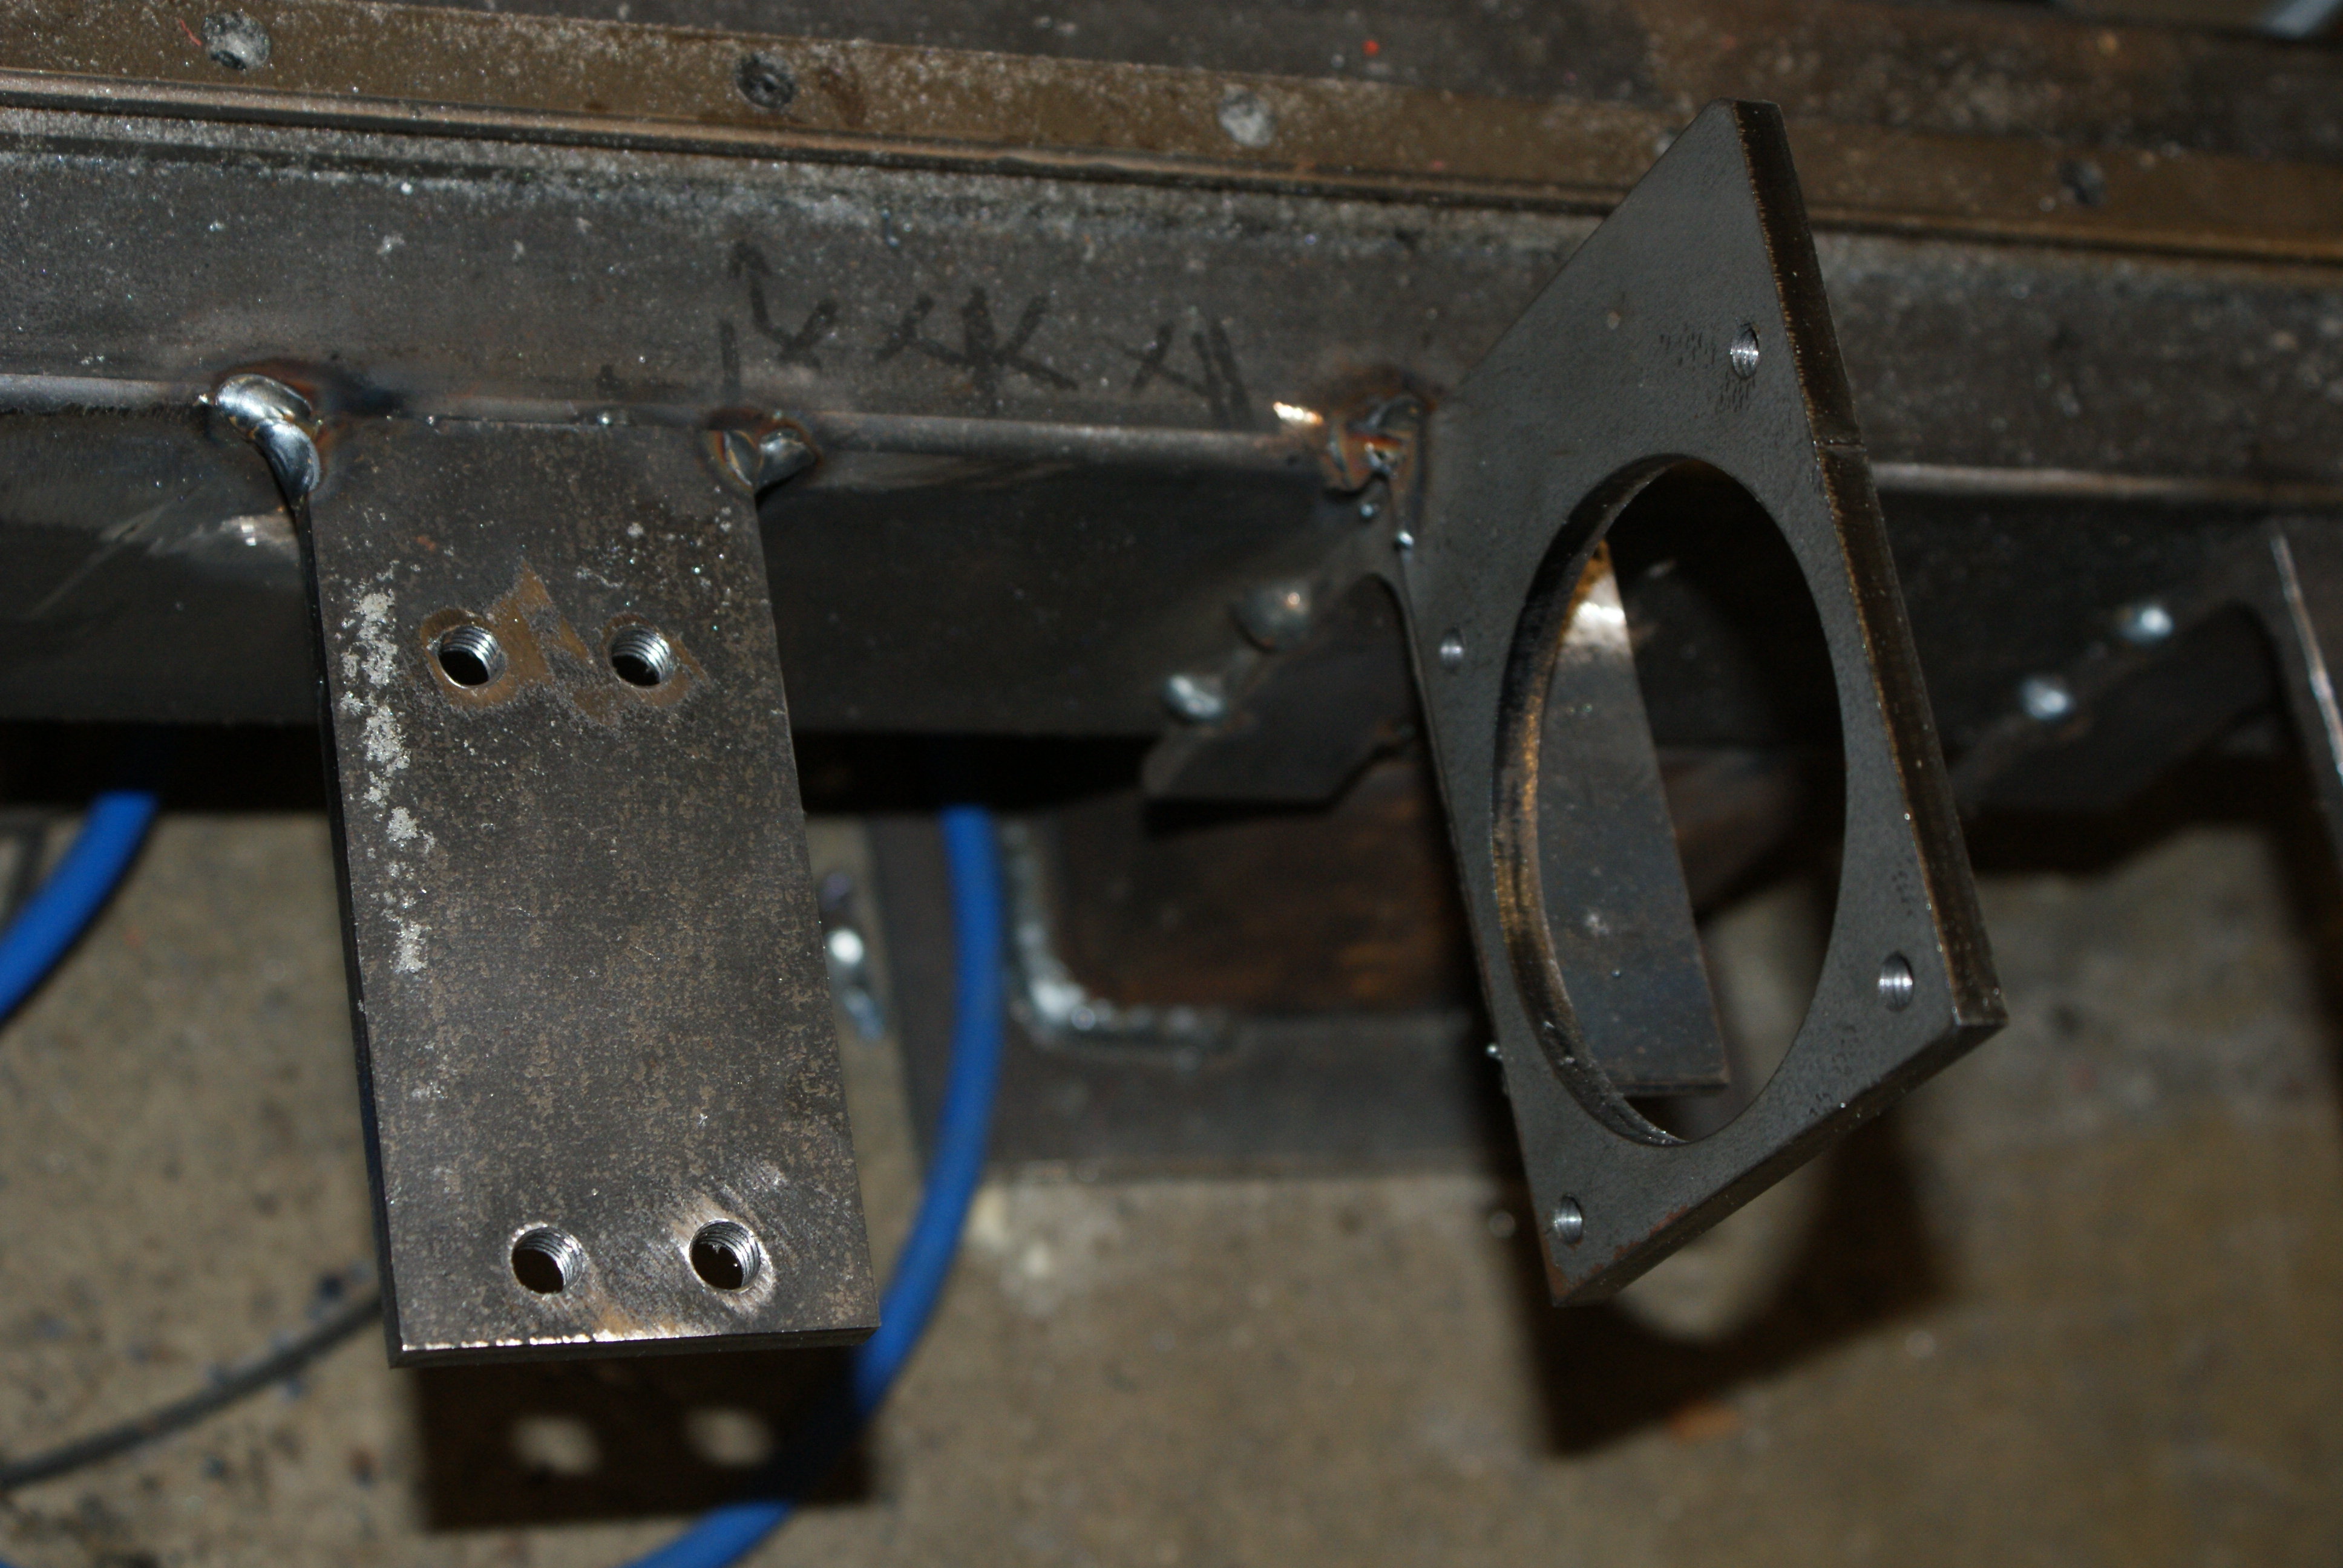
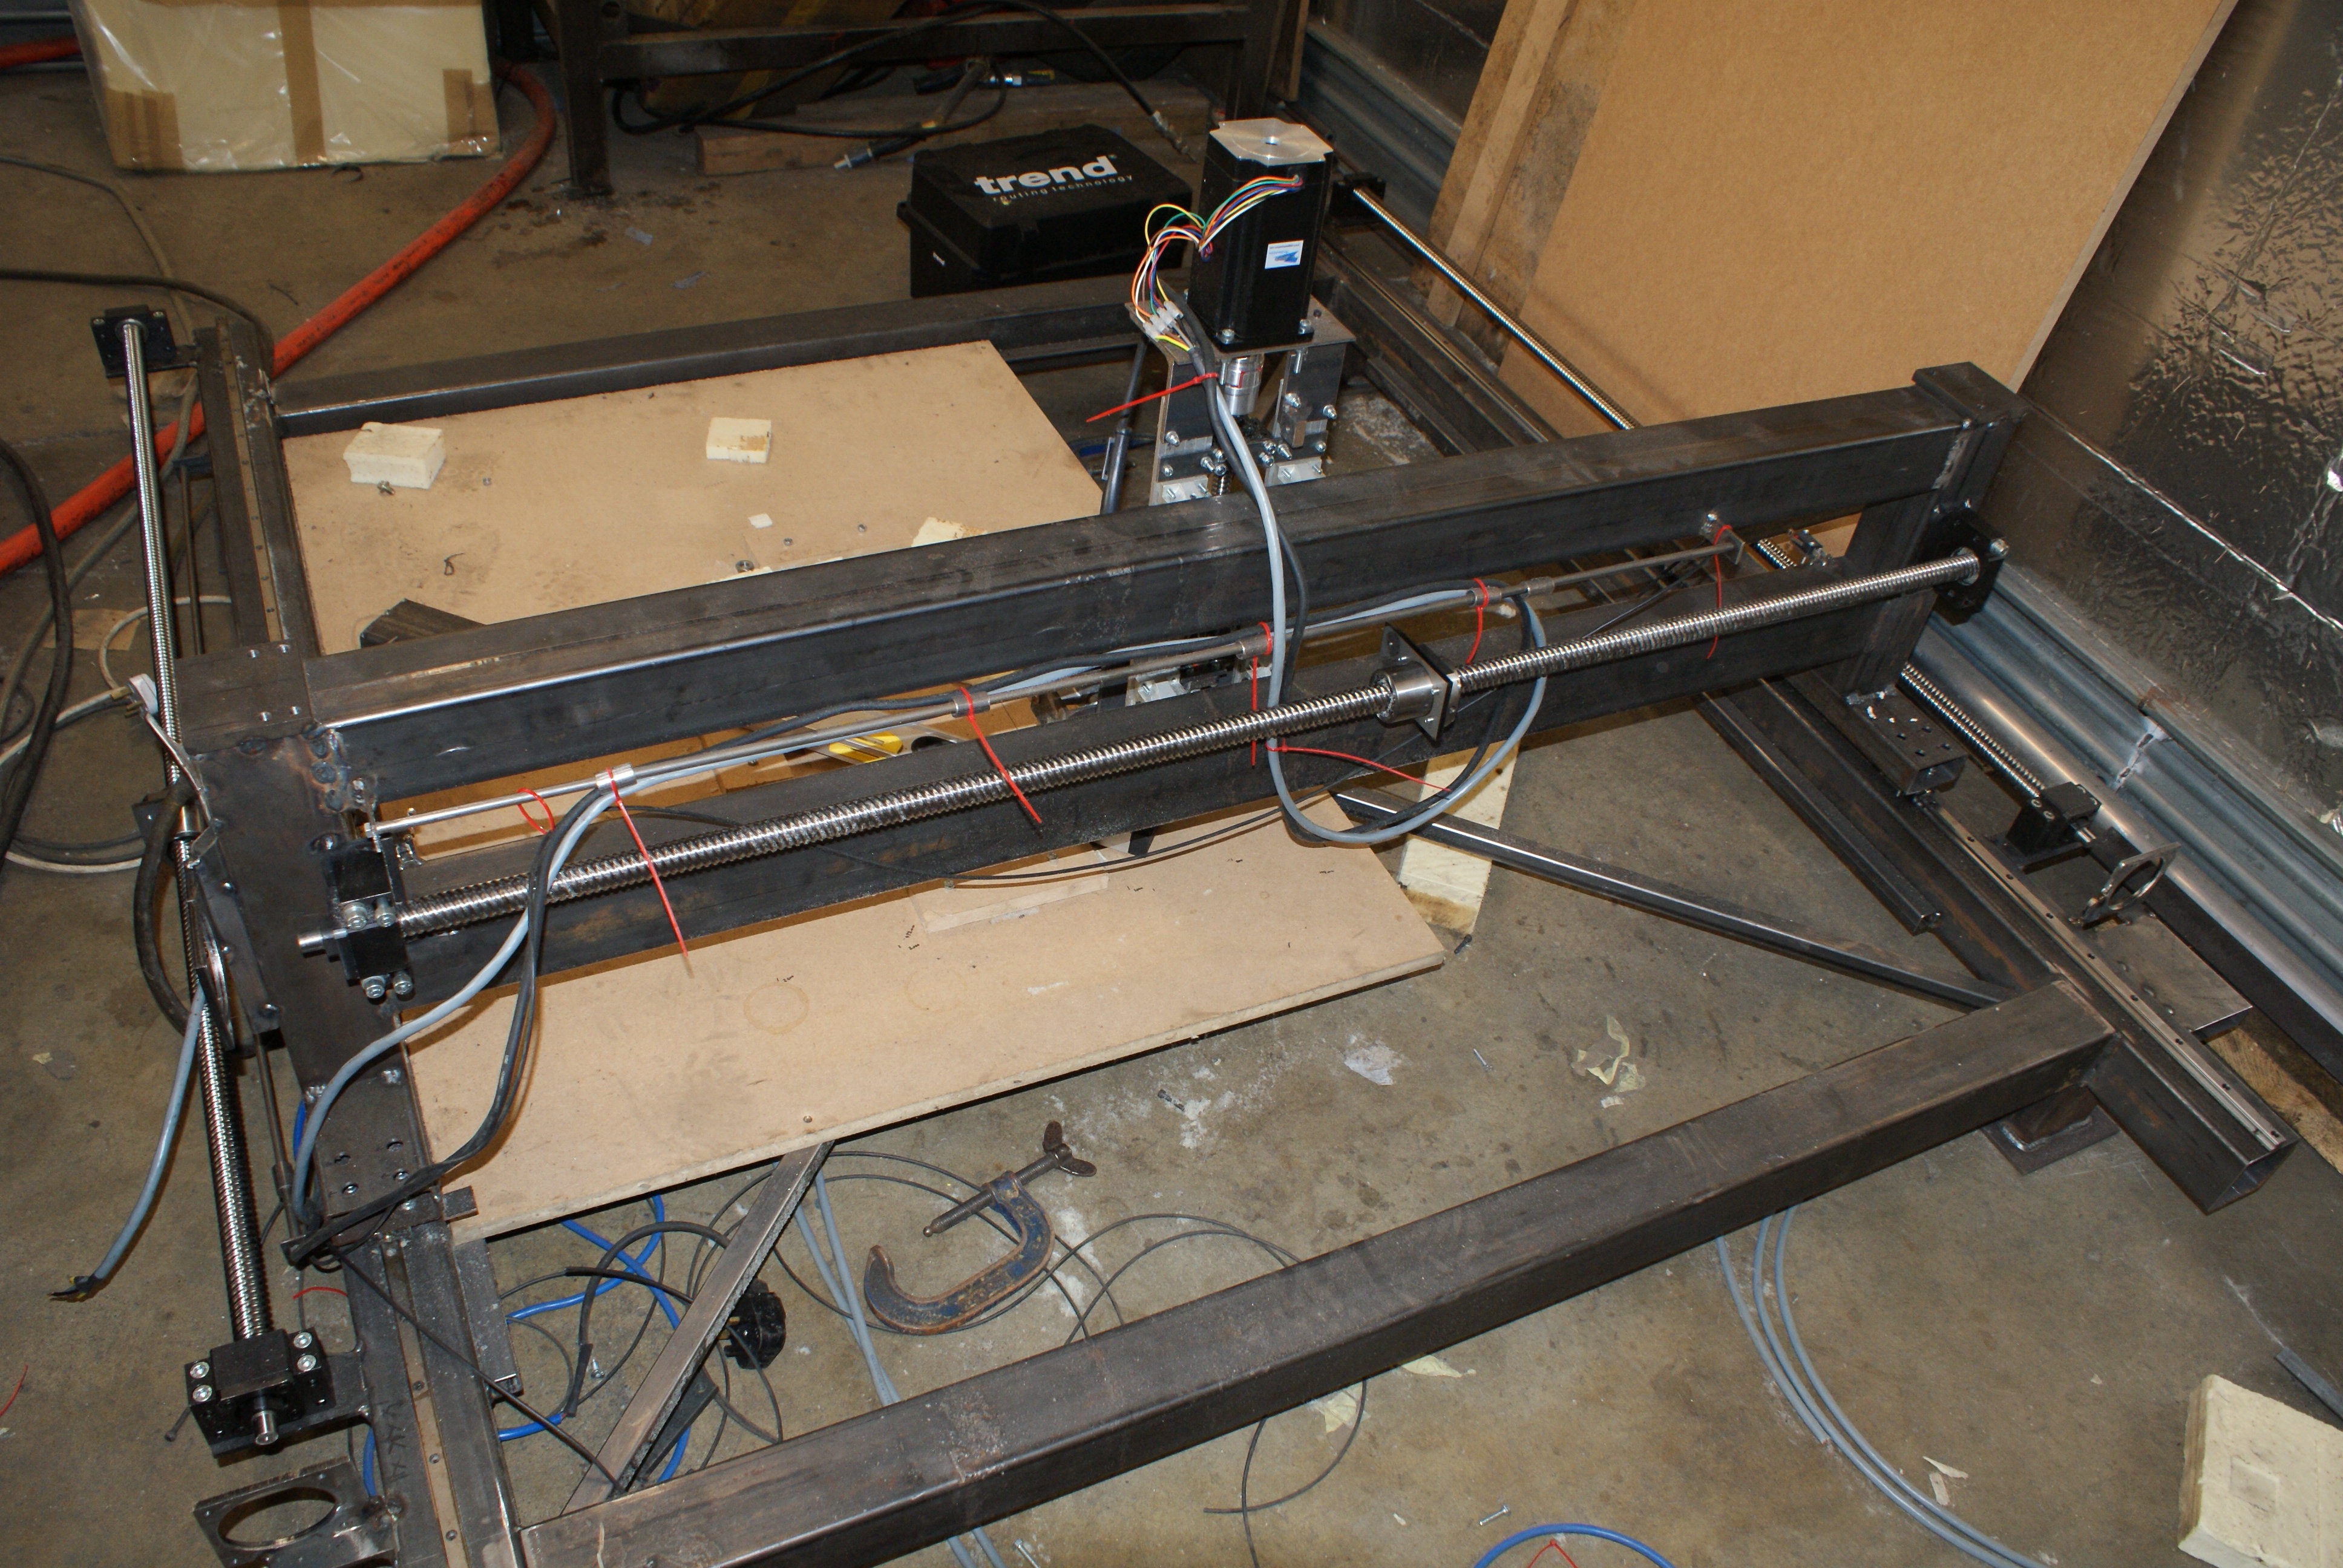
I then did the Y-axis mounts.
Note that it's just tacked on at the moment - additional braces will be required (certainly for the motor).
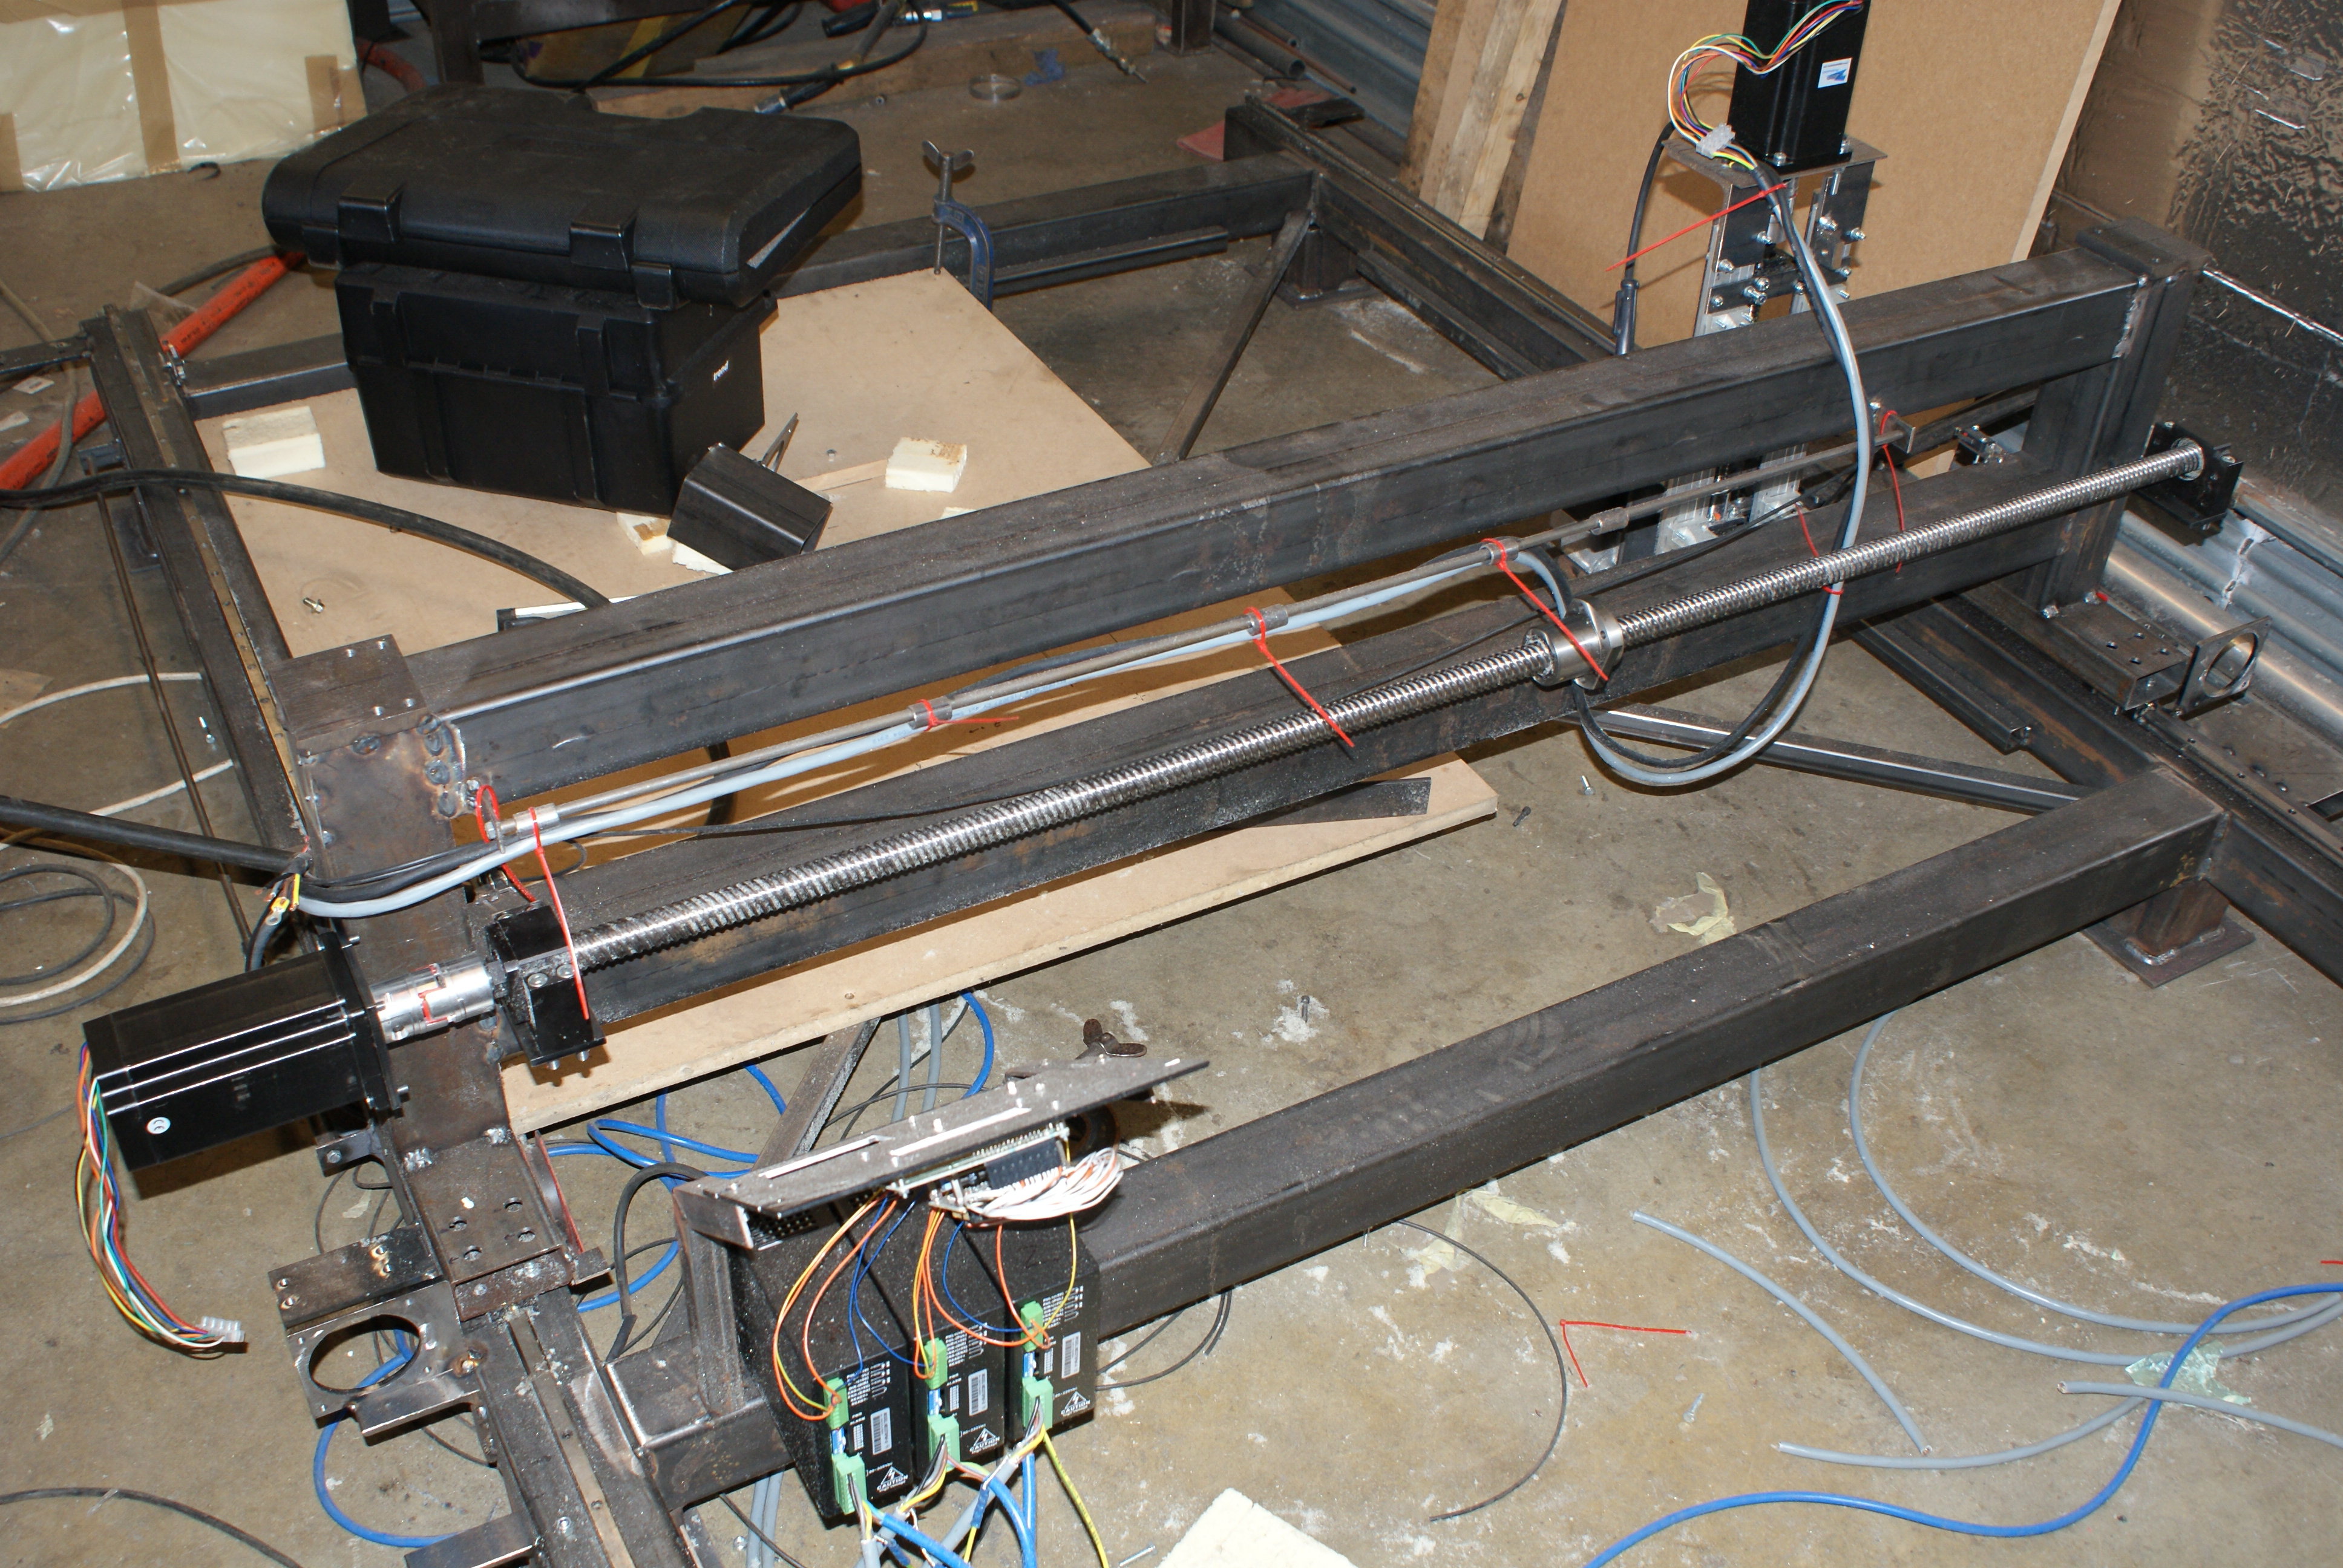
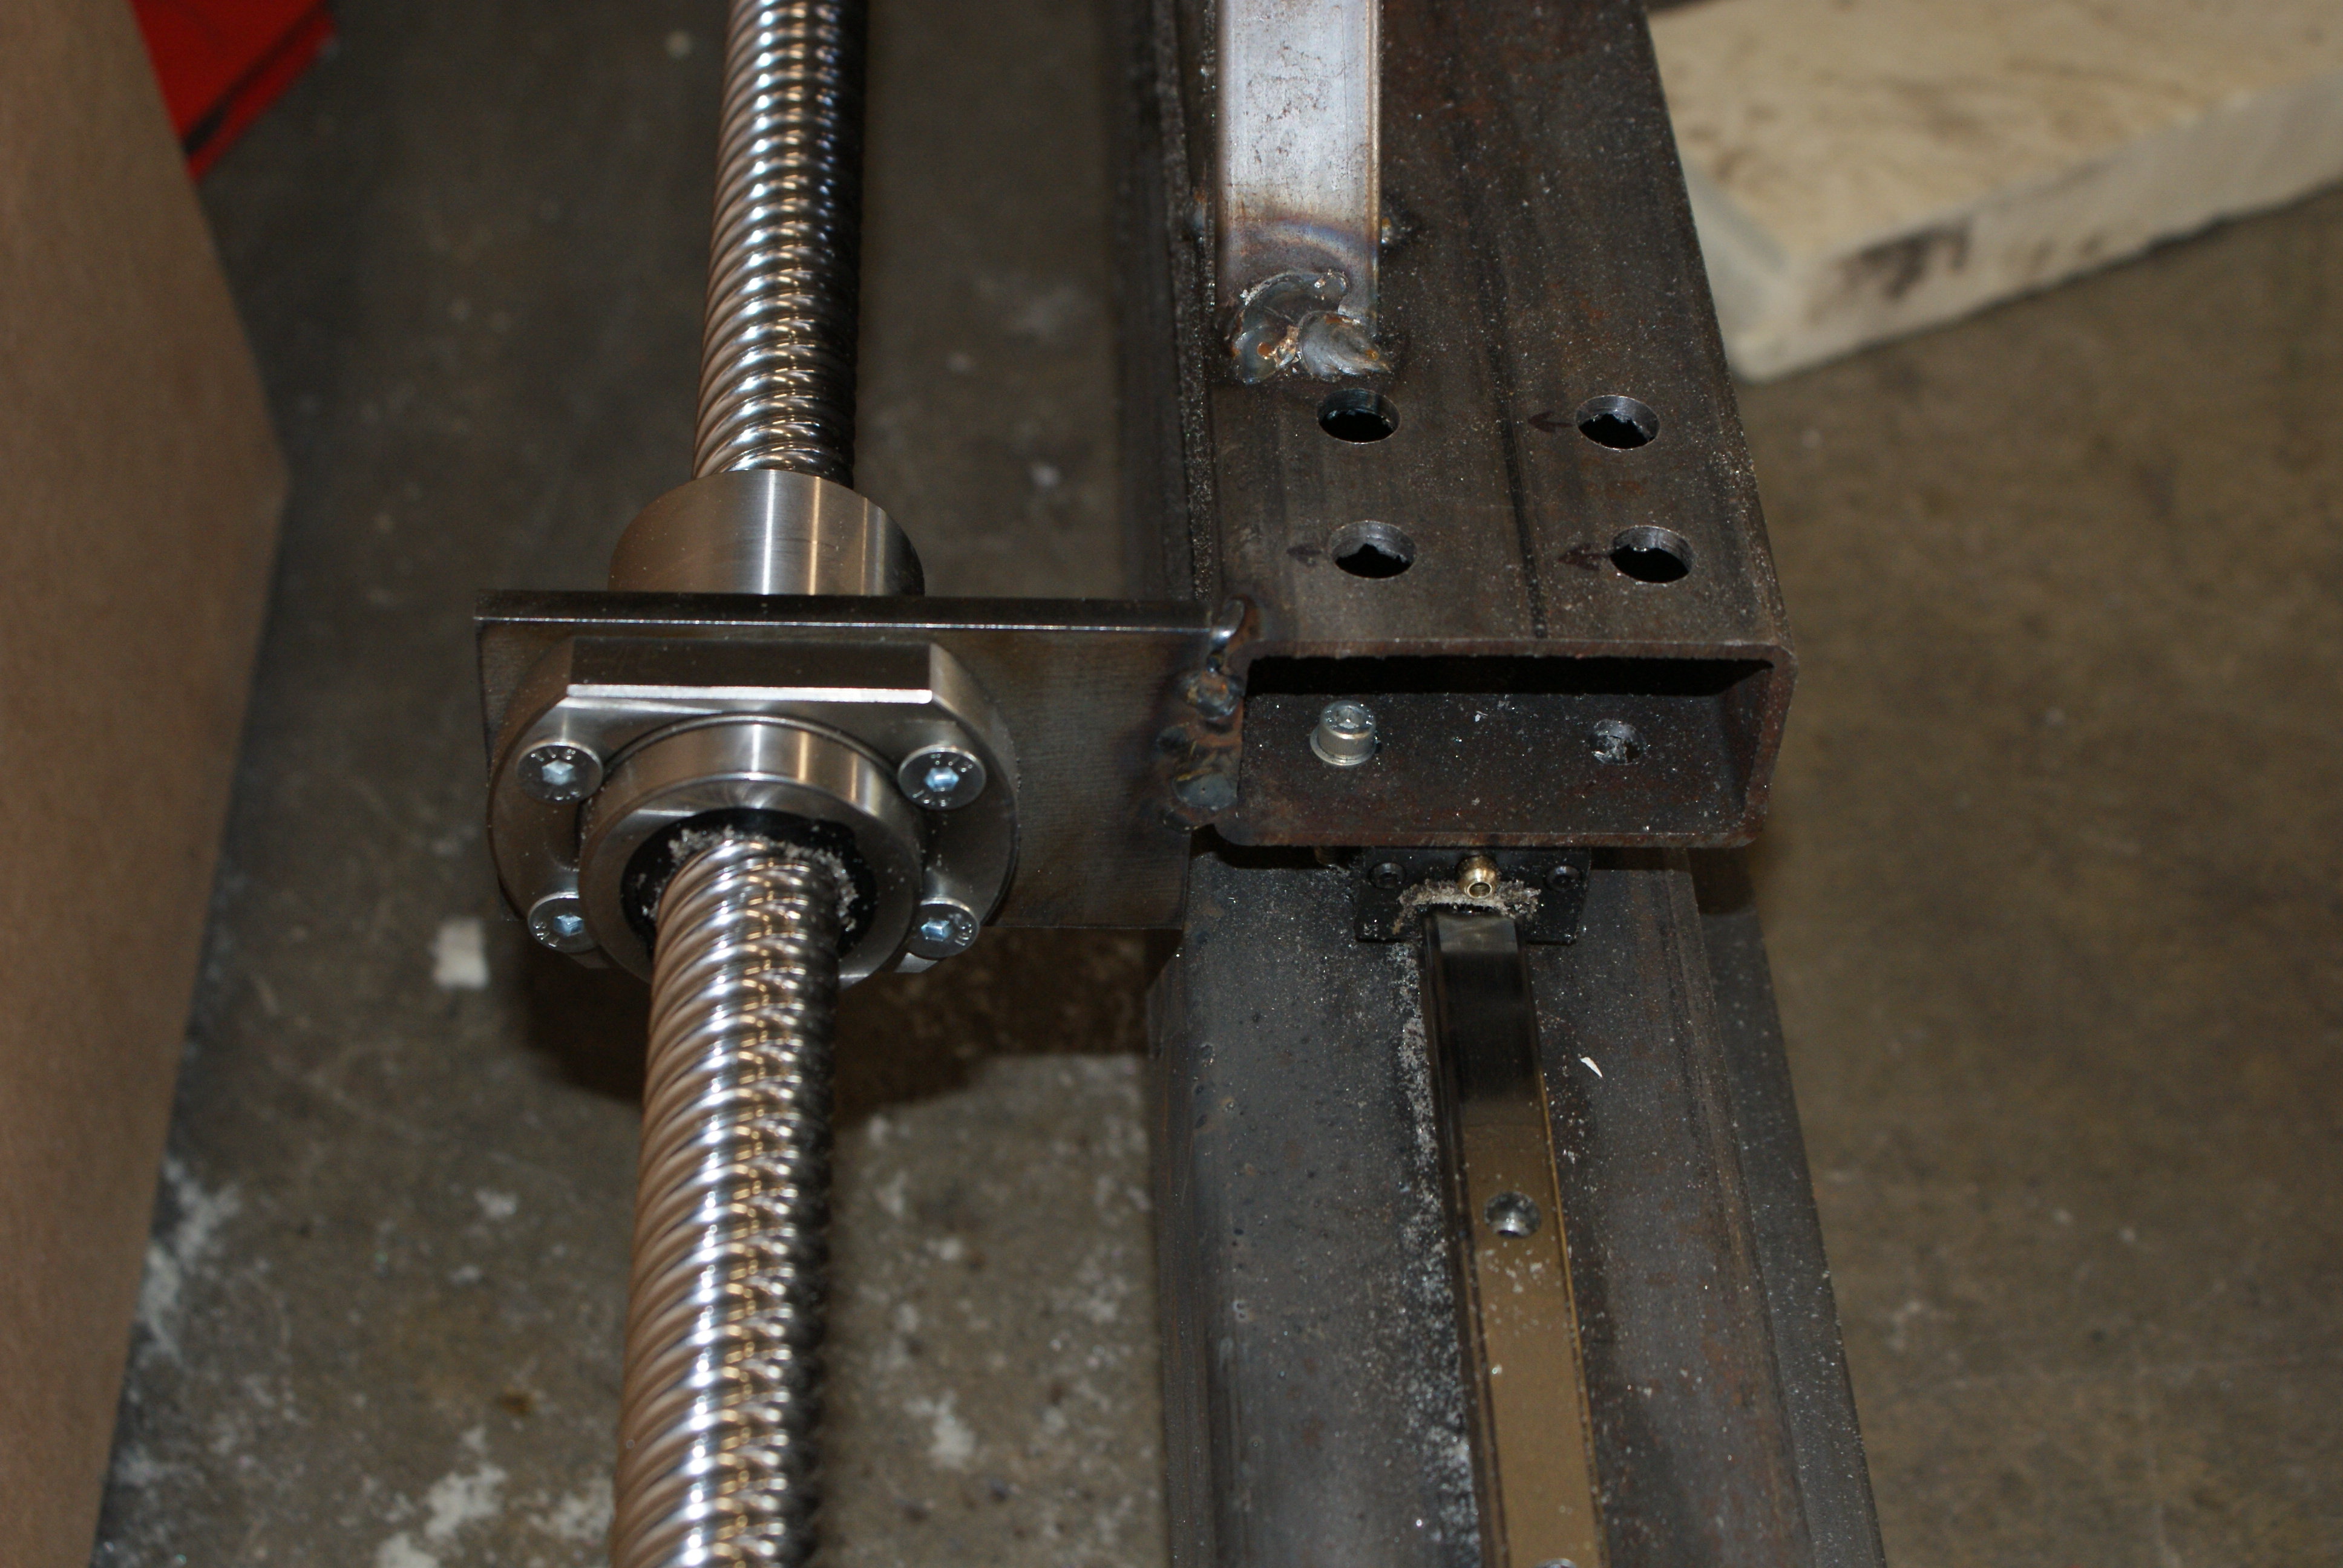
I then attached the Y-axis frame to the ballscrew nuts.
I could have made the boltable, which would make it easier to detach should the need arise. Unfortunately, I couldn't find my M6 allen-key headed bolts - but found some countersunk ones that will hold it in place until I can find them/
I then had a re-think for the Y-axis mounting - I decided that it should be mounted flat to the vertical mounts, rather than perpendicular to it. This would mean that it would consume less space.
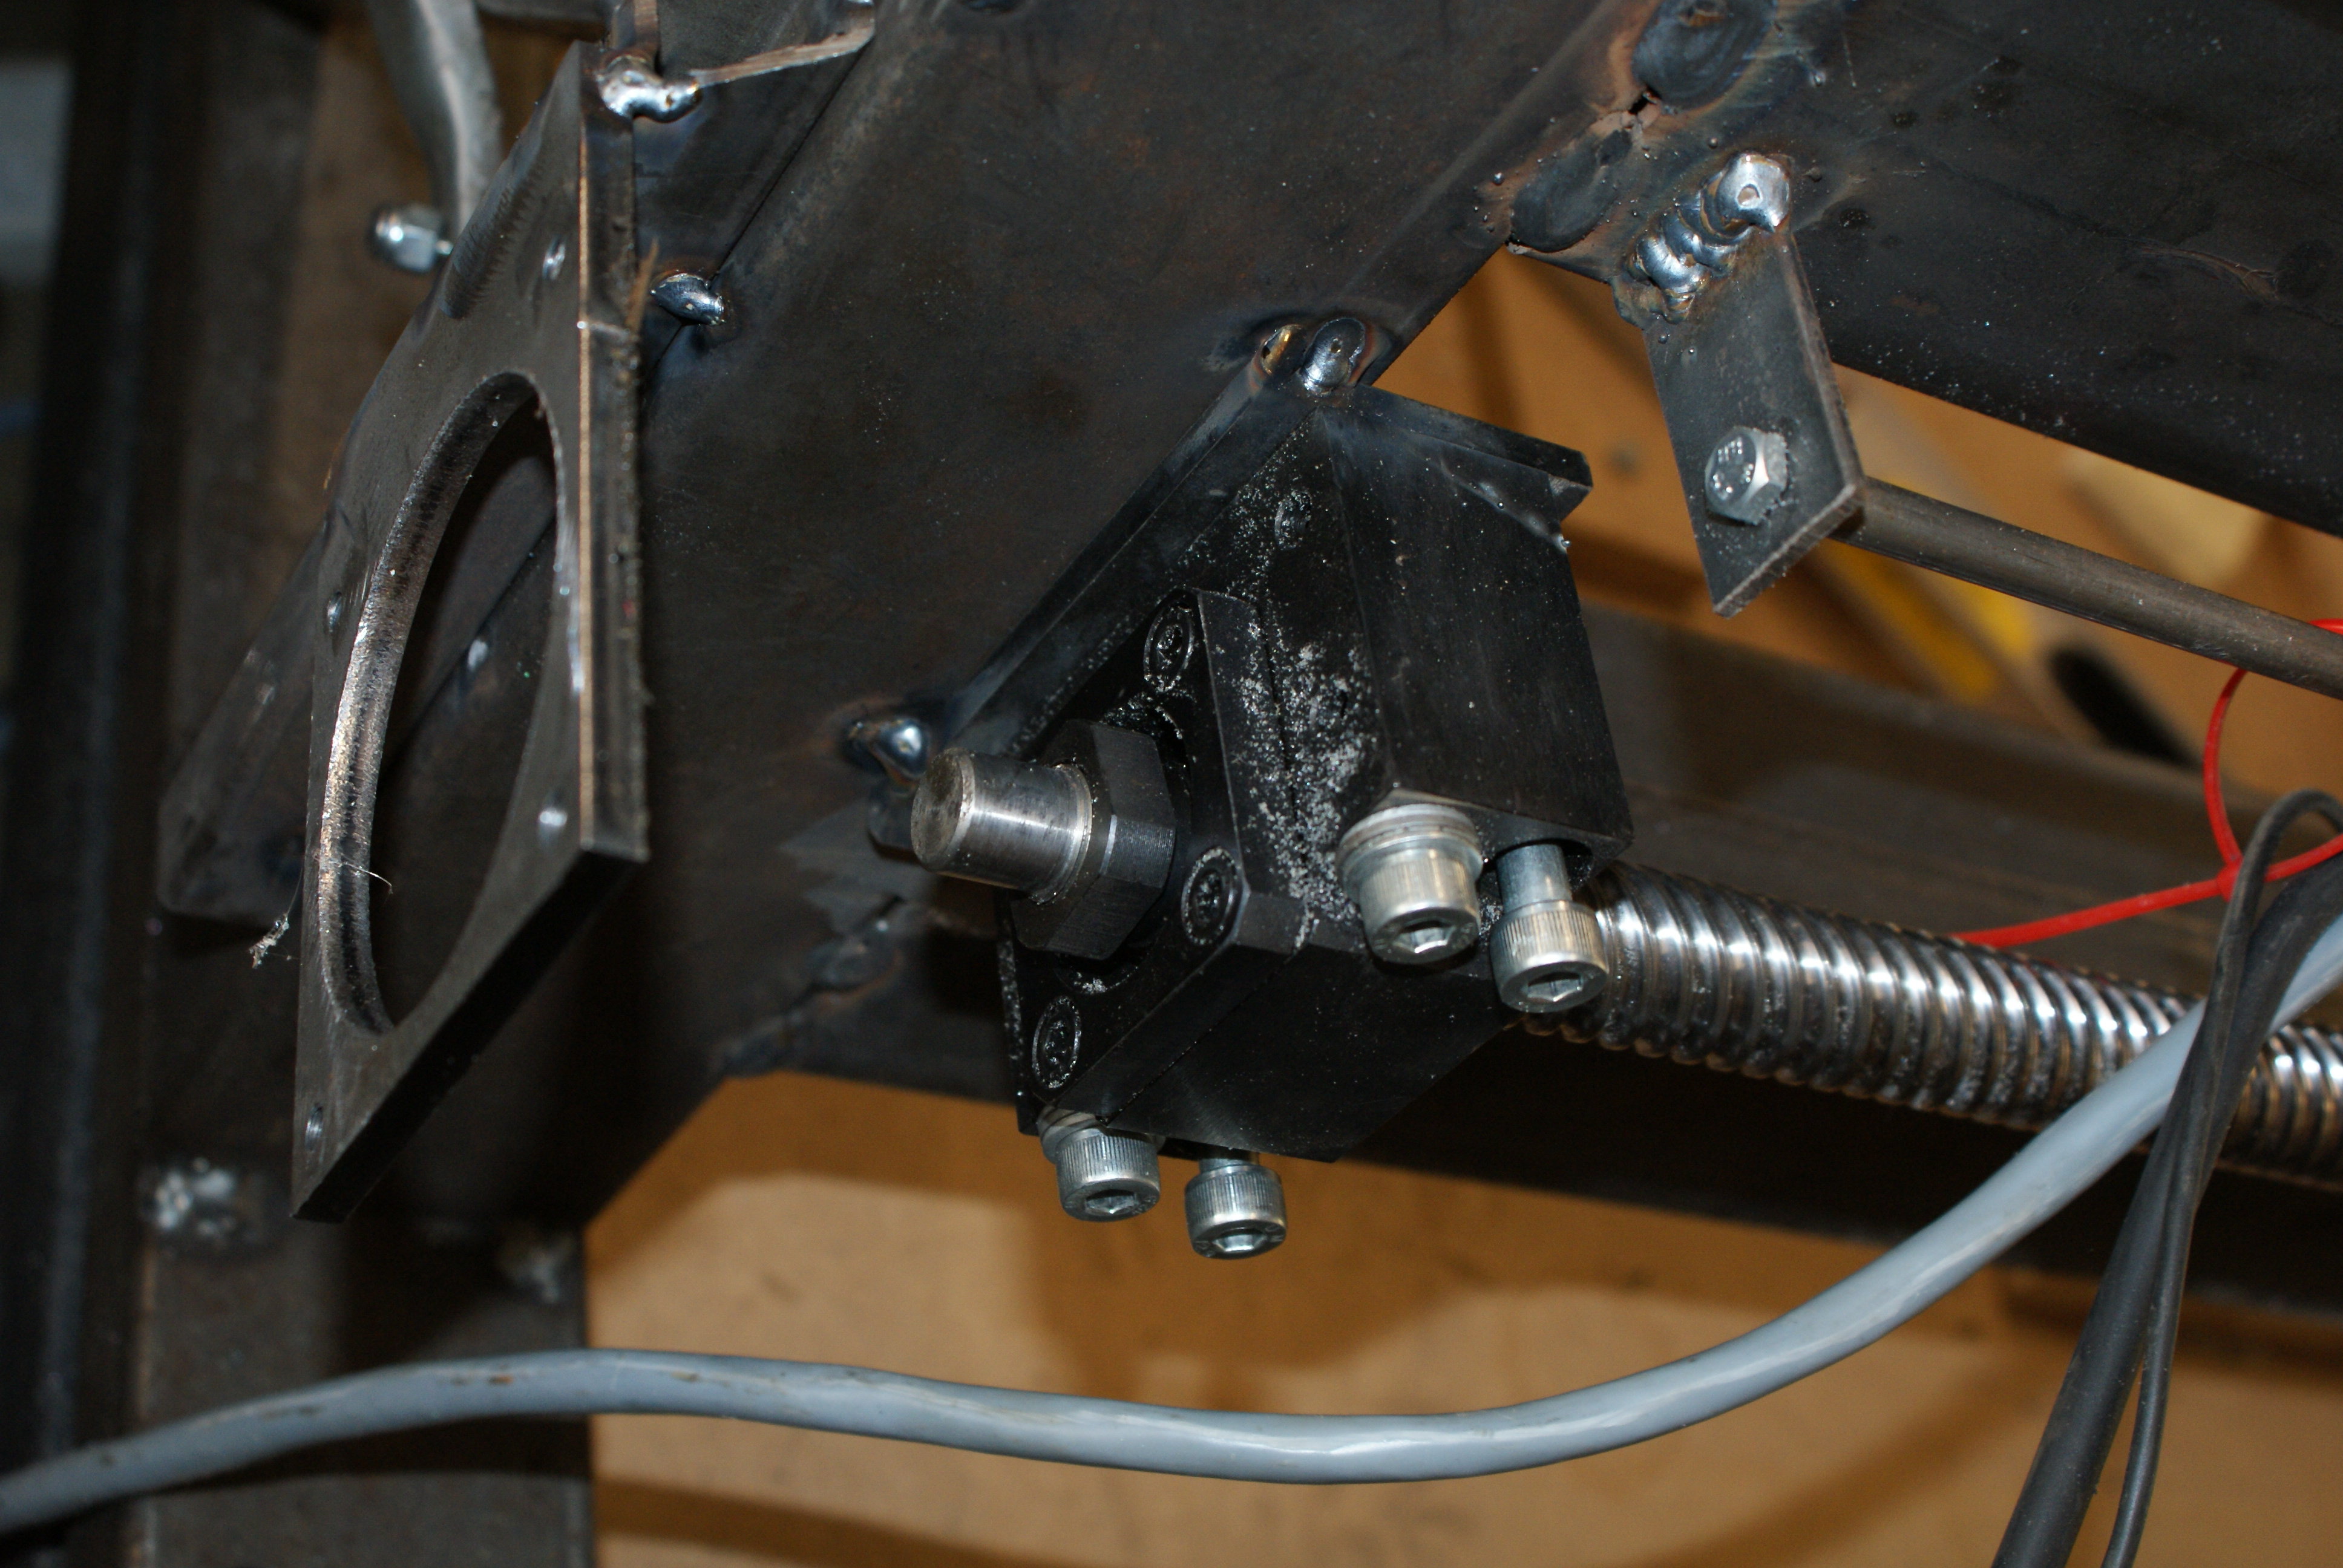
I also had to remove the display and driver mounting bracket, since the new position of the Y-axis ballscrew now reduced the X-axis total travel.
Since the plates were now flush with the vertical bar, the bolts I had won't go in far enough - so some additional washers are now used to prevent fouling.
Tomorrow's aim is to finish off the mounts, and also get the wiring sorted out for the additional motor.