- Mechanical
- Steel
STLCutter 2 - Day 16
It's been a long break from this project - I had aimed to do some more work at the end of December, just before Christmas, but we had some snow which caused traffic chaos, so I decided I would spend more time at home. I then planned to do it at the end of January - yet more snow prevented that idea.
So I decided to wait until there's no chance of snow (although there may be some in two days time - although I don't think it'll be that bad).
Anyway, after a 4 month absence, my first goal was to look at how much rust had accumulated.
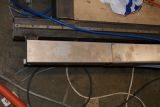
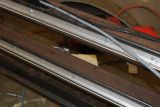
Luckily not much - it's just surface rust, and most of it rubs off.
Back on with the build! I've had this laser for quite a while - maybe 15 years - and I had temporarily misplaced it for a while. I had been clearing out my loft and came across it (along with another one which isn't working very well). I believe they came from a fax machine.
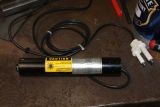
I had bought a small laser diode for this, along with a cross-hair generator. The laser diode was a bit weak, and also I didn't like the size of the beam, so when I found this laser, I was quite pleased. This is also easier to mount, since there's plenty of "meat" around it. With the cross-hair generator, this pattern is displayed:
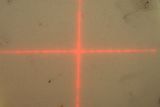
I found that the side of the router has an ideal place to mount it, and with some cable-ties holding it in place:
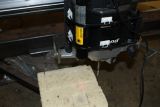
This would be a known offset from the start of the block, and all the programs that generates G-code will use that. The user would align the cross at the right place, and then move the milling bit to just above the base.
I still hadn't mounted the X-axis cable chain, so I used a small bit of angle-iron to hold the top:
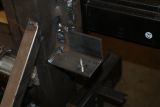
Which made the cable run look like:
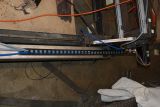
I also connected the stepper motor:
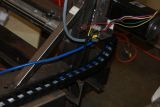
And made some brackets to hold a 6-way mains socket (6 should be ample):
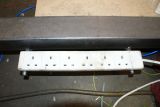
I threaded some wires through both the cable chains, and stuck some self-adhesive cable tie holders to hold the cables in place, and the end of the cable chain stuck down with some very sticky double-sided tape (I can't drill a hole in the guard because any bolts will protrude through and hit the bearing mount). I also spot-welded the two parts of the guards in place.
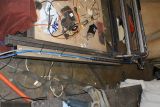
And with the X-axis moved all the way down:
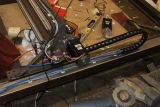
I then attached the earth connector to the frame (I know it's not level - I did try to level it, but the mounting holes need drilling out).
I then did a bit of wire placement (some of the axes wires need extending), and also connecting the earths. The two X-axis stepper drivers were paralleled up as well.
Tomorrow, I'll drill the connecting blocks for 15mm, and solder some of the wires together. Hopefully in the afternoon, I'll be getting it moving again.
