STLCutter 2 - Day 4
I needed a way to attach the ballscrew to the Z-axis carriage. I used a simple (thick) plate, and bolted it to one of the motor mounts:
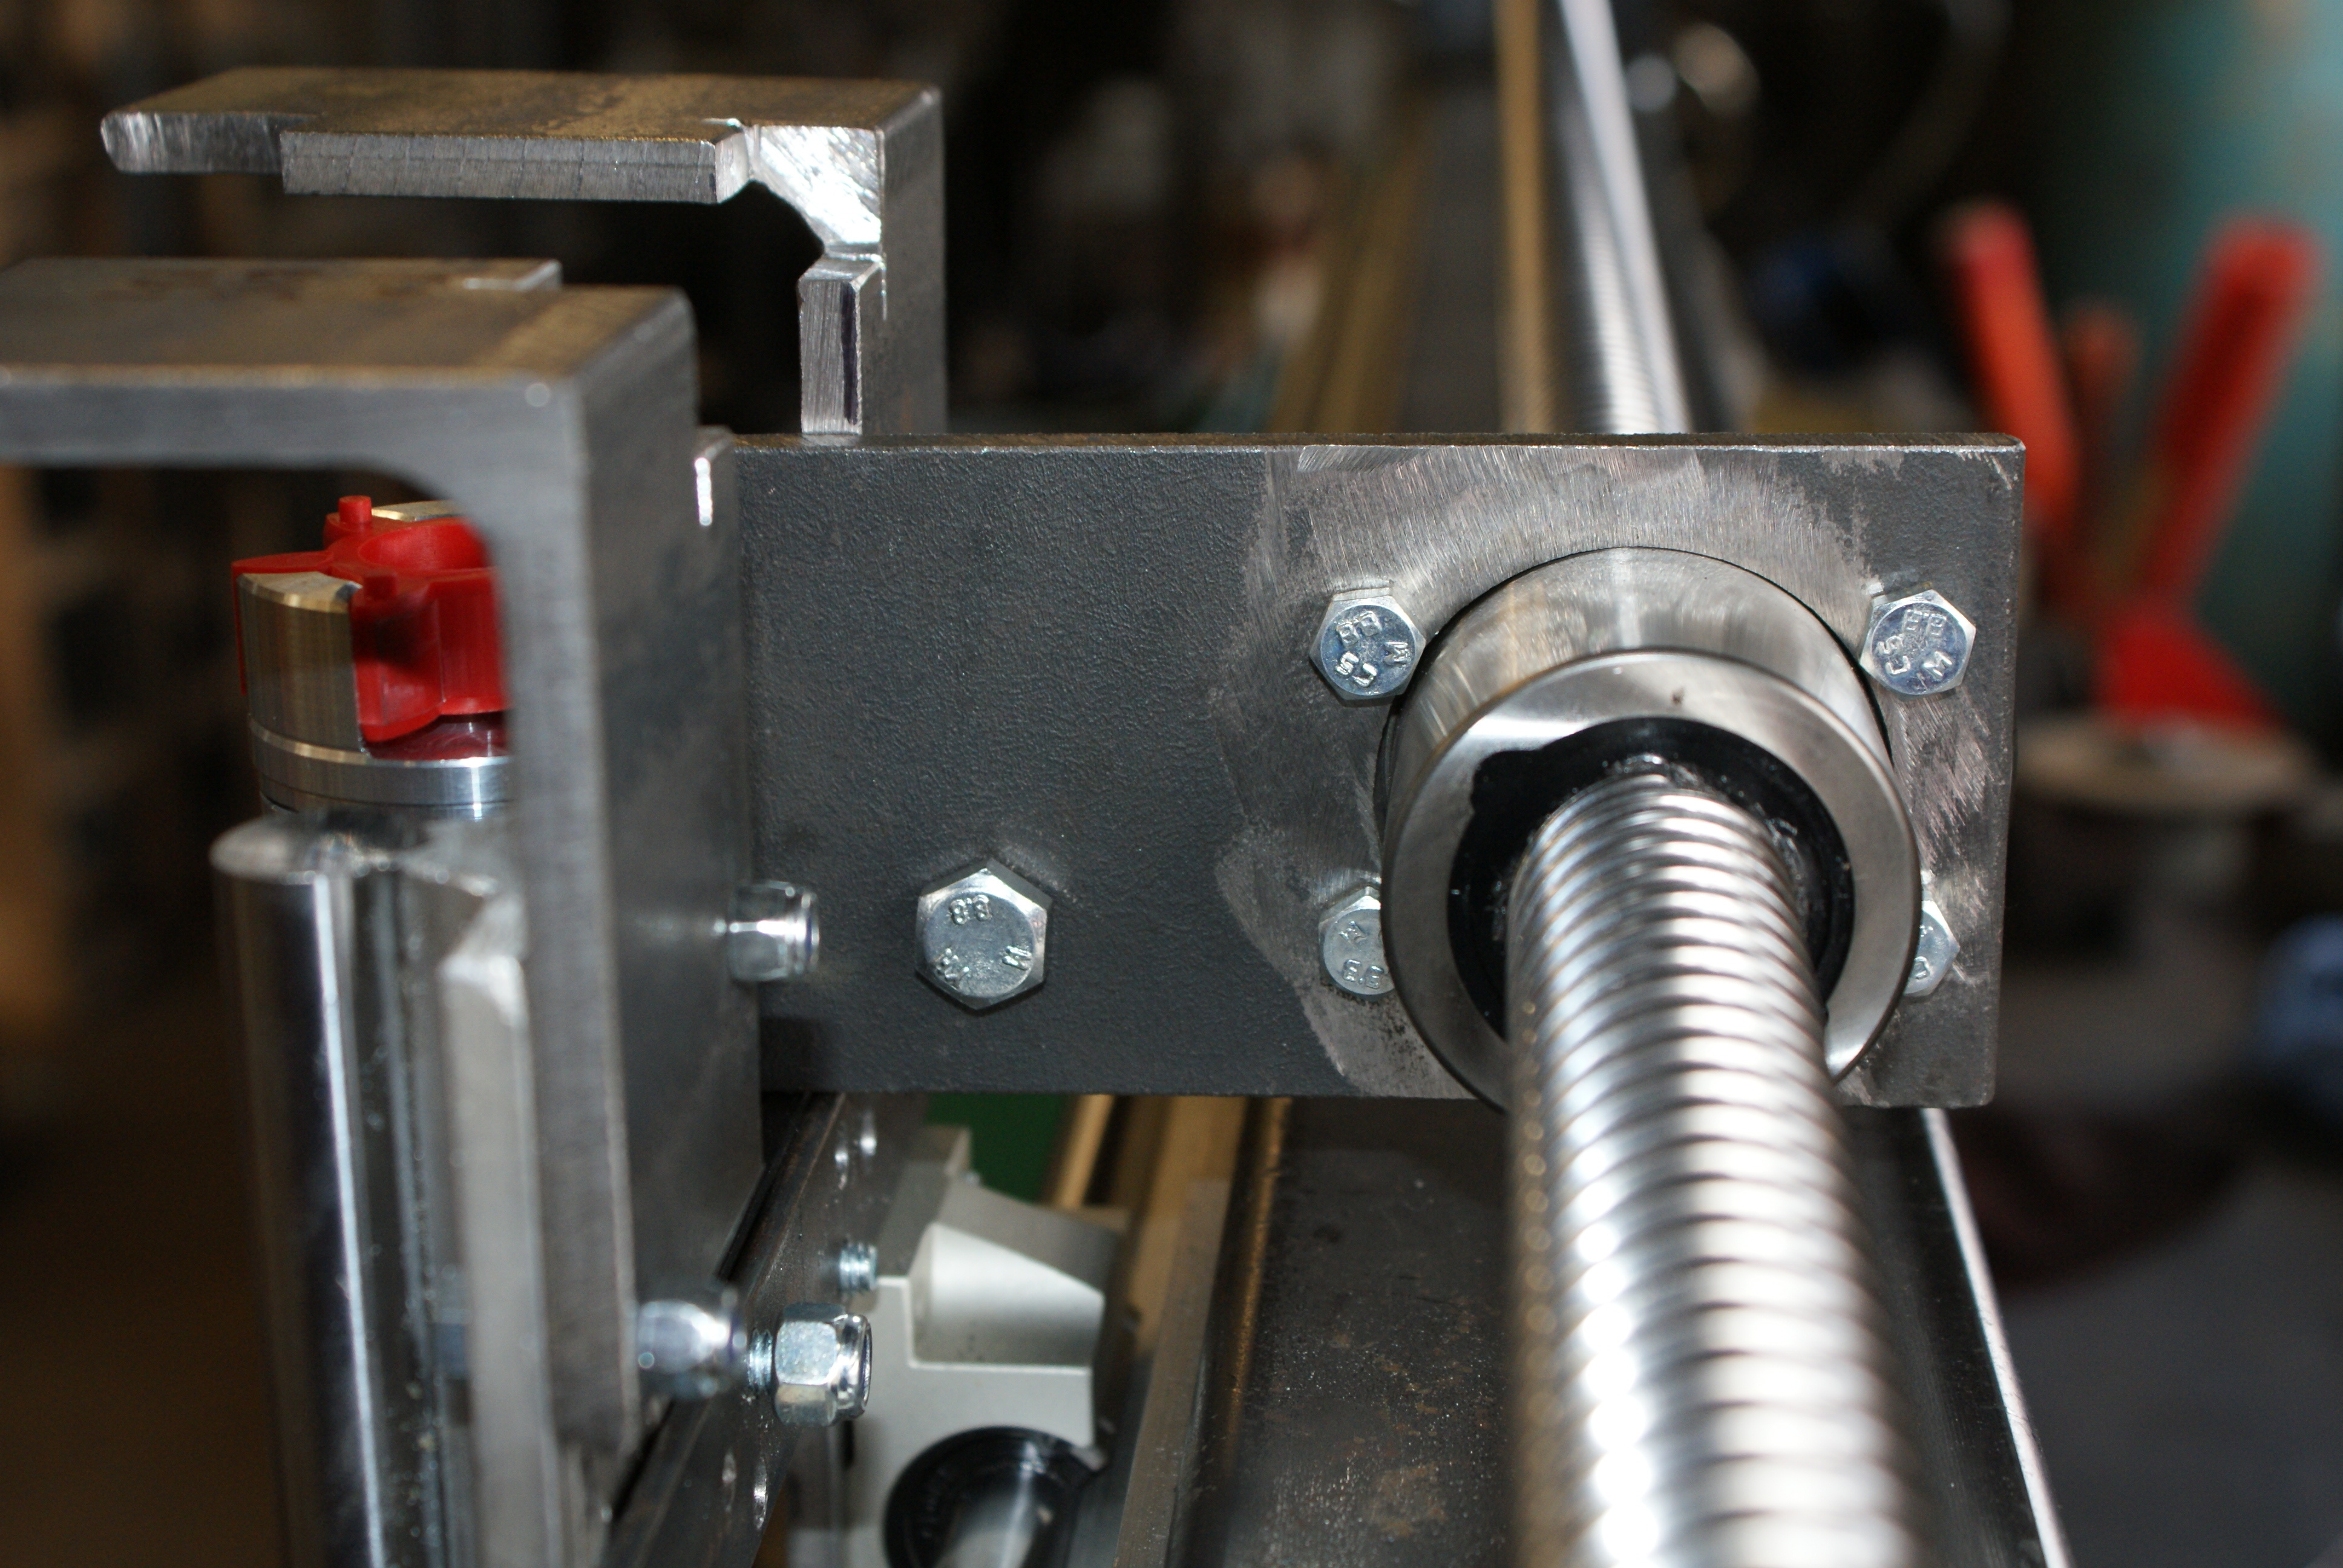
Now that part was sorted out, the motor bracket was made, firstly using some 80mm box section steel:

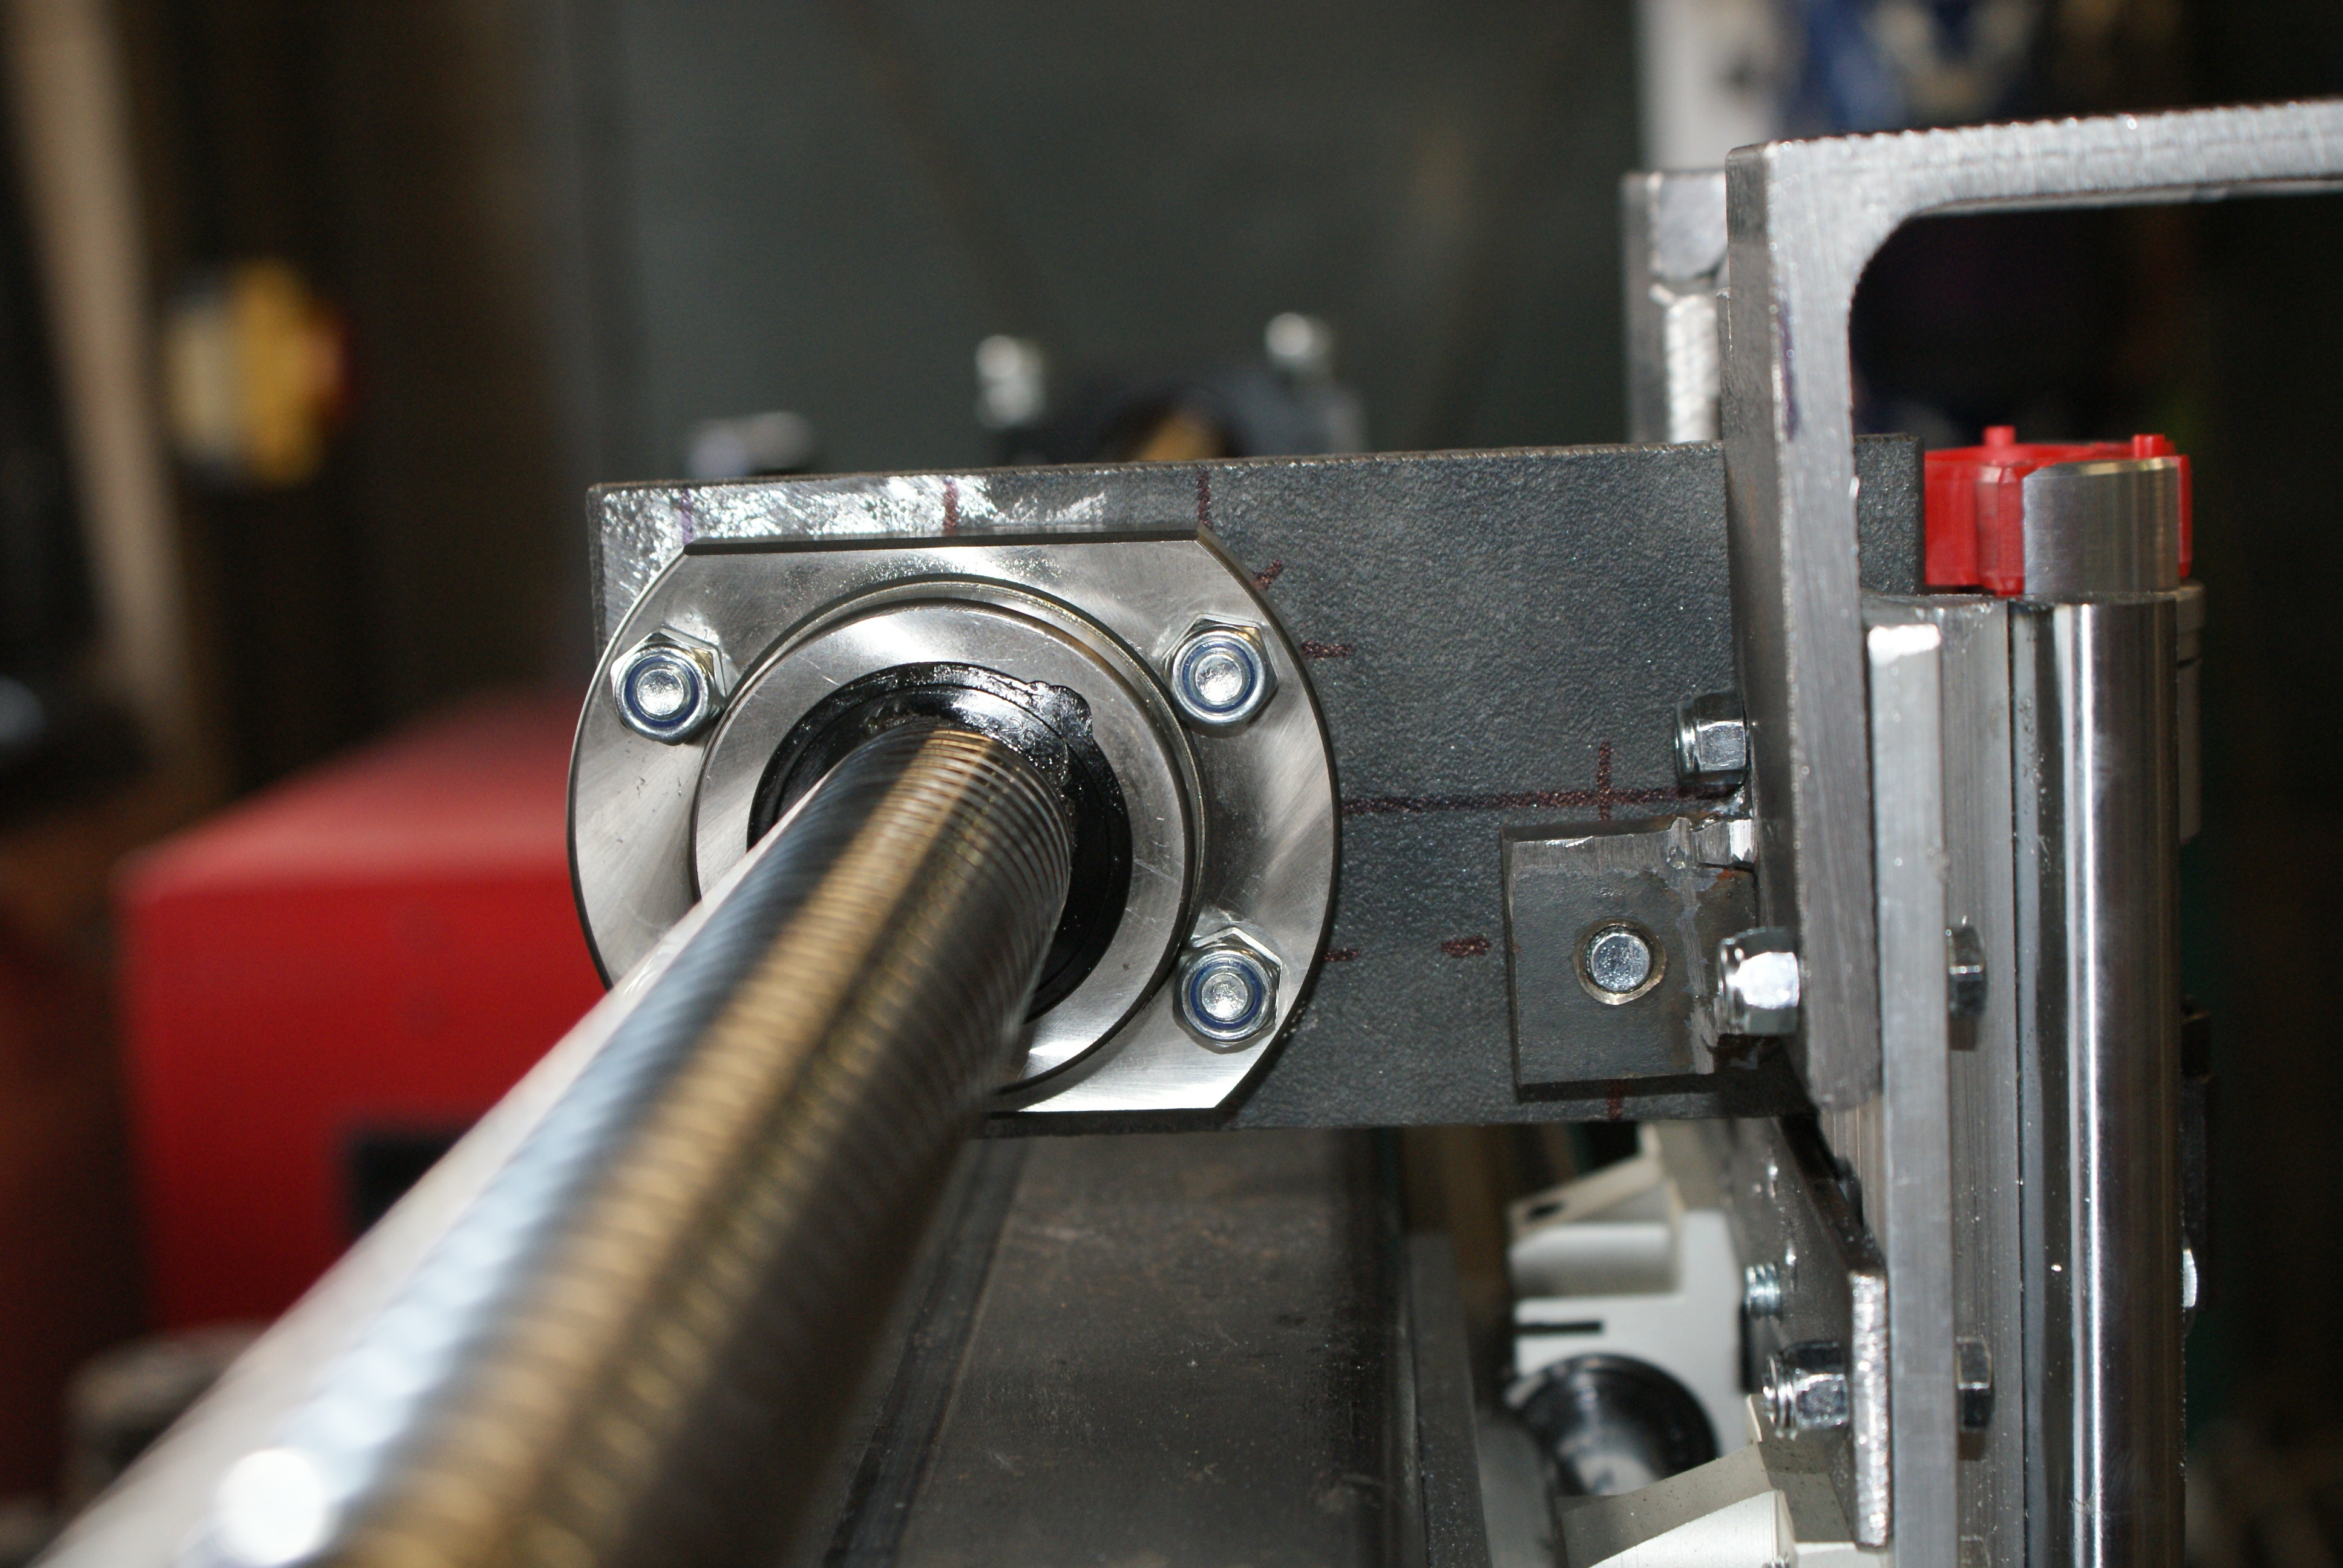
And the I used the Z-axis motor mount plate (trimmed a bit), since the Z-axis motor mount plate needs to be made bigger anyway.
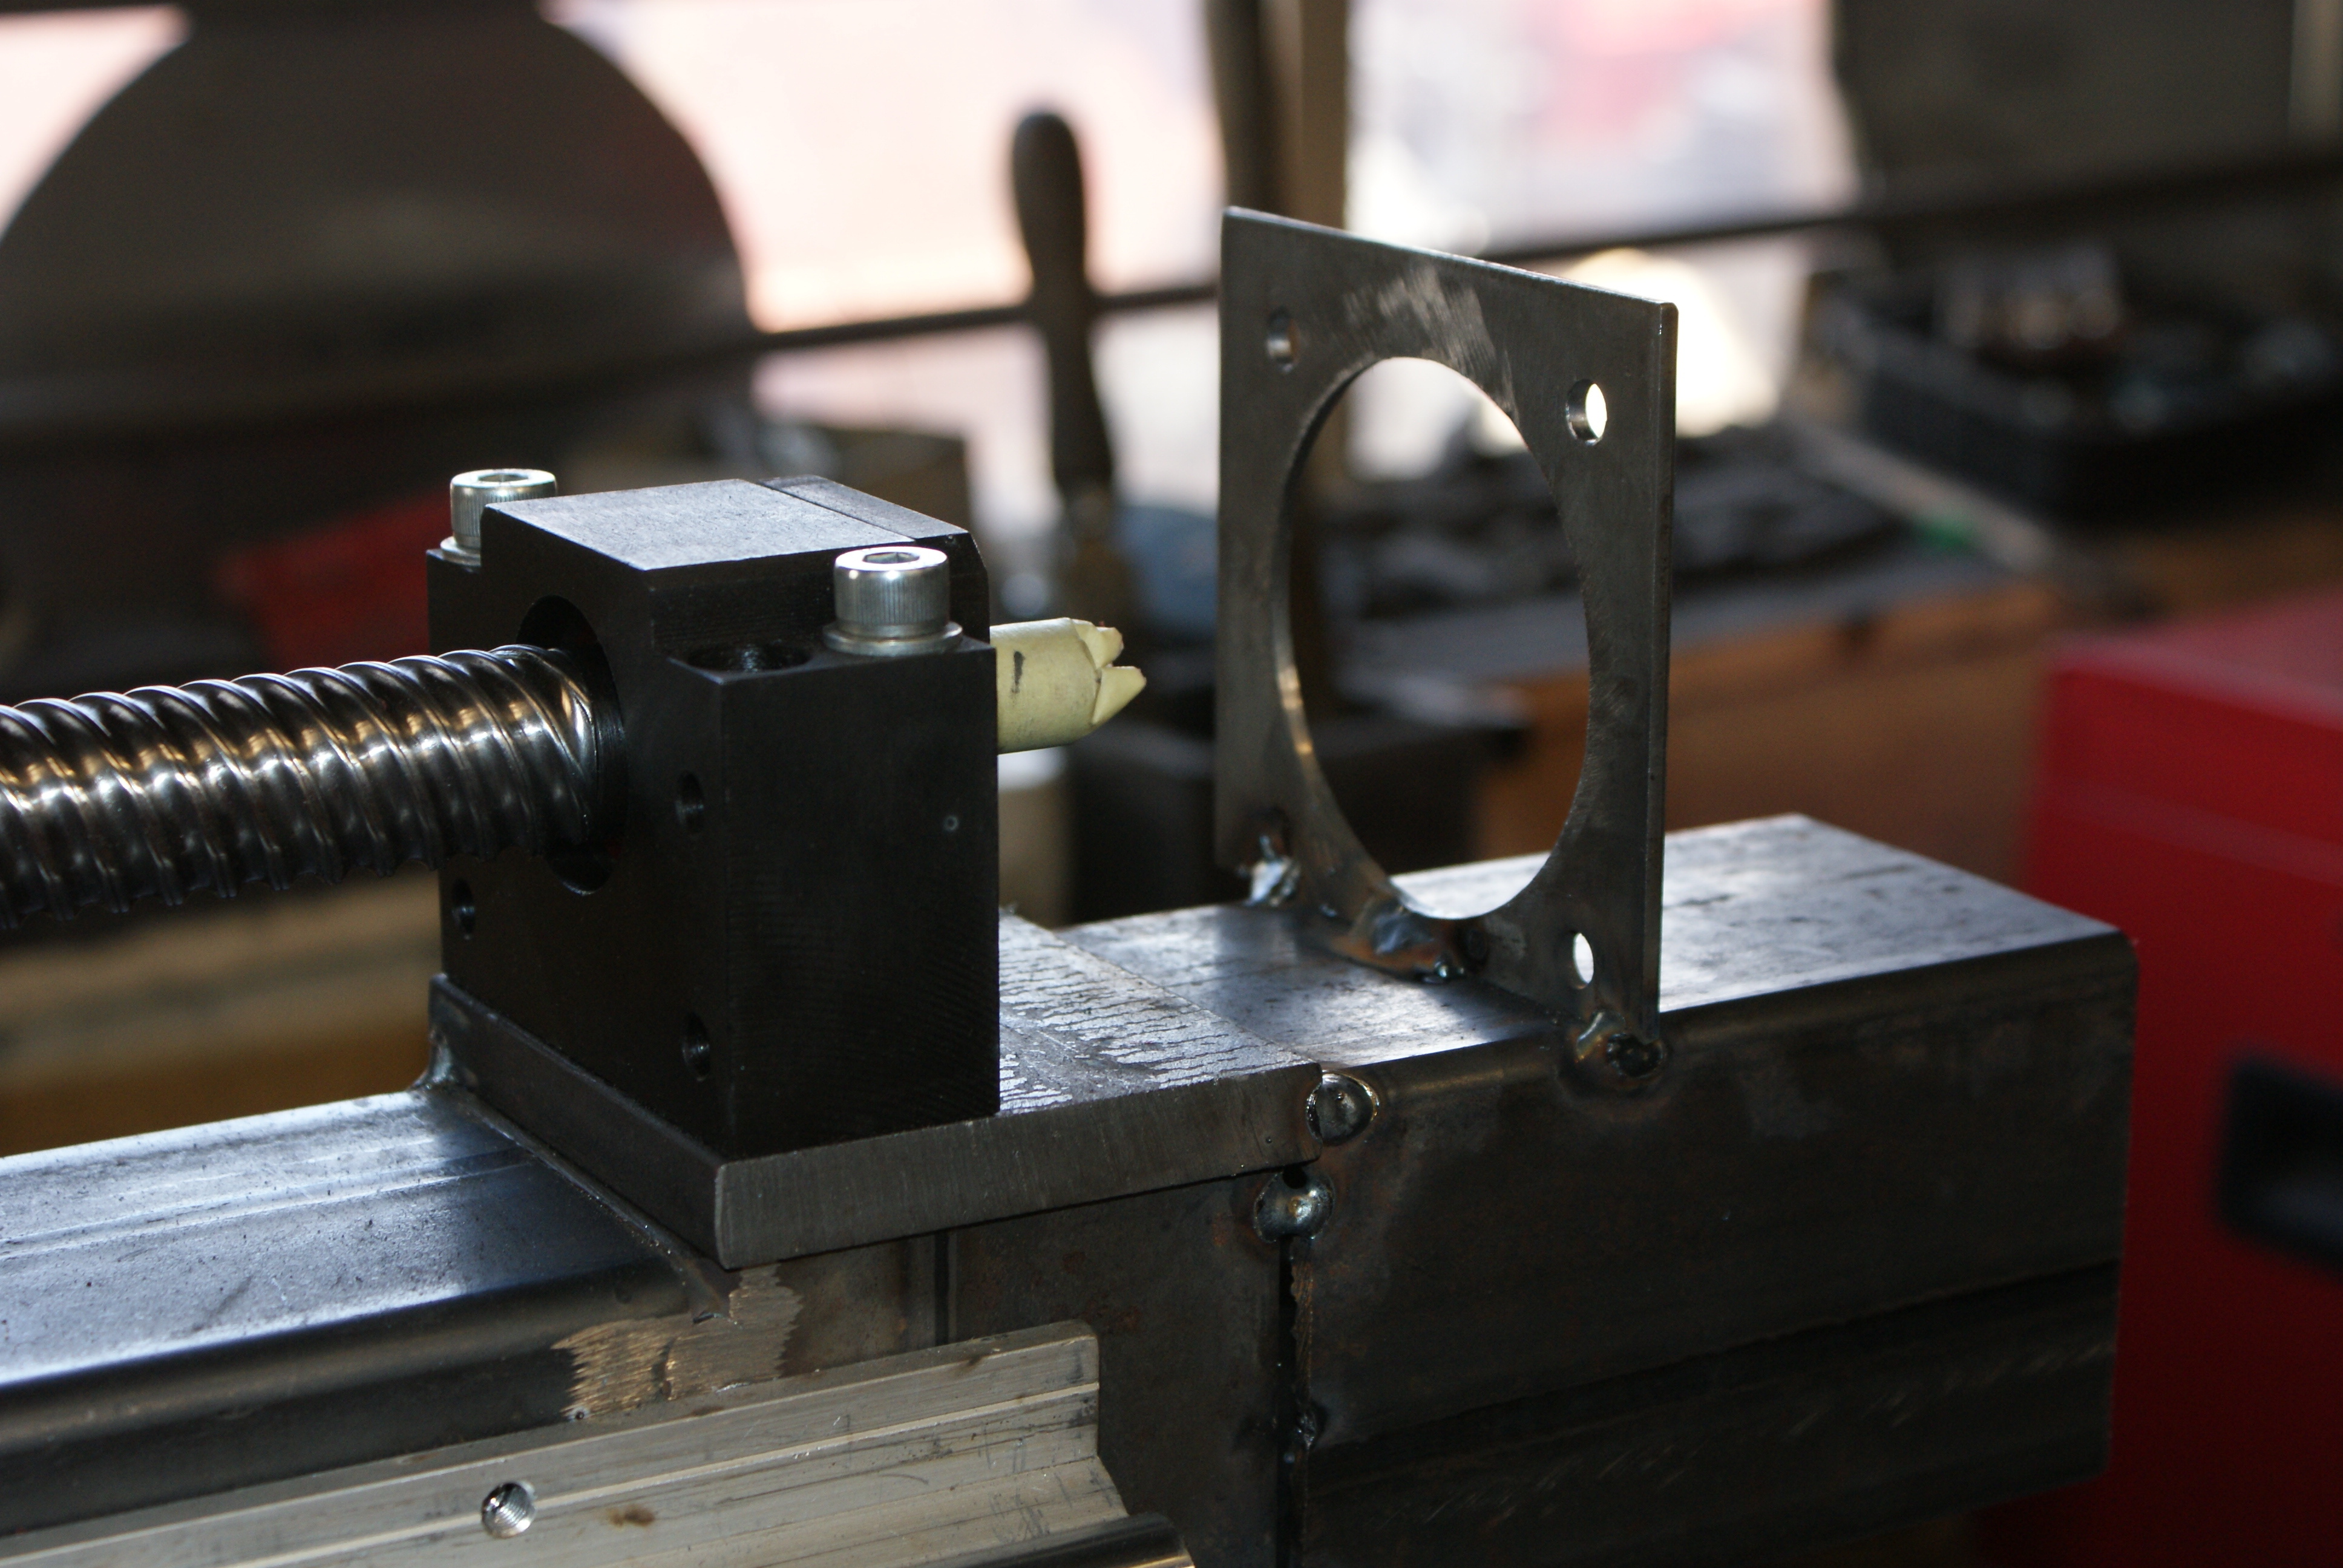
That was basically the Y-axis done, so I started work on the X-axis.
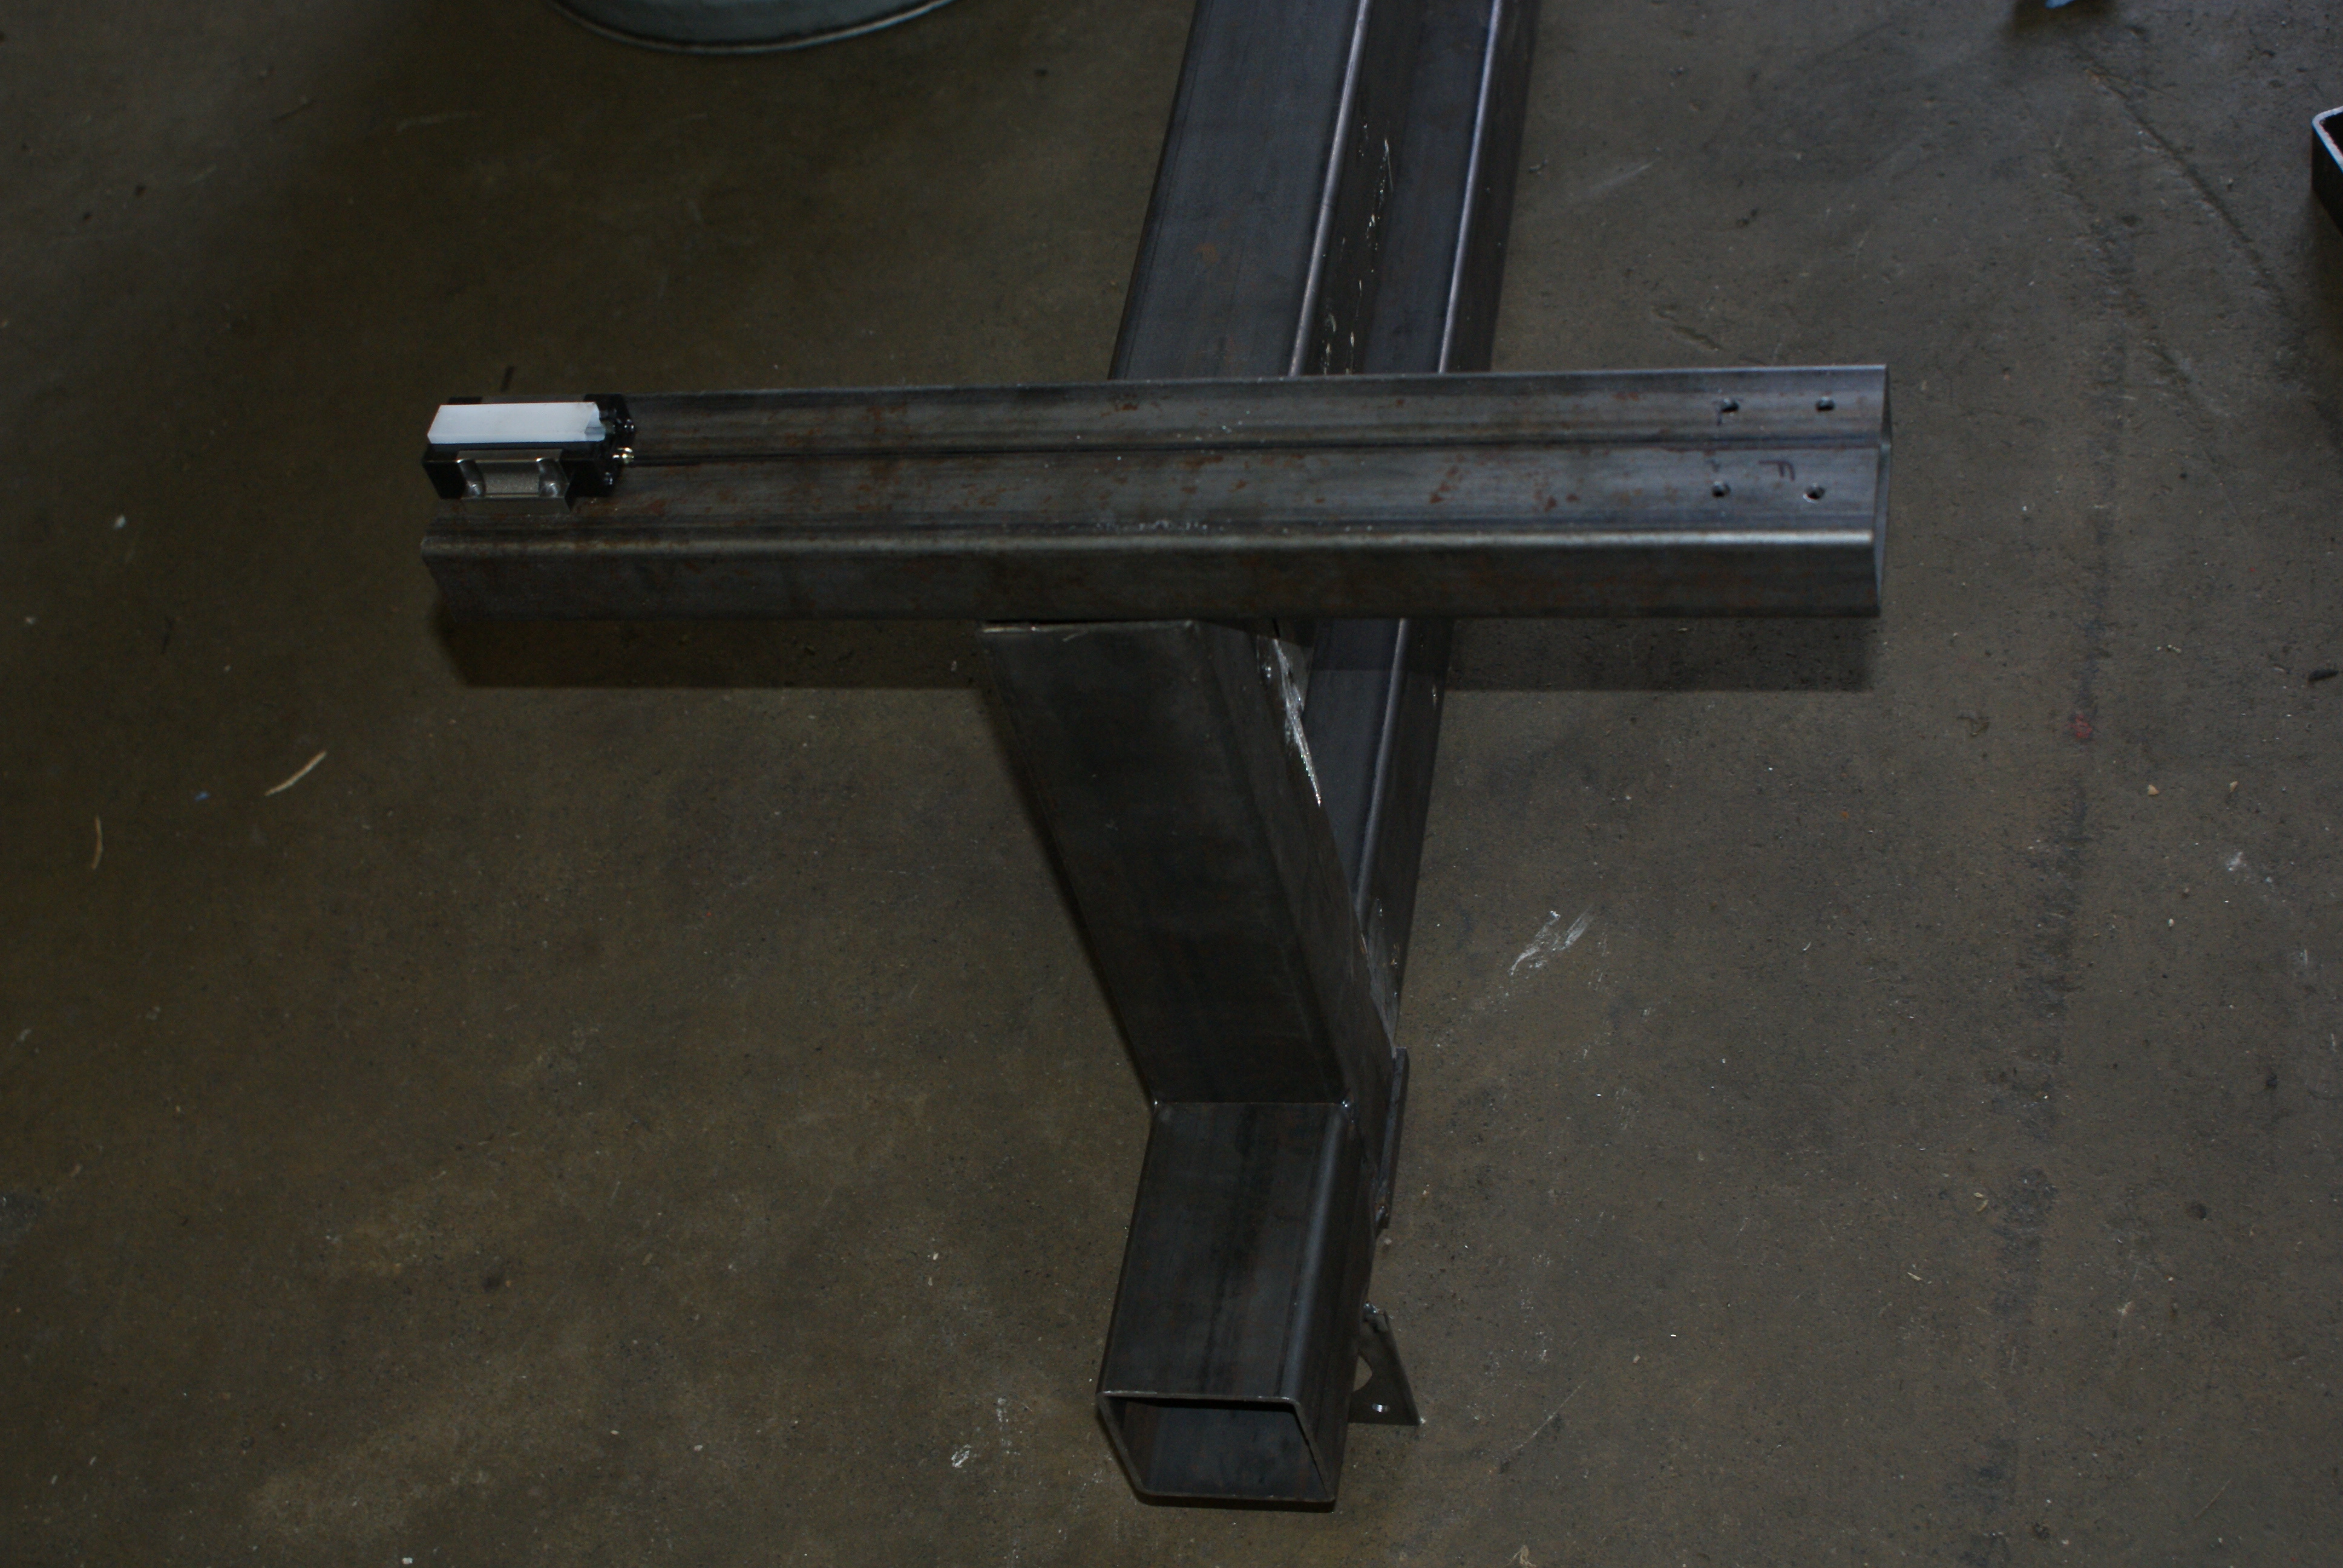
After a bit of calculation, I found that the legs for the Y-axis were too long, and they needed to be shortened by 65mm. It would've been easier to have extended the Z-axis down by 65mm, since it was too large to be cut in the nice chop saw, and I had to use an "emergency" saw that wasn't very sharp at all.
The Y-axis has some long supports - 500mm long. This should give it a lot of stability (the ballscrew has 1500mm of thread, so the 2000mm long rails would be perfectly long enough - and I'm not even counting the length of the ballscrew nut itself).
In order to make sure that the carriages are in the same place, I made a plate with the right pattern on it, and aligned it the same way on each of the four mounting points. Note that one hole was slightly out - this was corrected in the drilling.
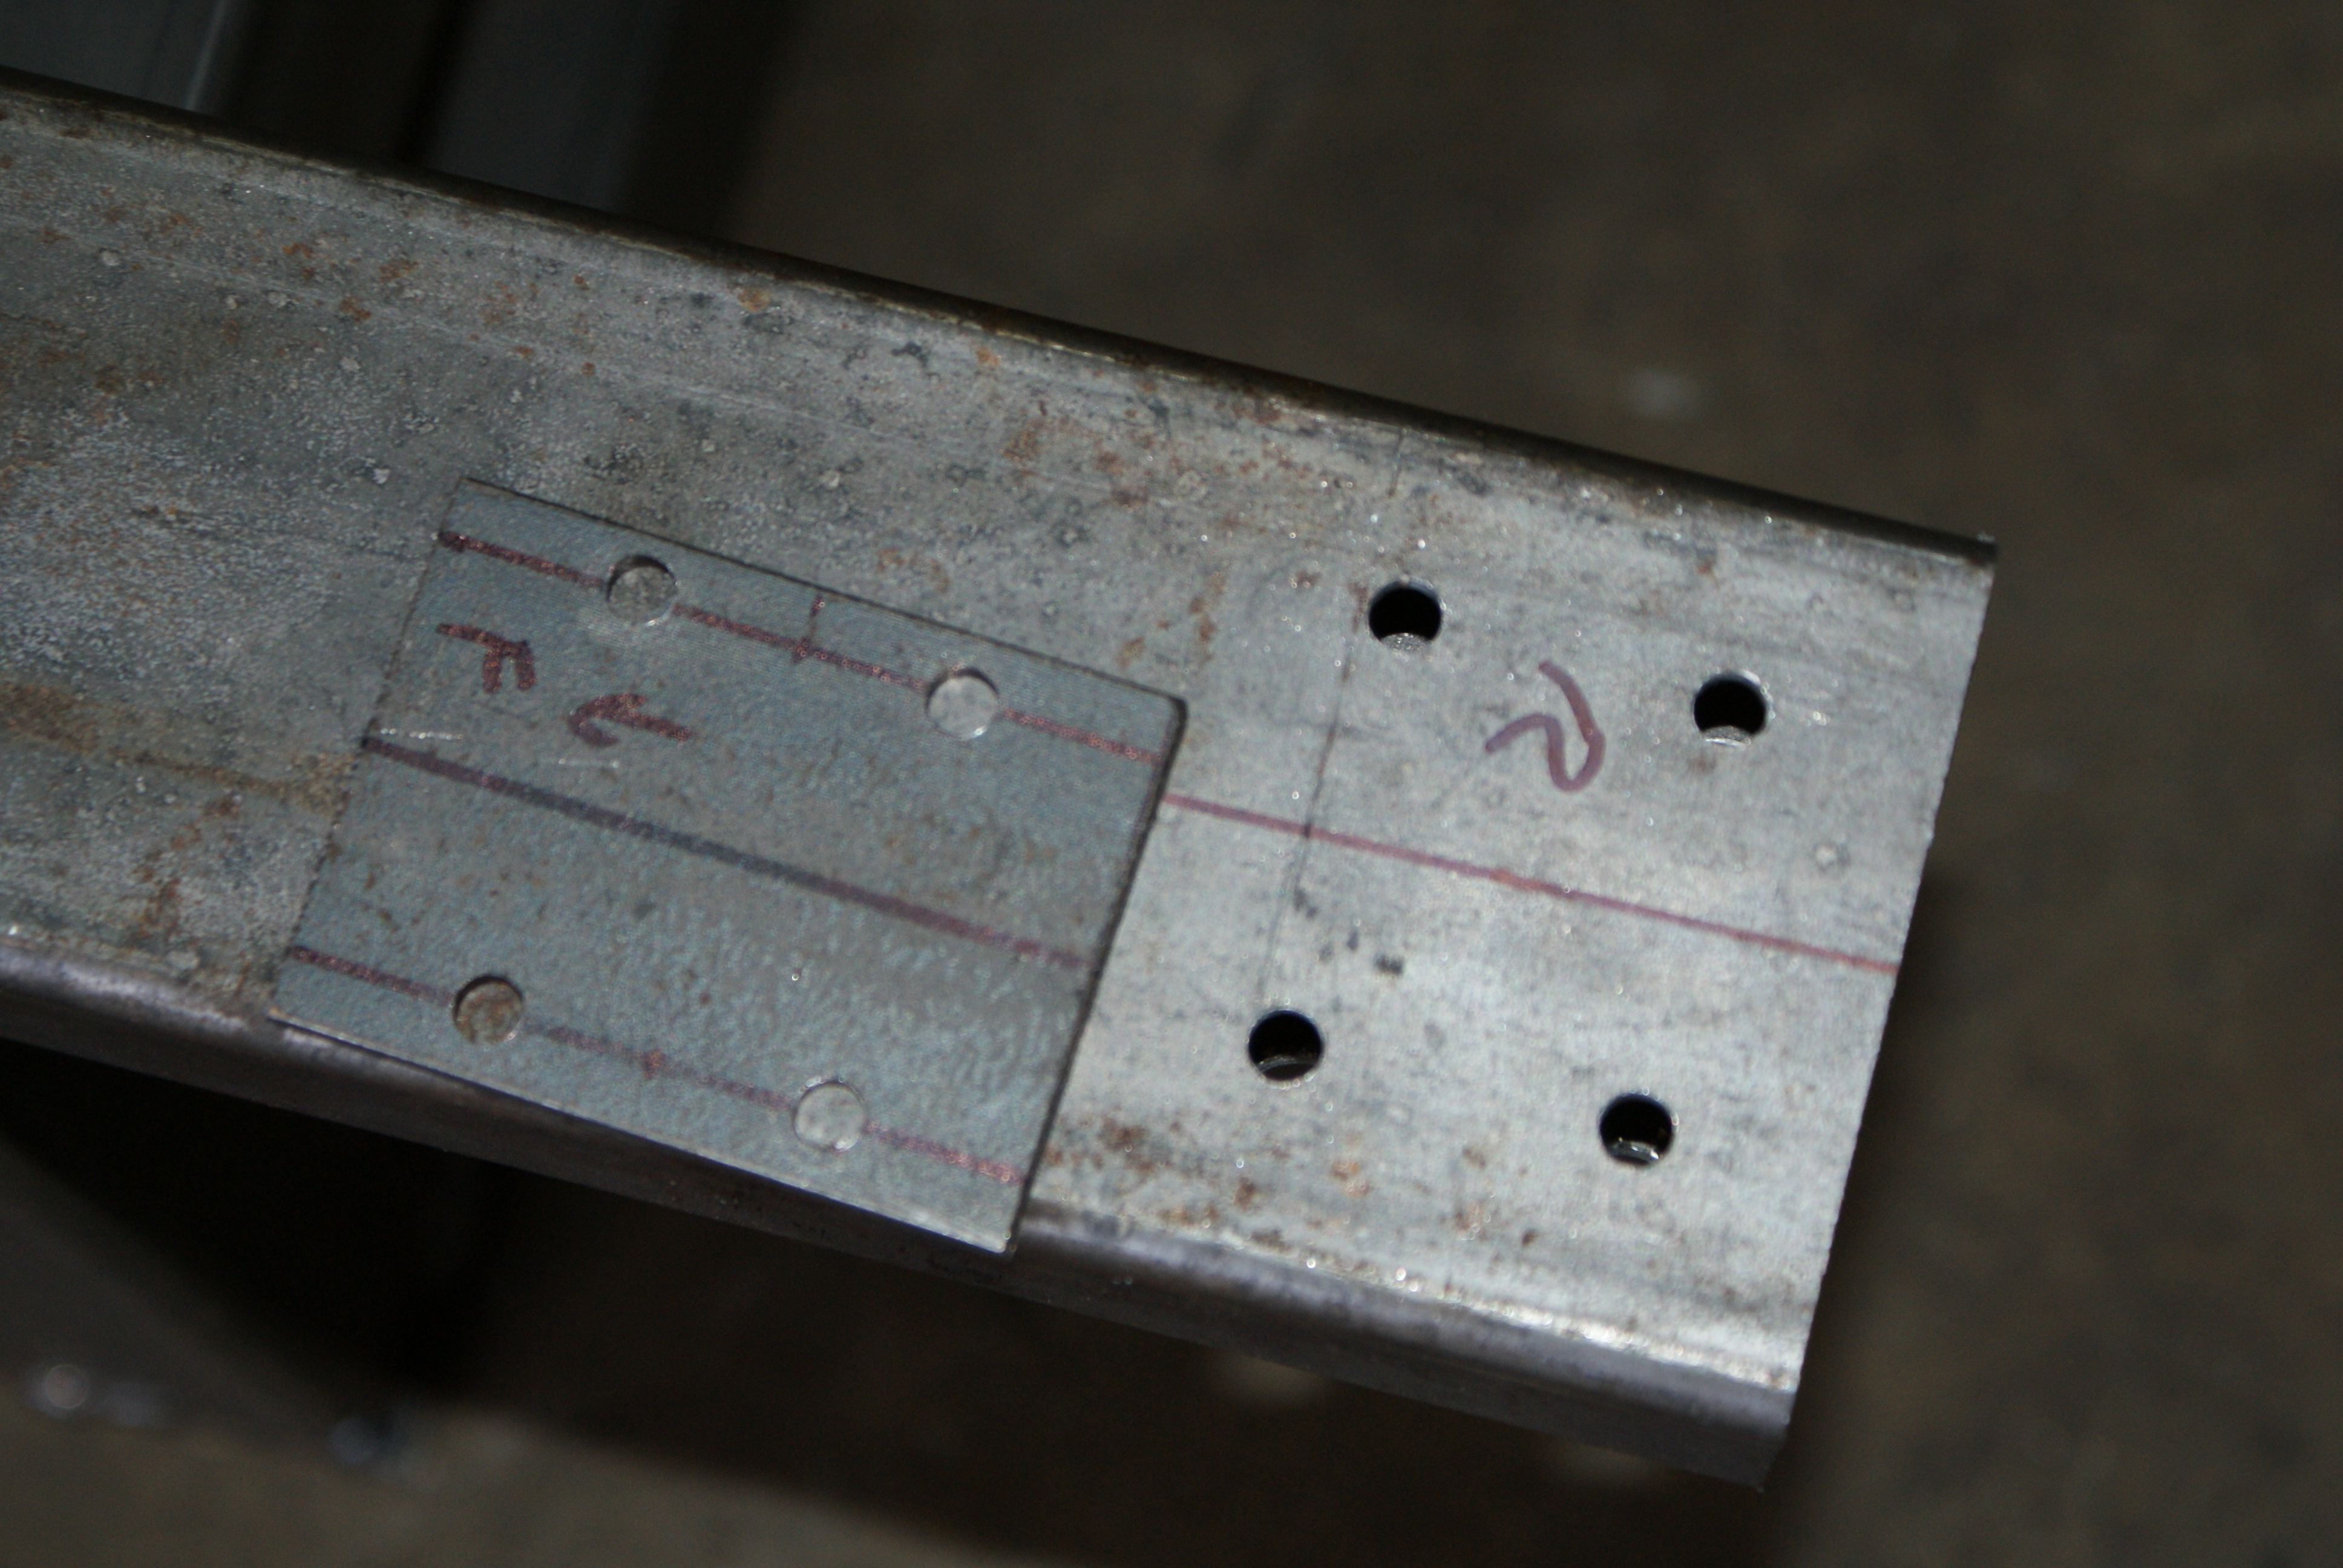
The other side was drilled through, and a larger hole drilled so a cap-head set screw can be inserted in the hole.
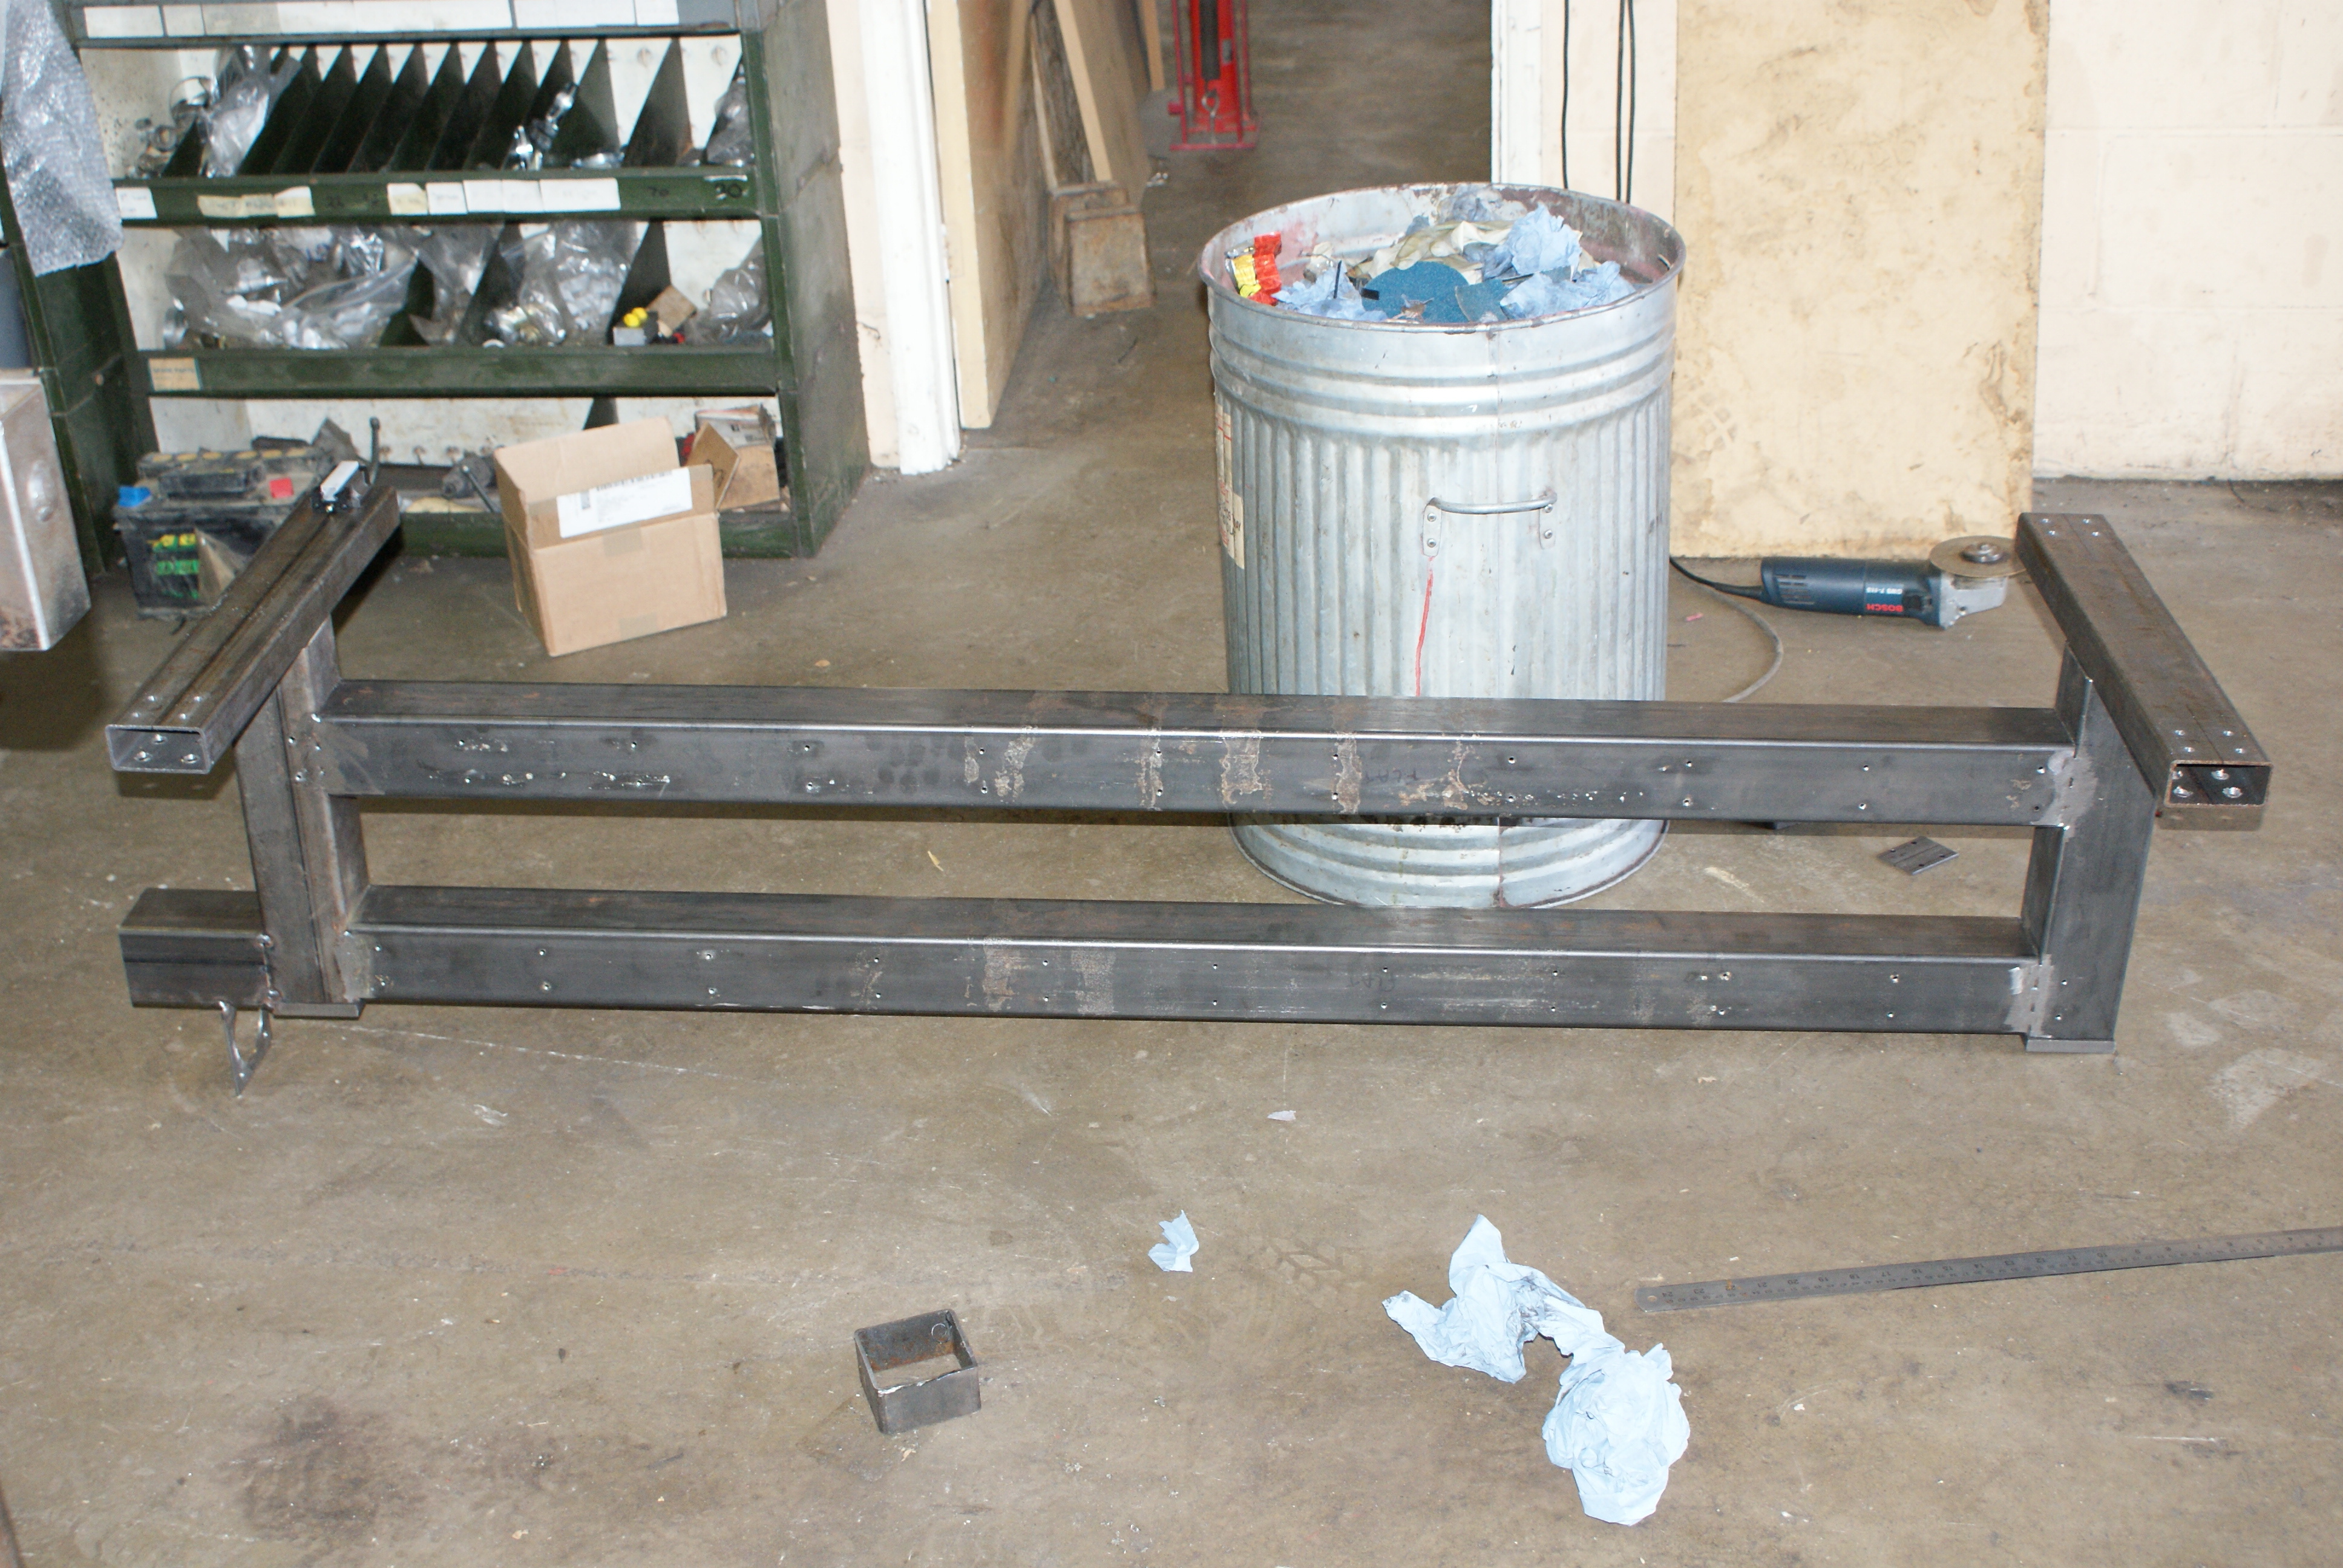
Tomorrow, I'll weld the supports in place - they'll be offset, so the weight of the Z-axis and router will be in the centre of the supports.
Unfortunately, my car decided to break a drive-shaft on the way back - the Aeon is still fine, and as it looks like the weather will be okay, I'll drive that (if the weather was bad, I'll fix the Mondeo).