STLCutter 2 - Day 13
Unfortunately, I had a call from work yesterday, and I couldn't get hold of them to find out how urgent it was, so I had to make it a quick day.
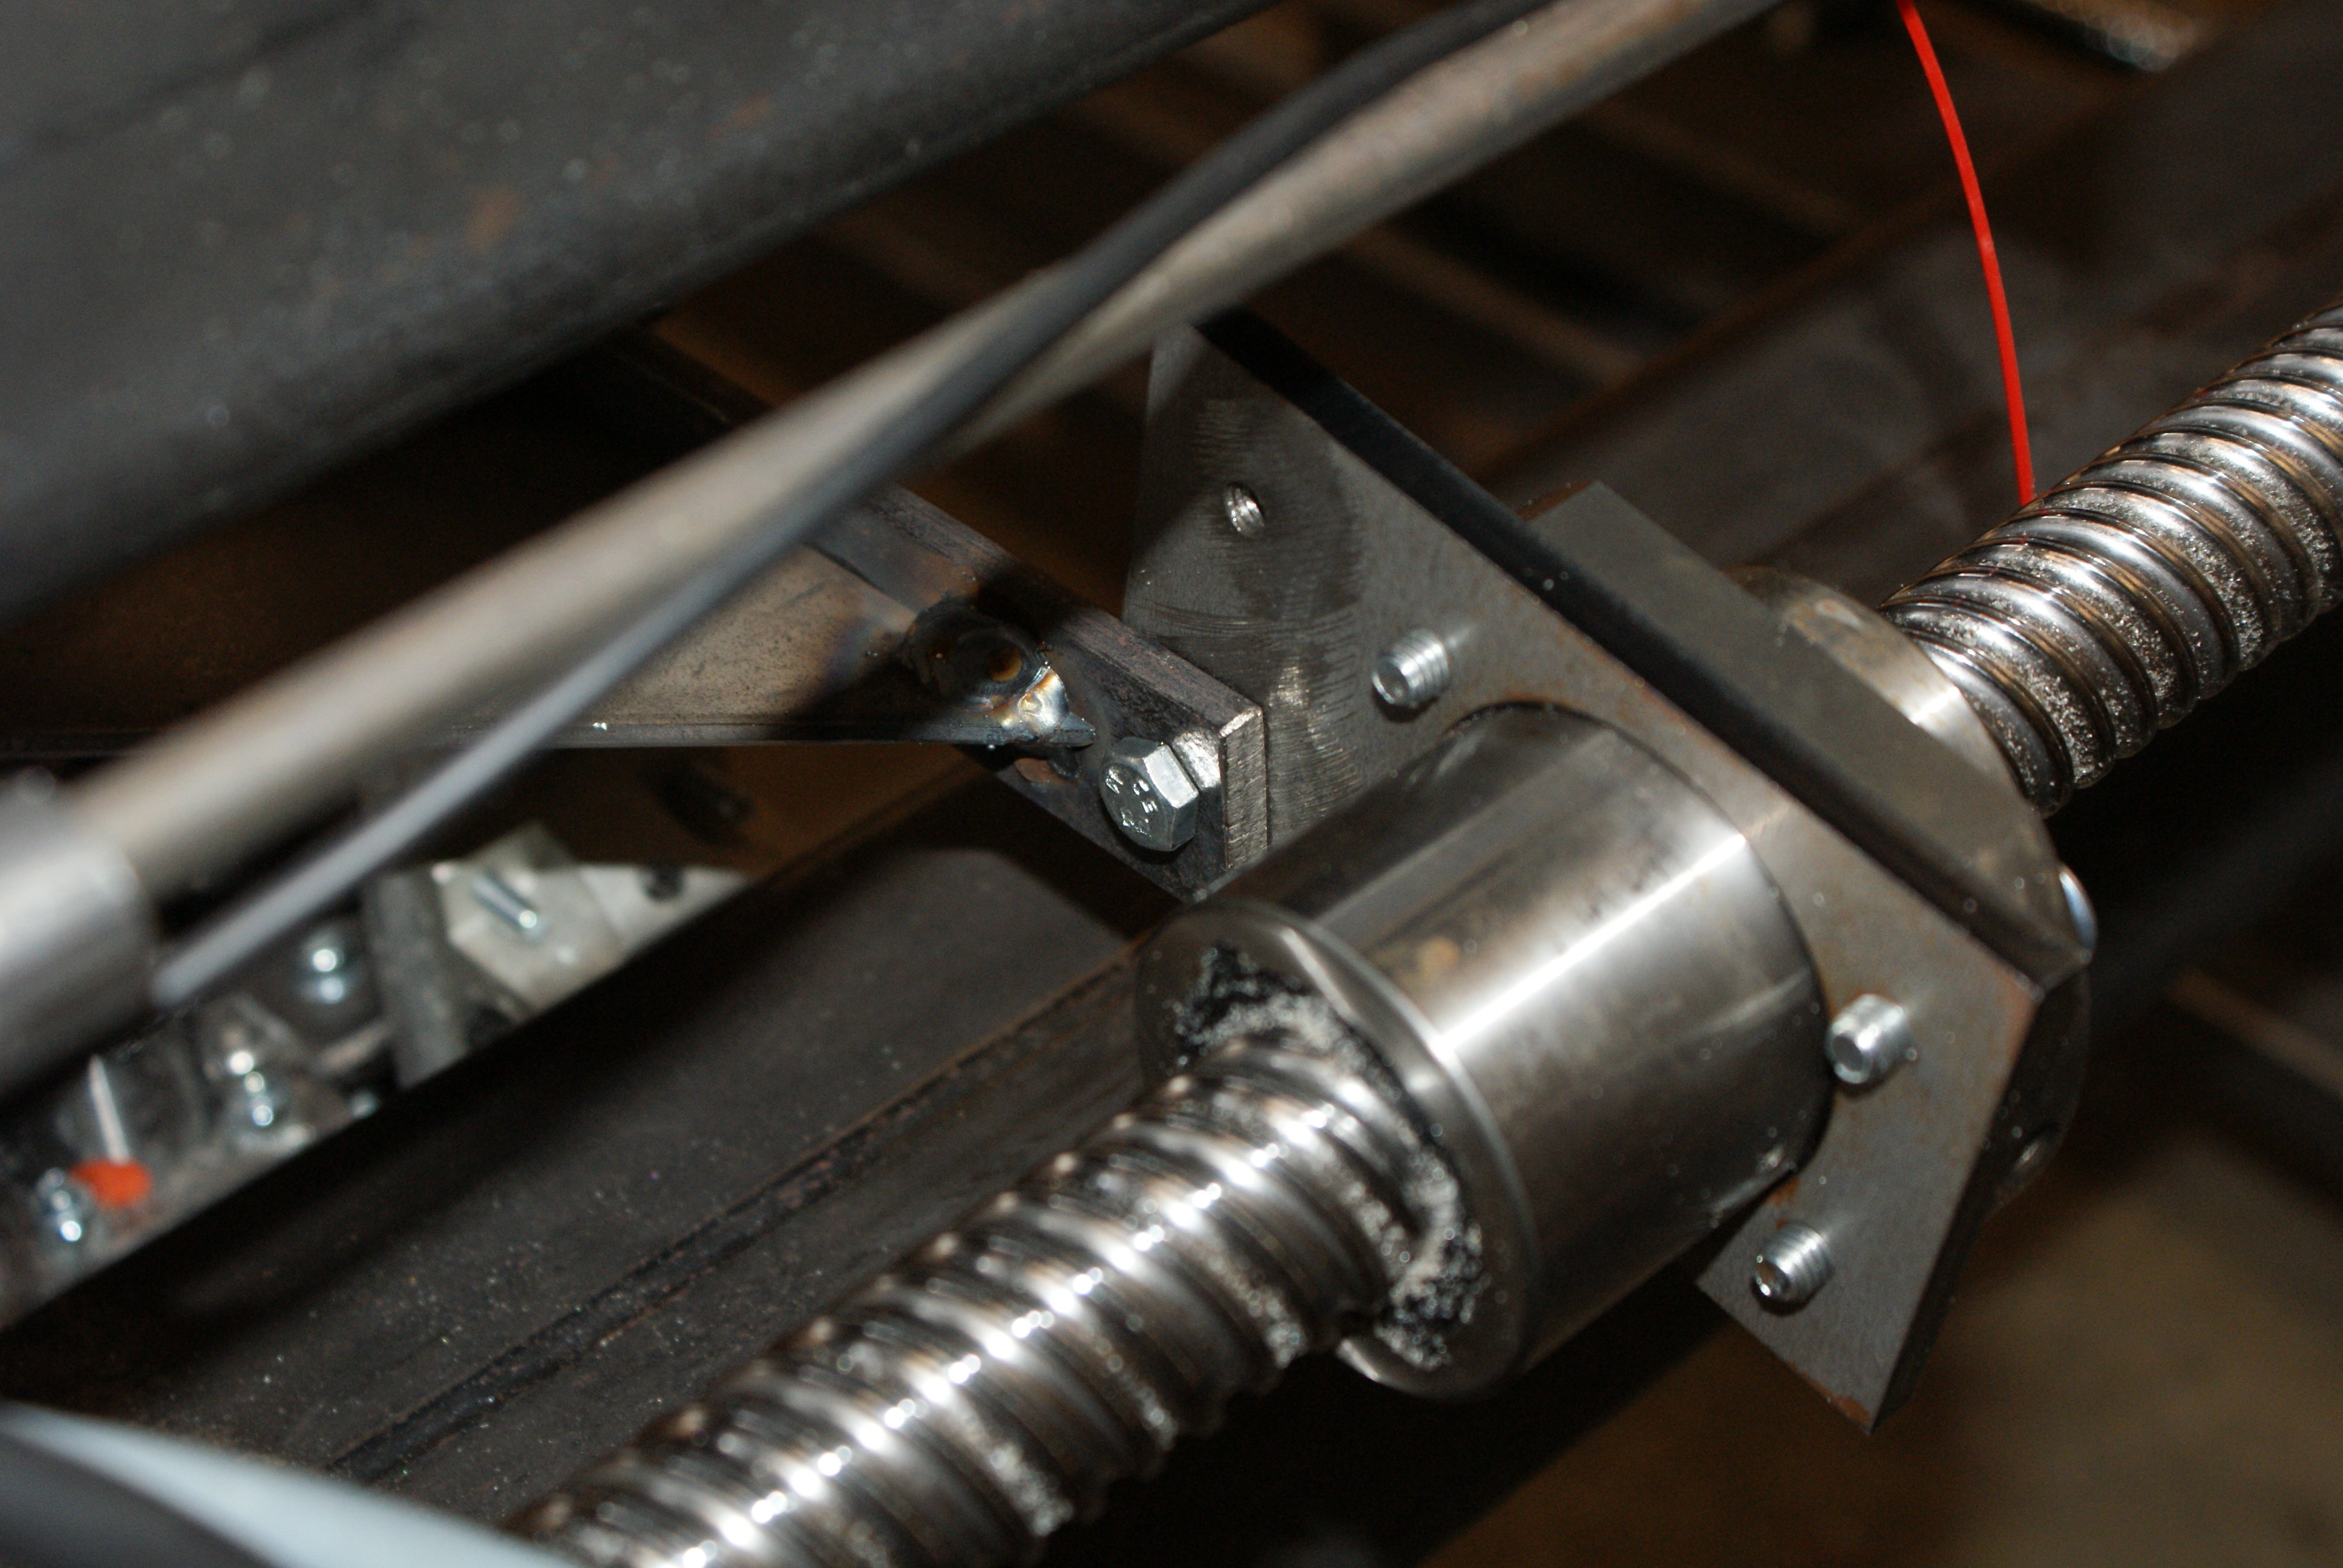
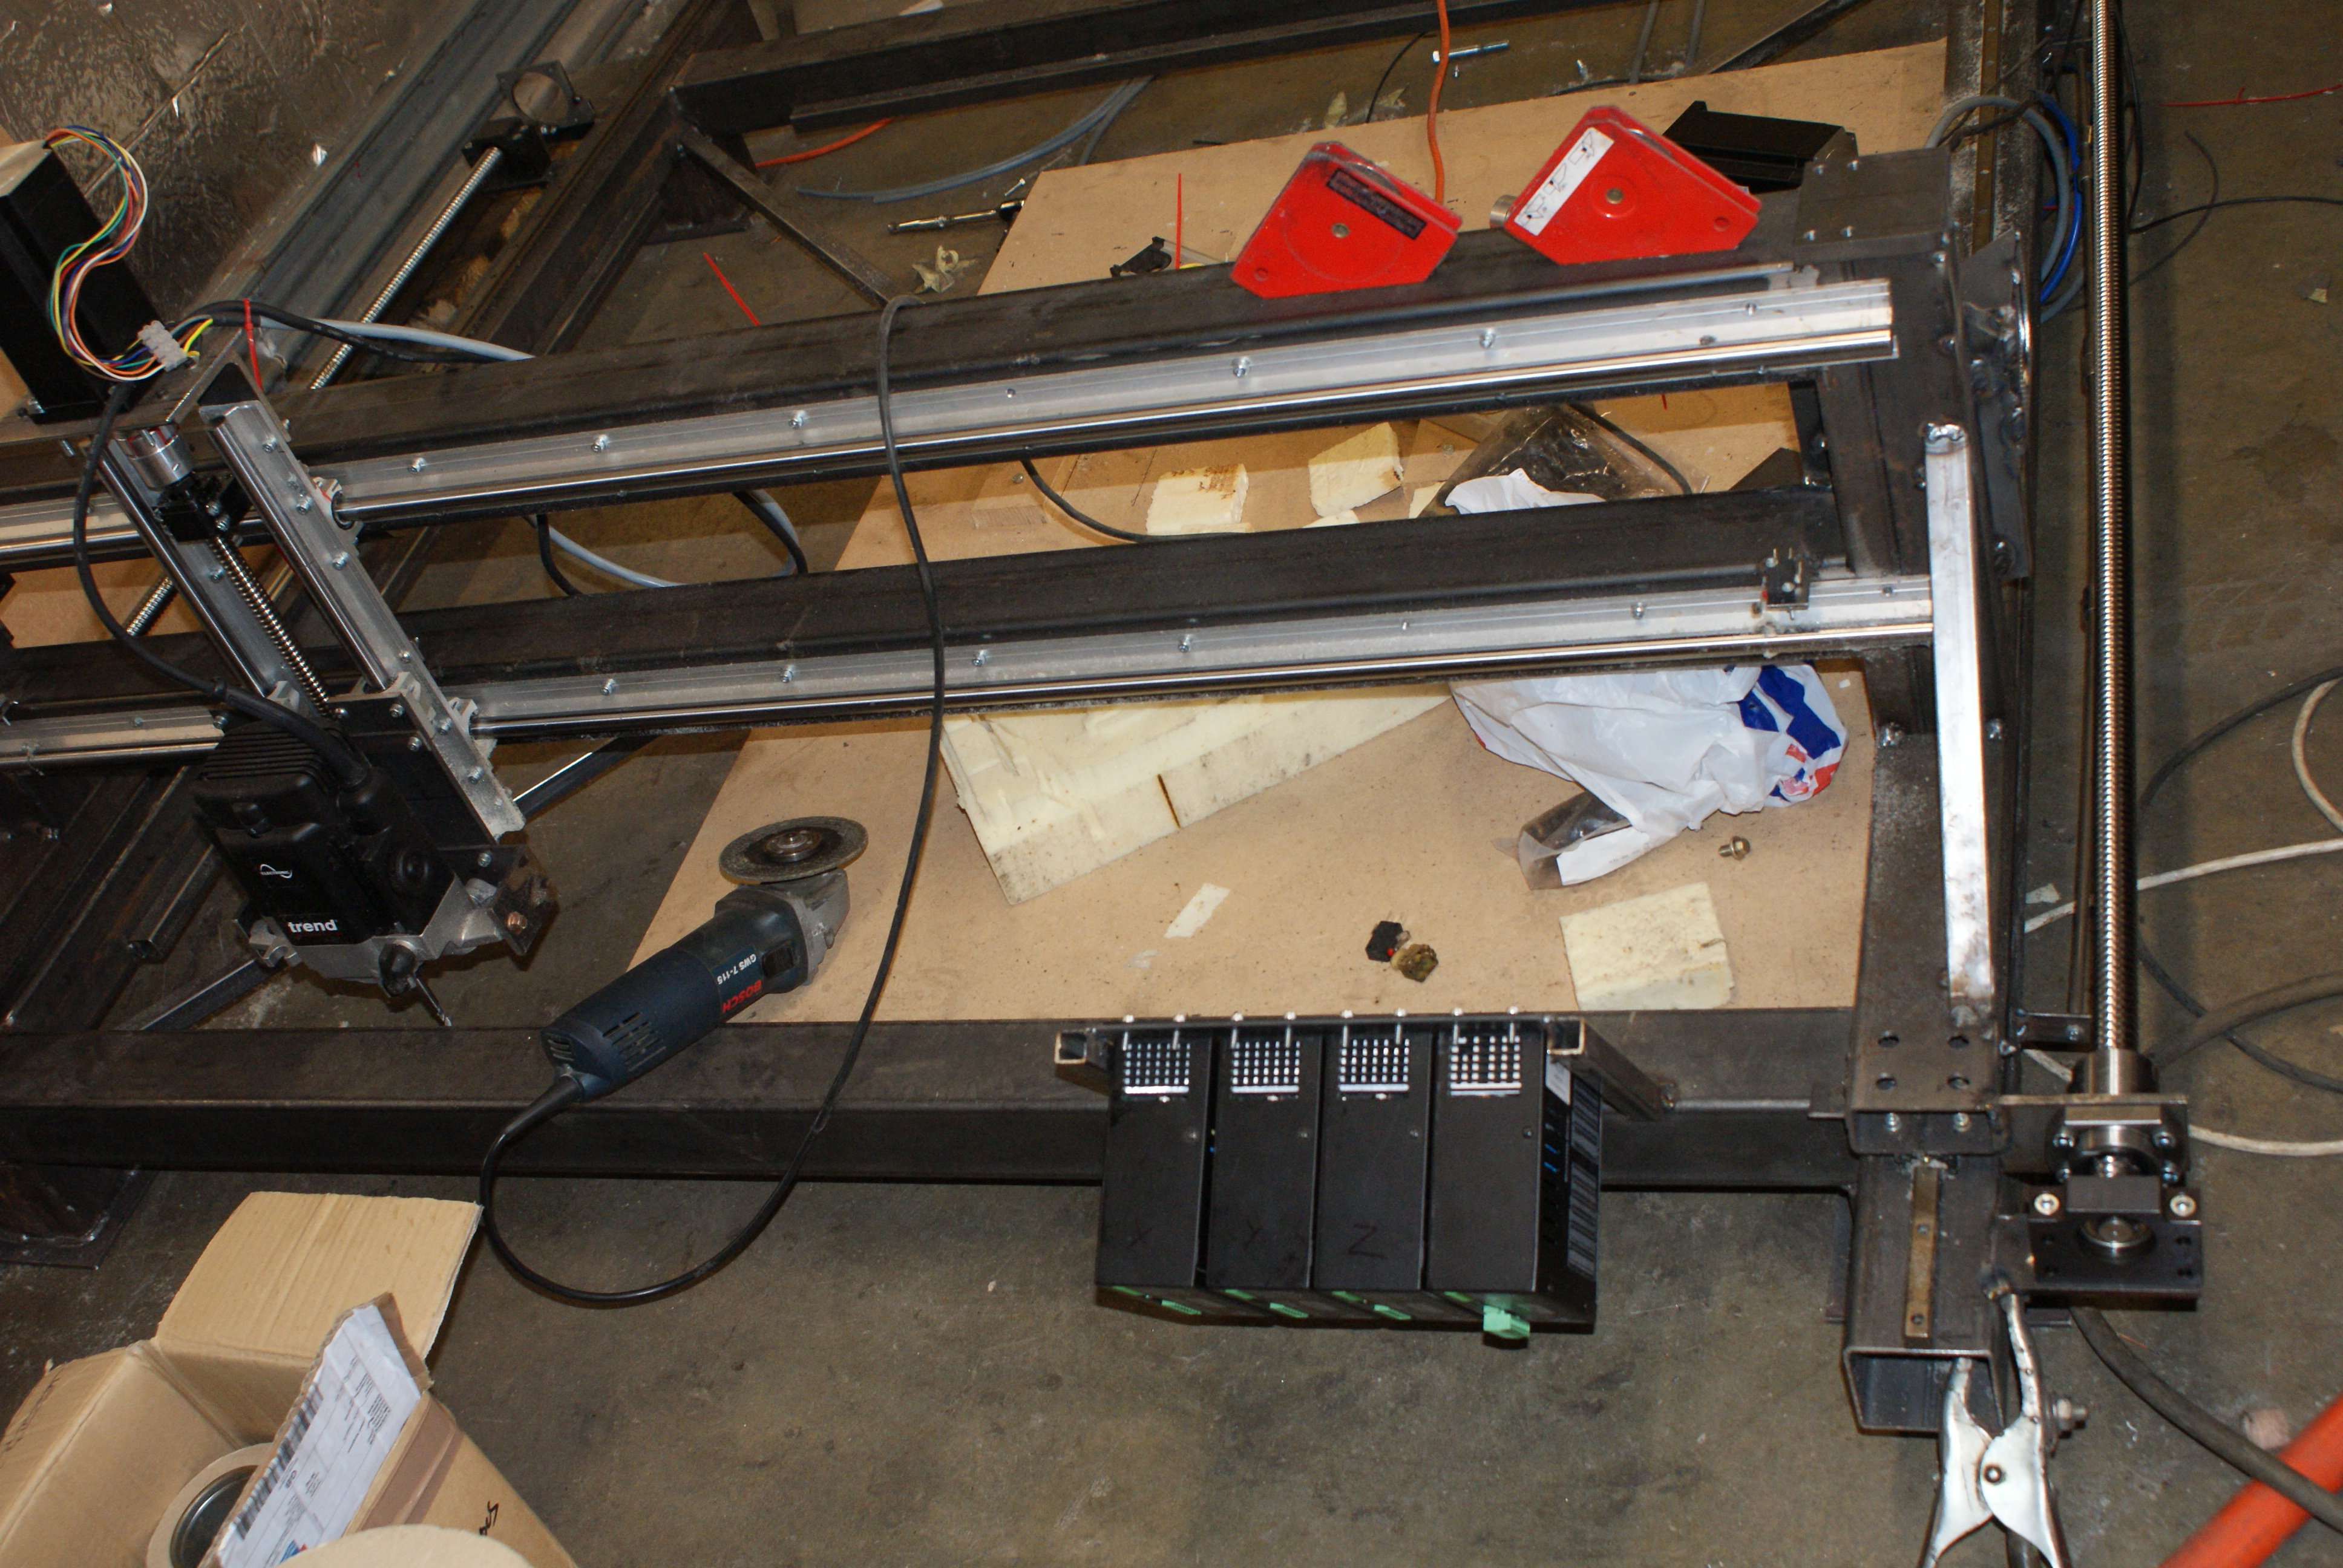
The first thing I did was get some off-cuts from one of Alanco's crop sprayers - these happened to be nice 90/45 degree triangles, made to a perfect size for bracing. I made a bracket to attach the Z-axis frame to the Y-axis ballscrew nut bracket.
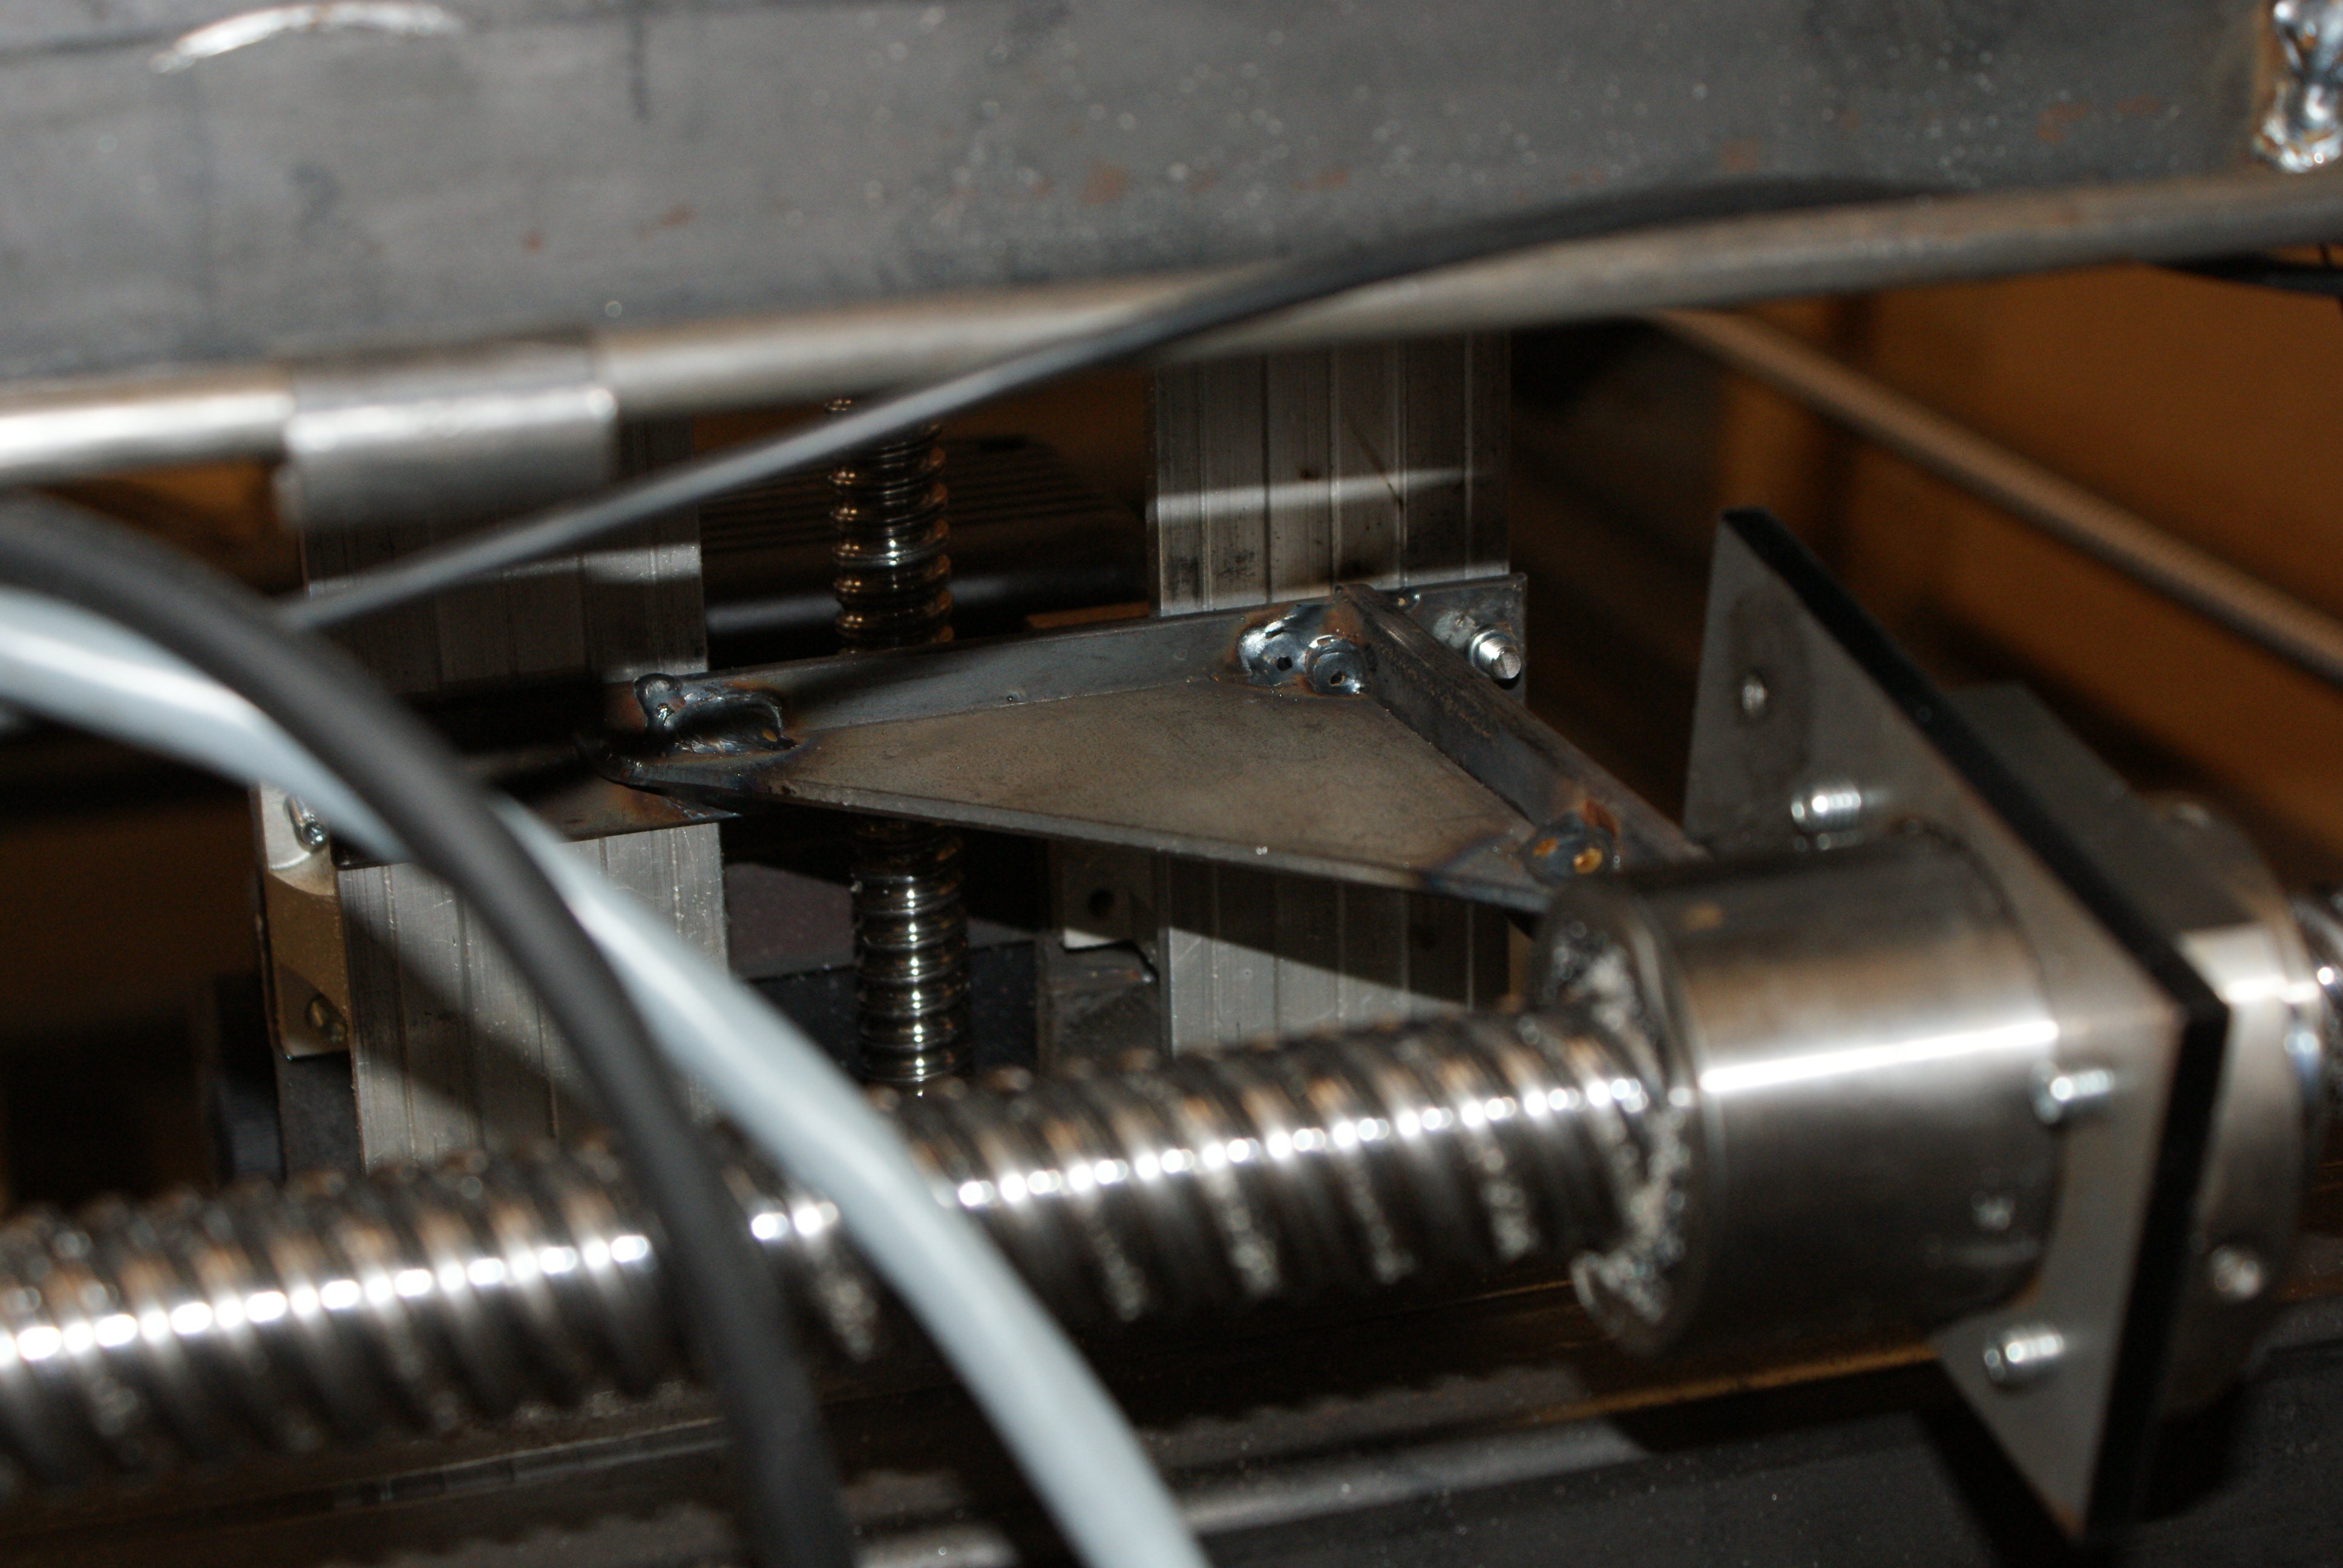
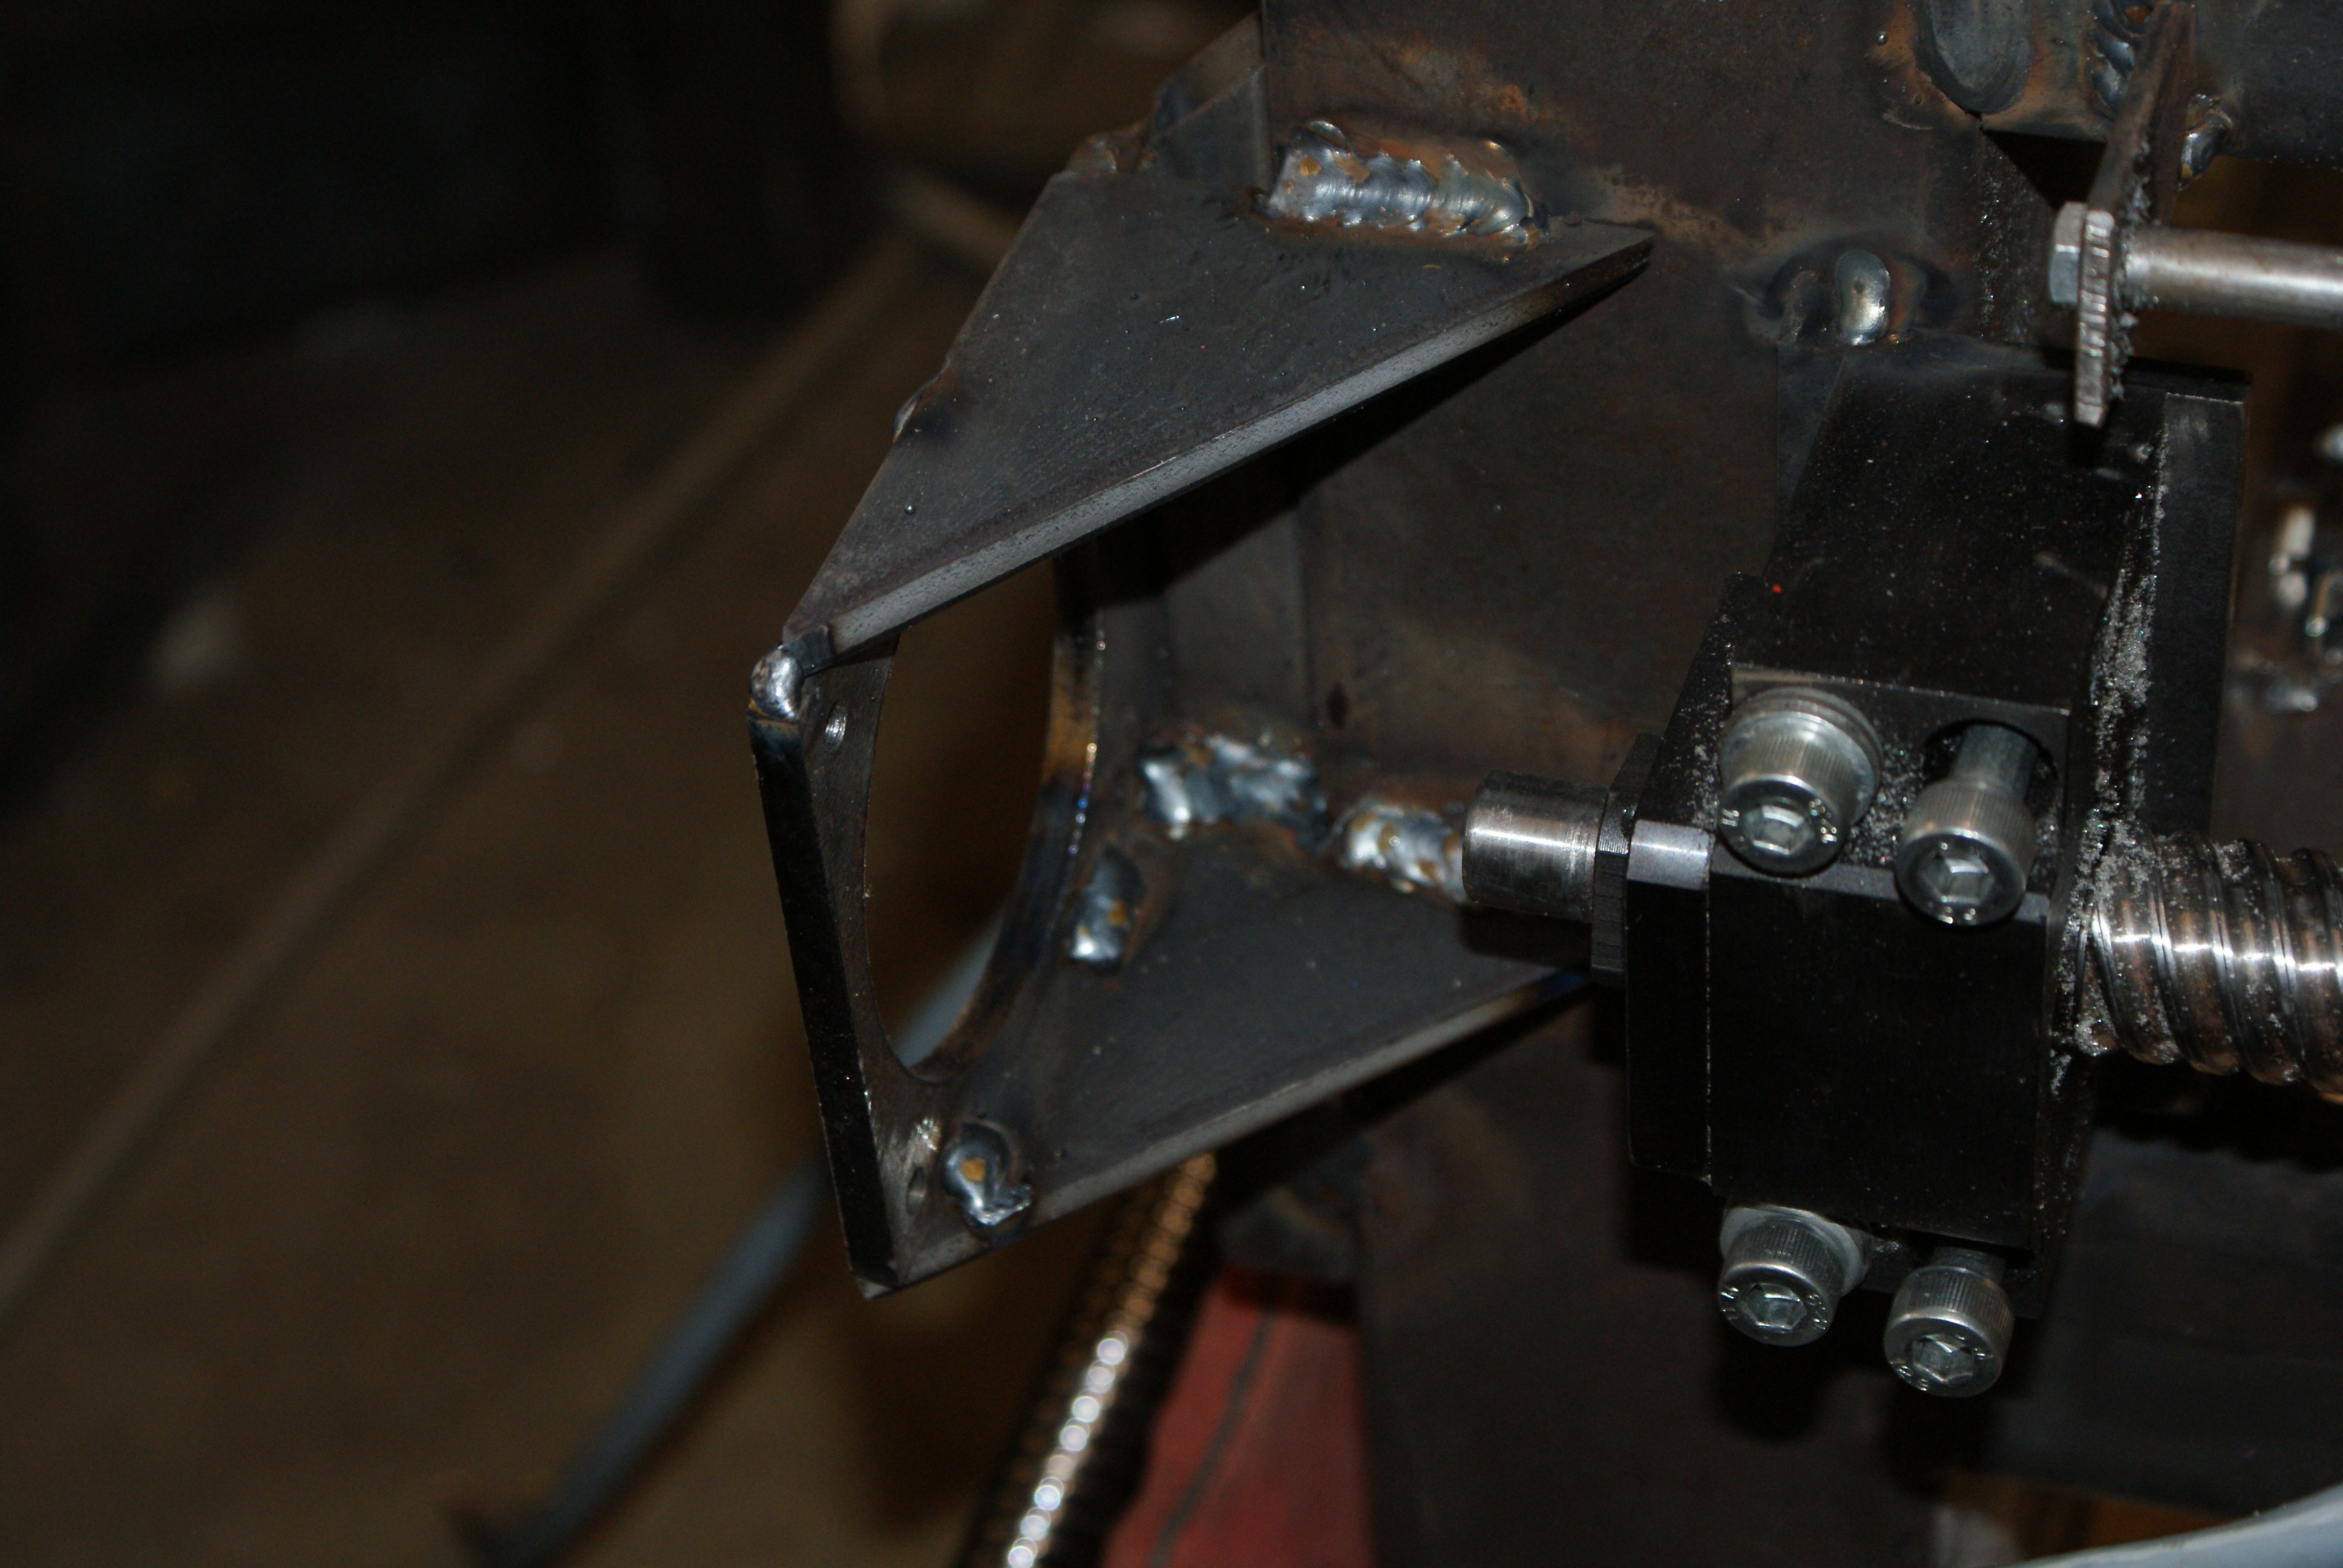
And the motor mount also got some bracing
I also braced the floating ends of the bearing blocks.
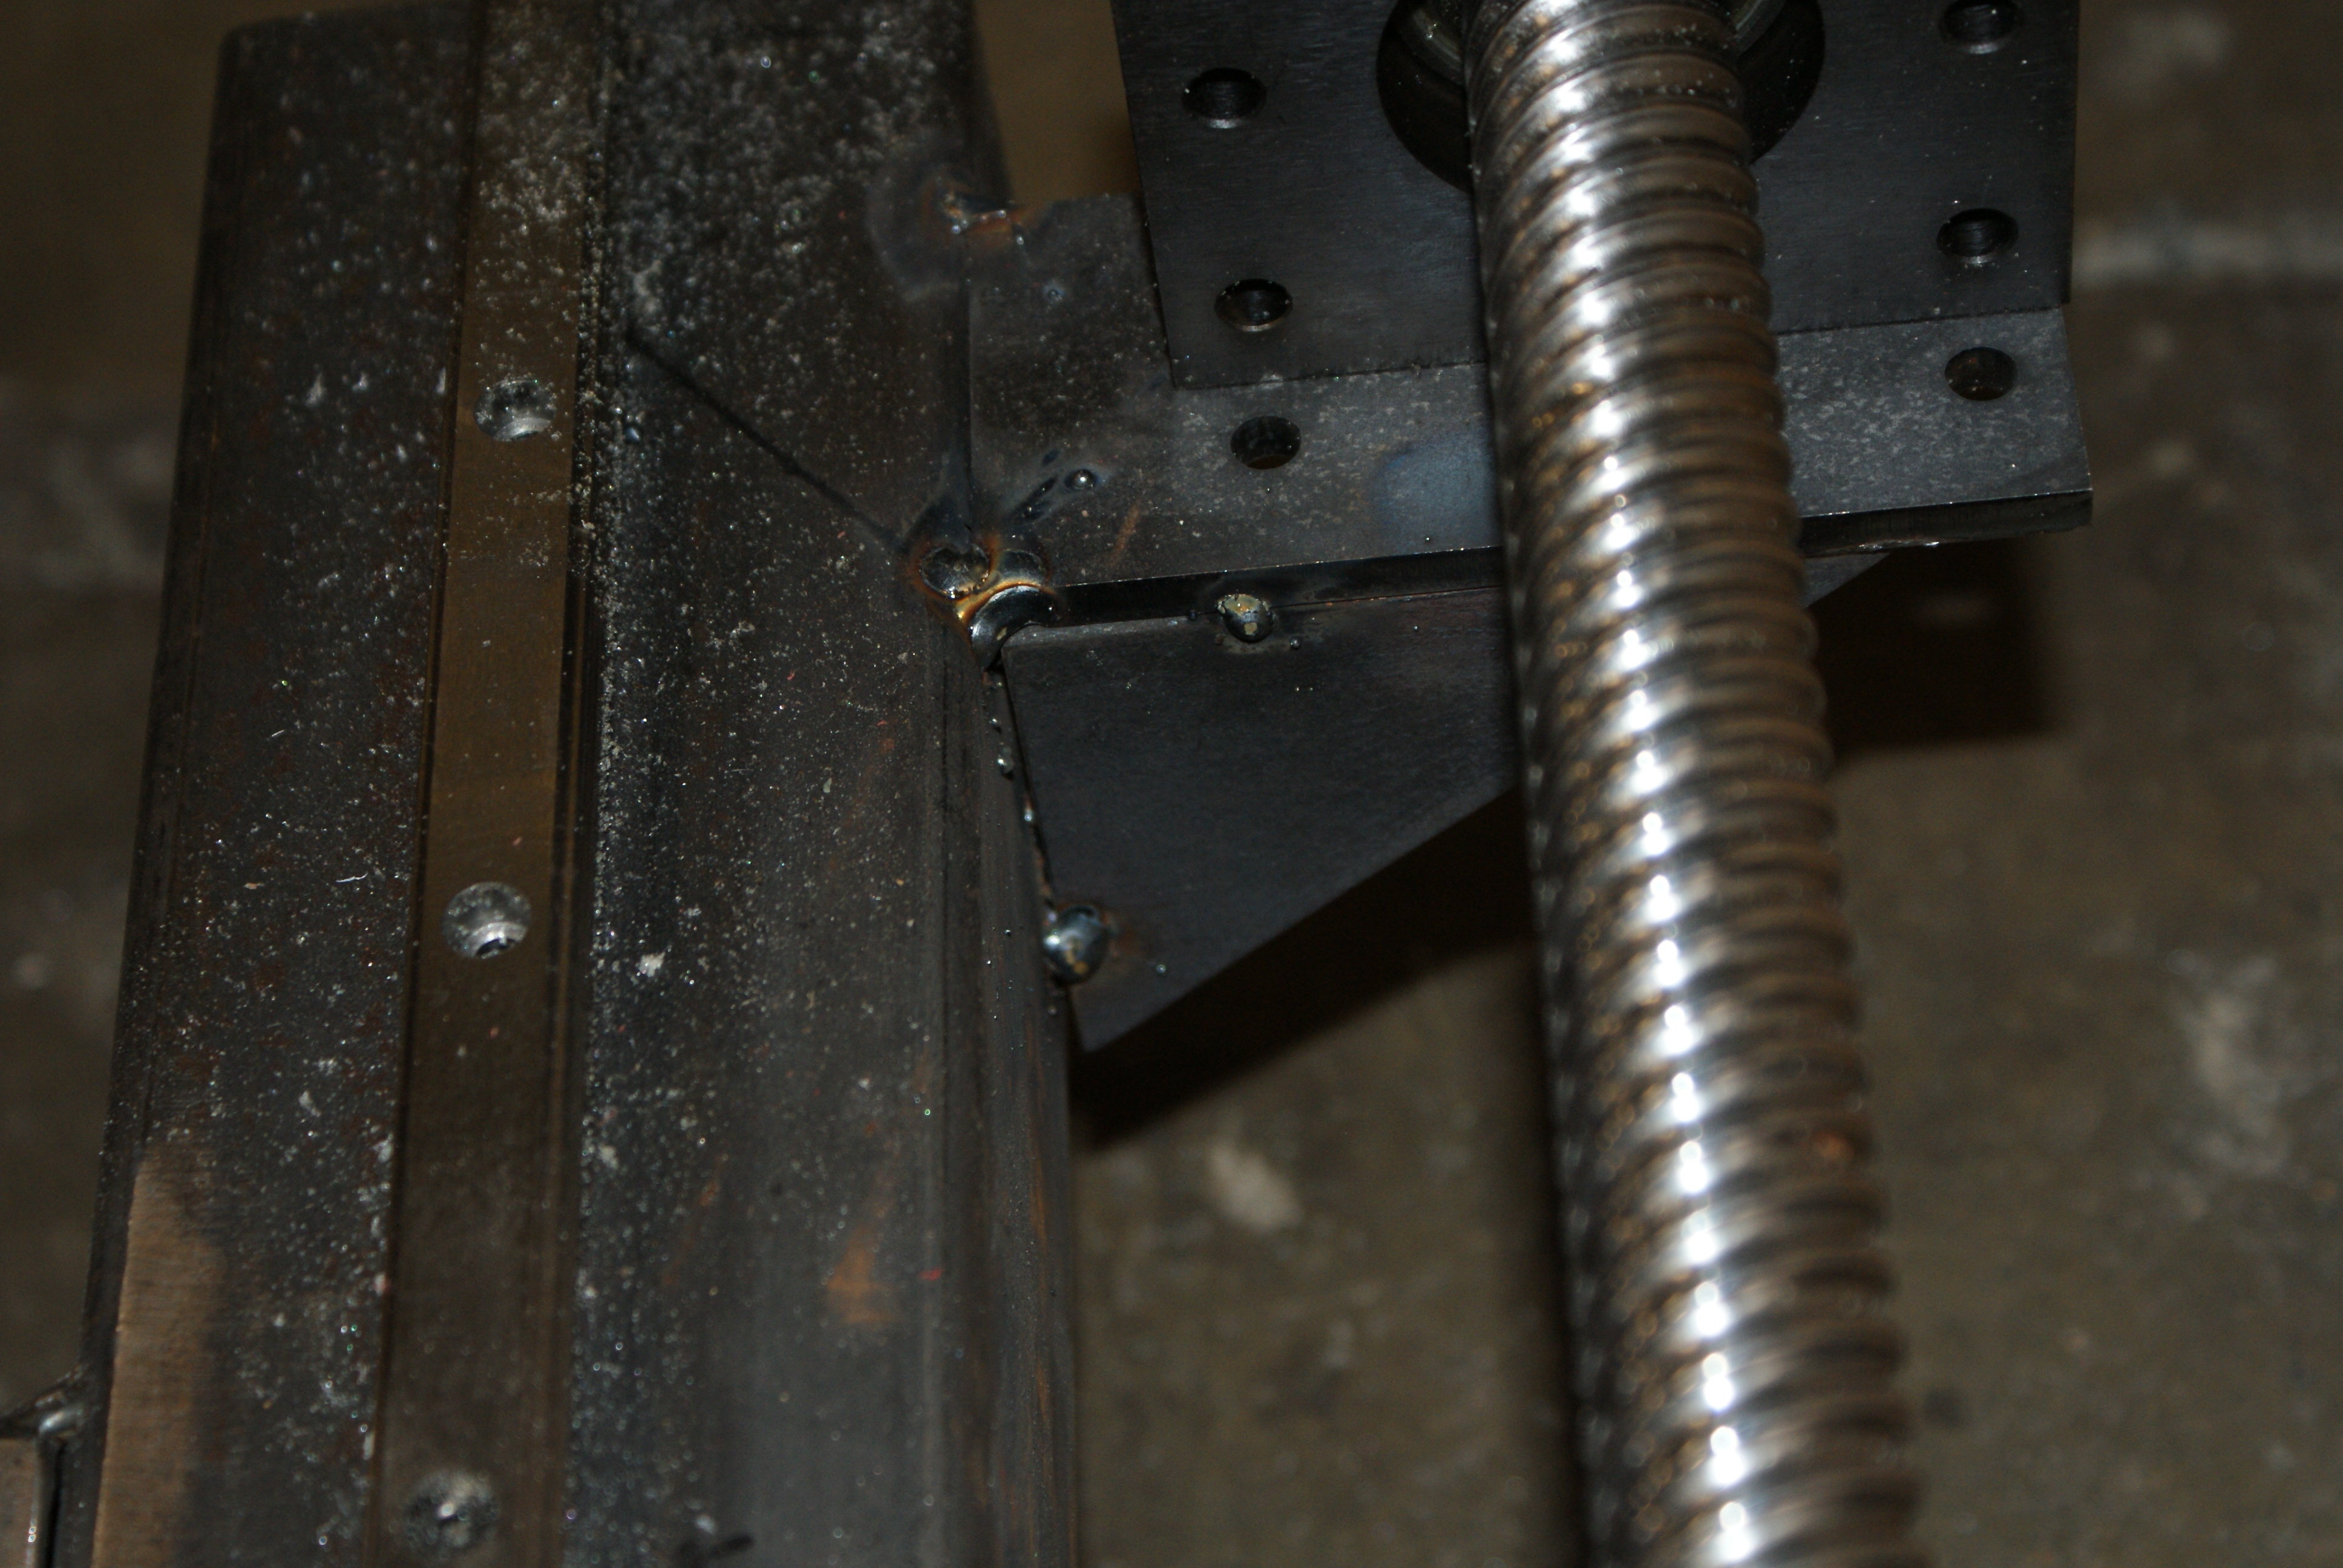
Note that the other side has a lot more weld on it - it's only this side which is tacked.
I also made a new frame to take the motor mounts - the LCD display can wait a bit (I may not even use it).
This then got attached to the other end - which meant there was not enough cable to go from the driver to the X-axis motors.
Time to order some more cable!
Finishing off the machine shouldn't take too long now - it'll be another half day to wire up, and then I'll paint it - probably in Hammerite for simplicity (I don't fancy taking it apart and then re-assembling it after it's been painted).
I've also got some things to tidy the cable with, and I also want to put some guards around the X-axis ballscrews (they're at a very ankle-magnetic height).