STLCutter 2 - Day 14
Well, this was actually just a couple of hours really. Keith is often in the workshop on Saturdays - but only in the mornings.
I bought some chain cabling conduits in my time away, and I had a go at fitting them - although since one pair of ends from one of the chains jumped out of the box when it fell over in my garage, I could ony do one axis.
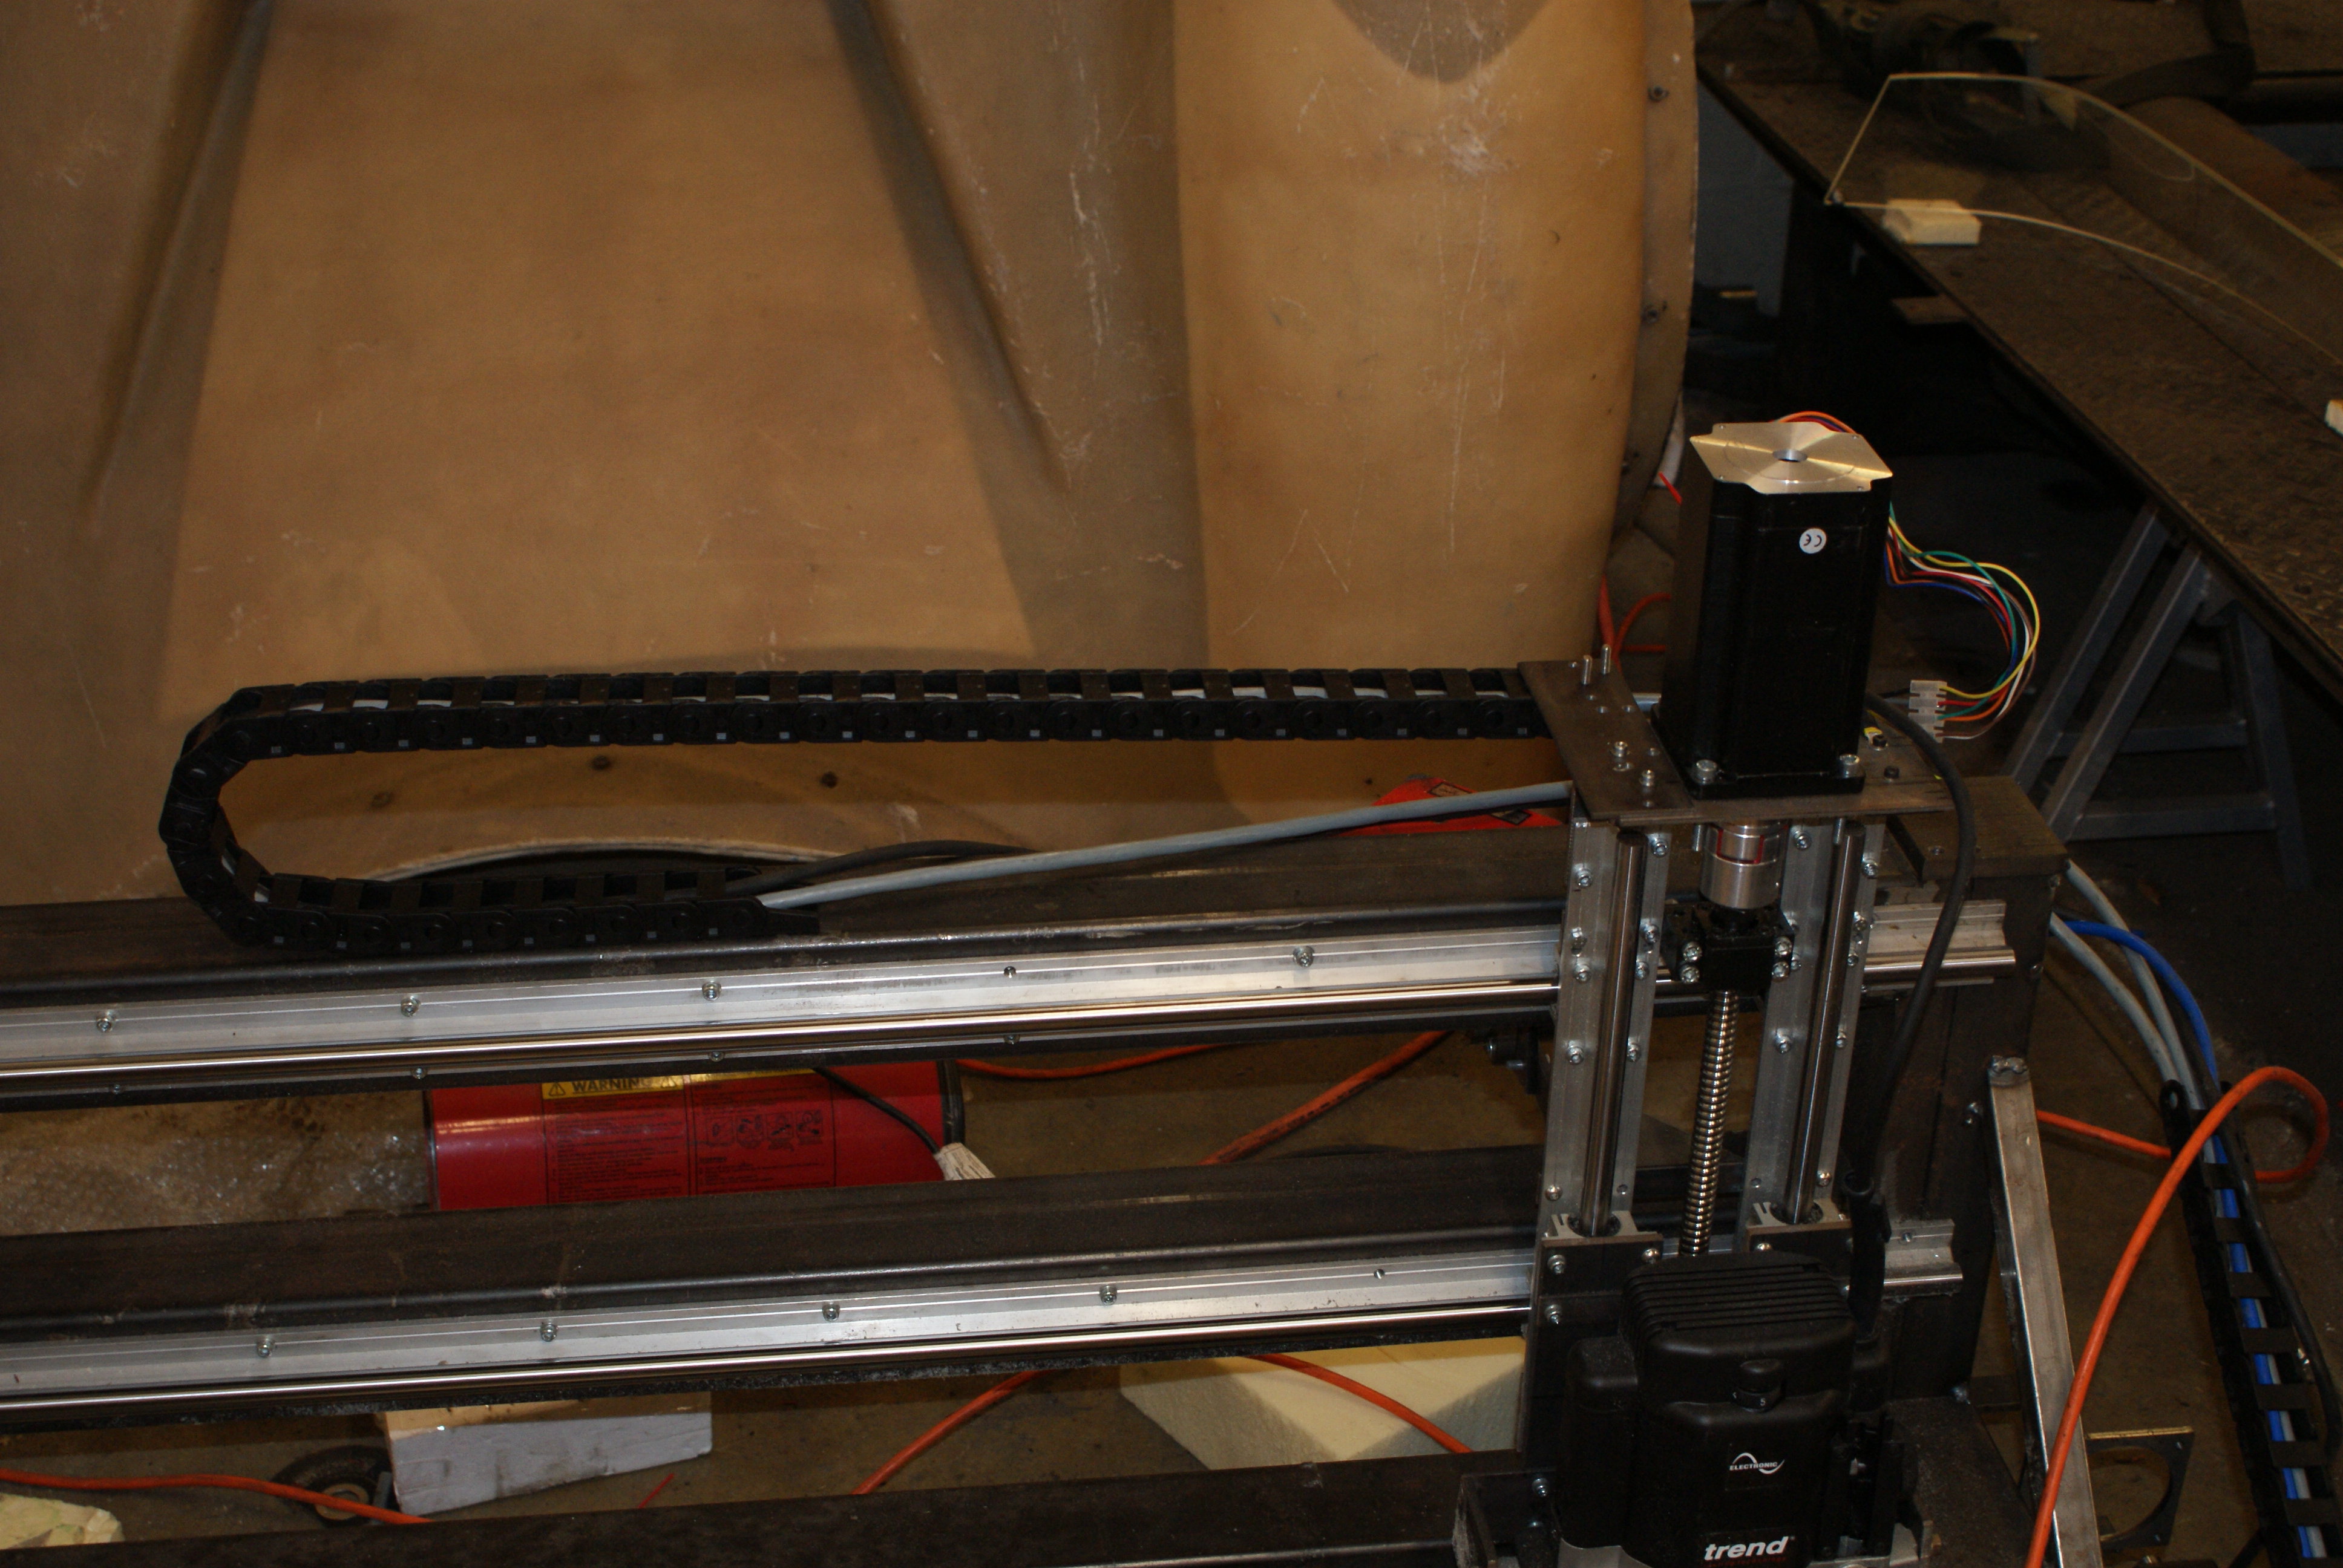
The Z-axis was elected for this, since it had the flat surface to accomodate it. I drilled and tapped the top box section steel, and screwed it in place (after feeding the cables through).
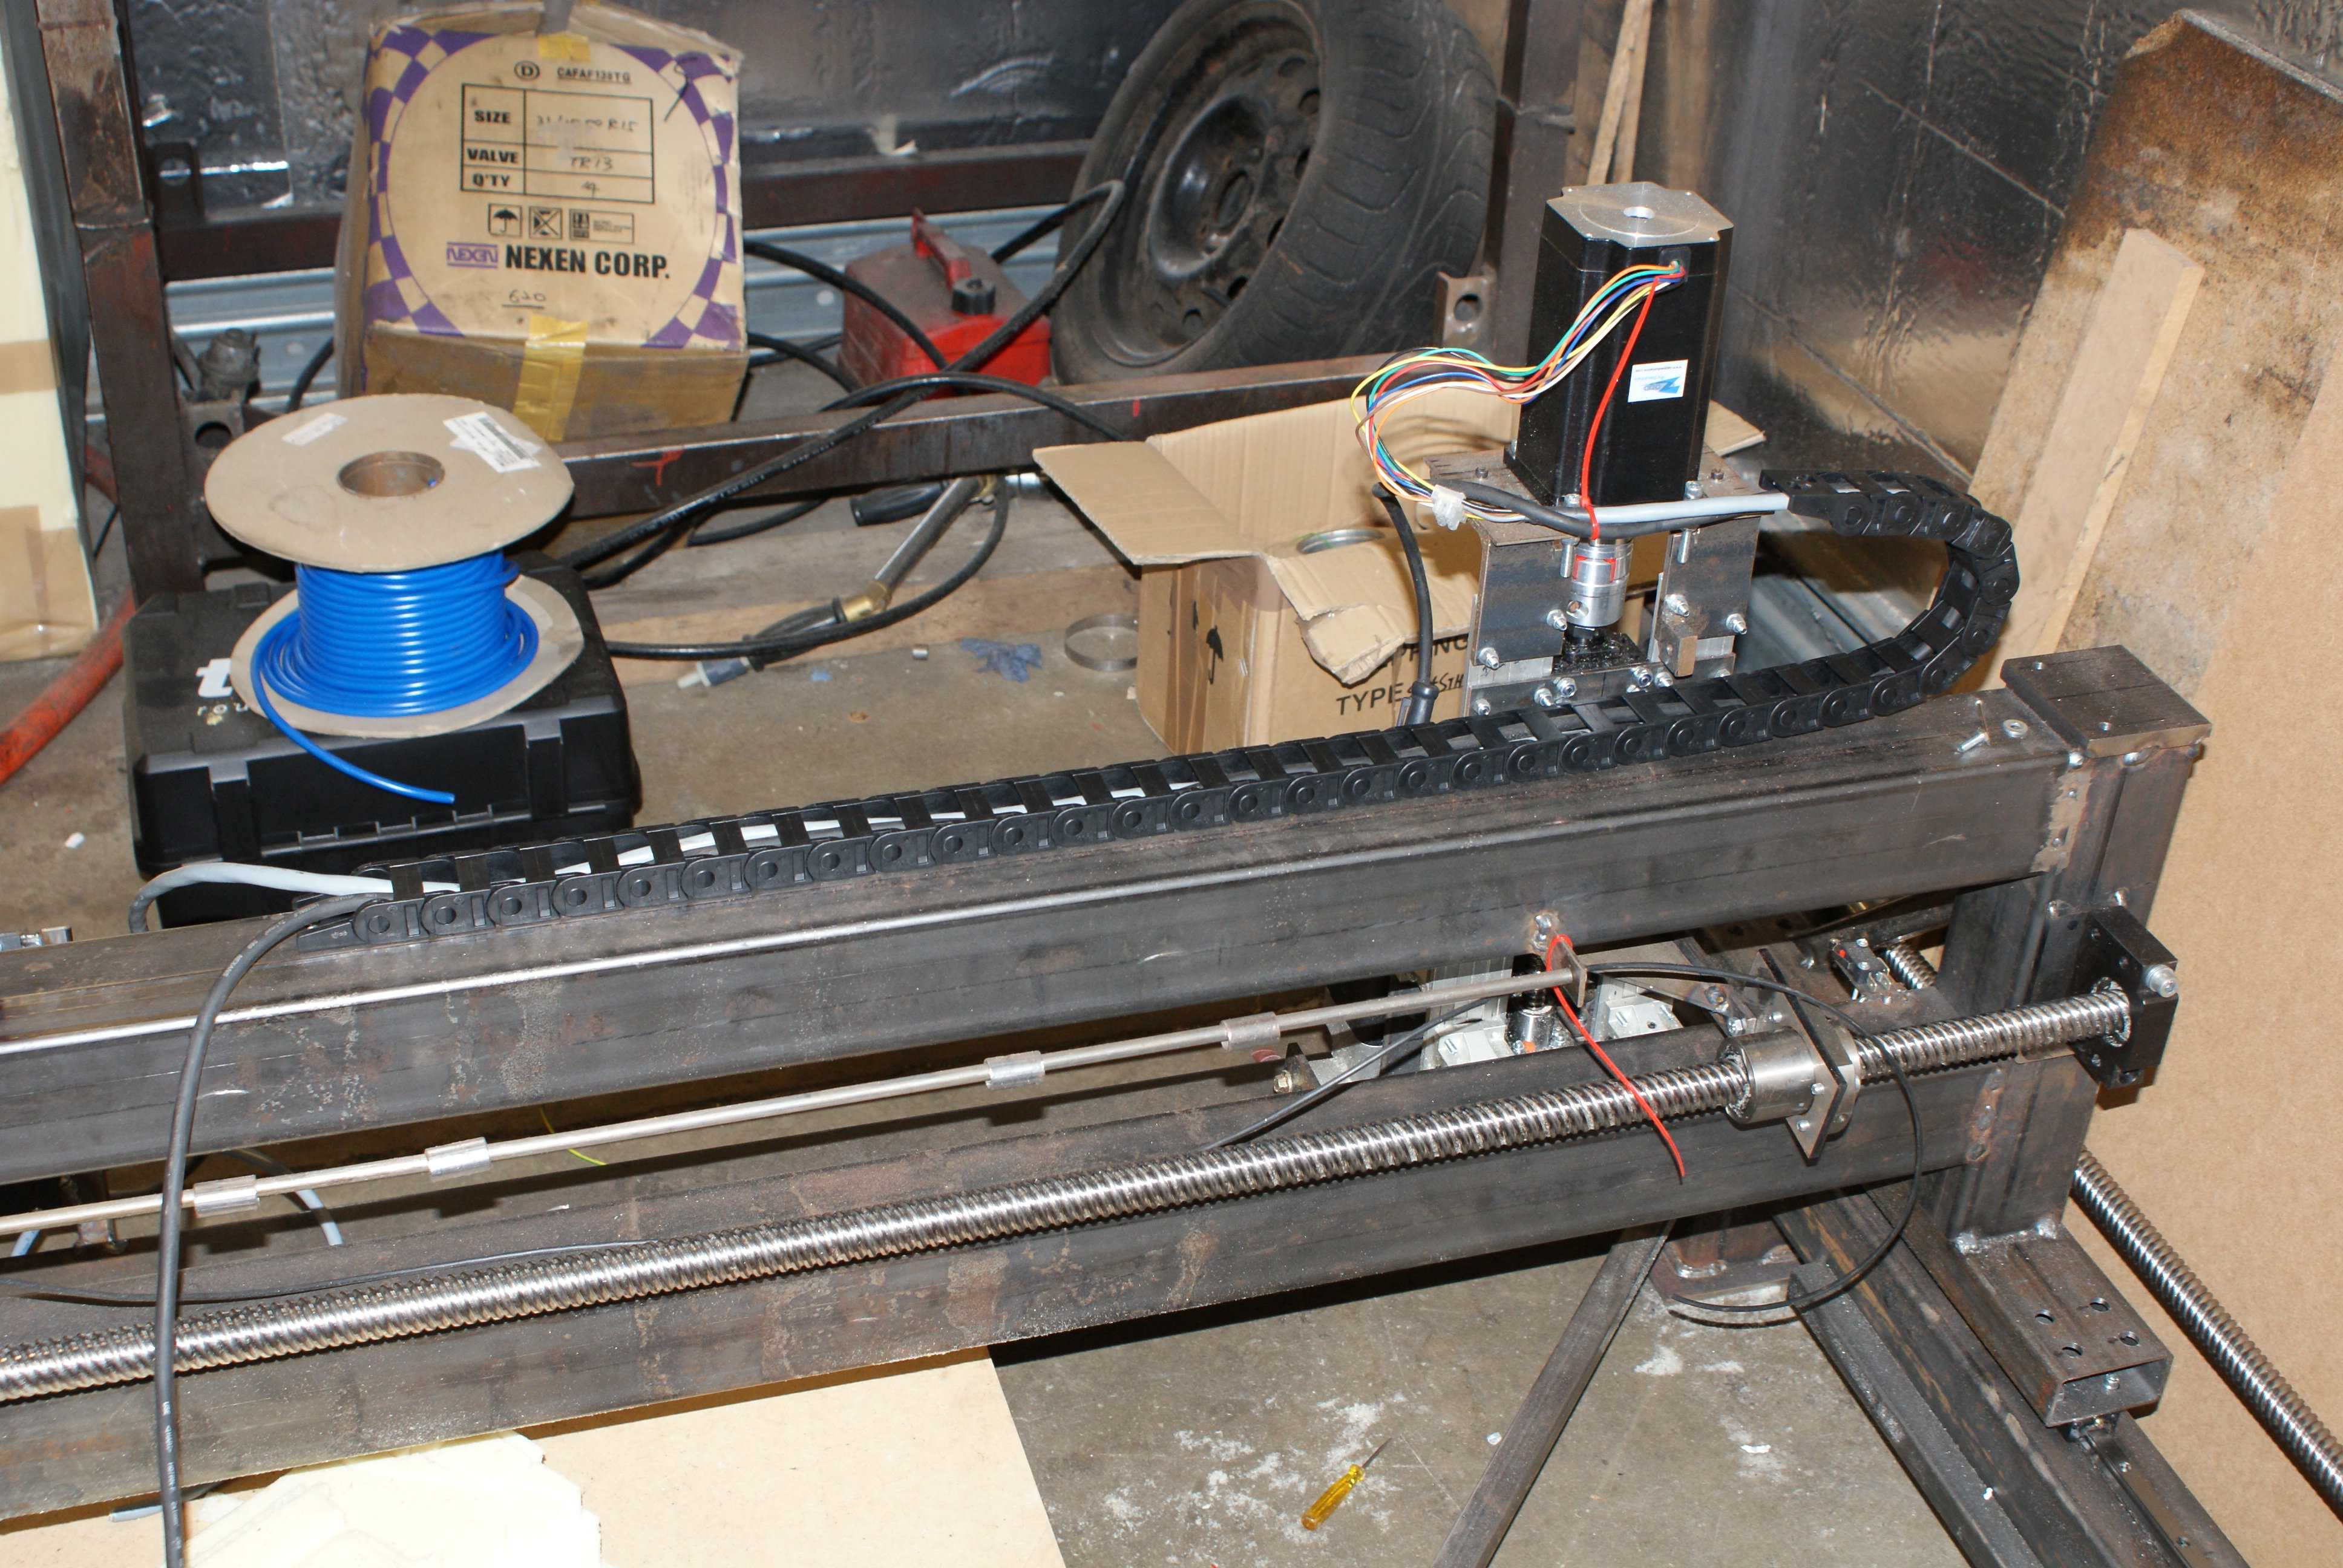
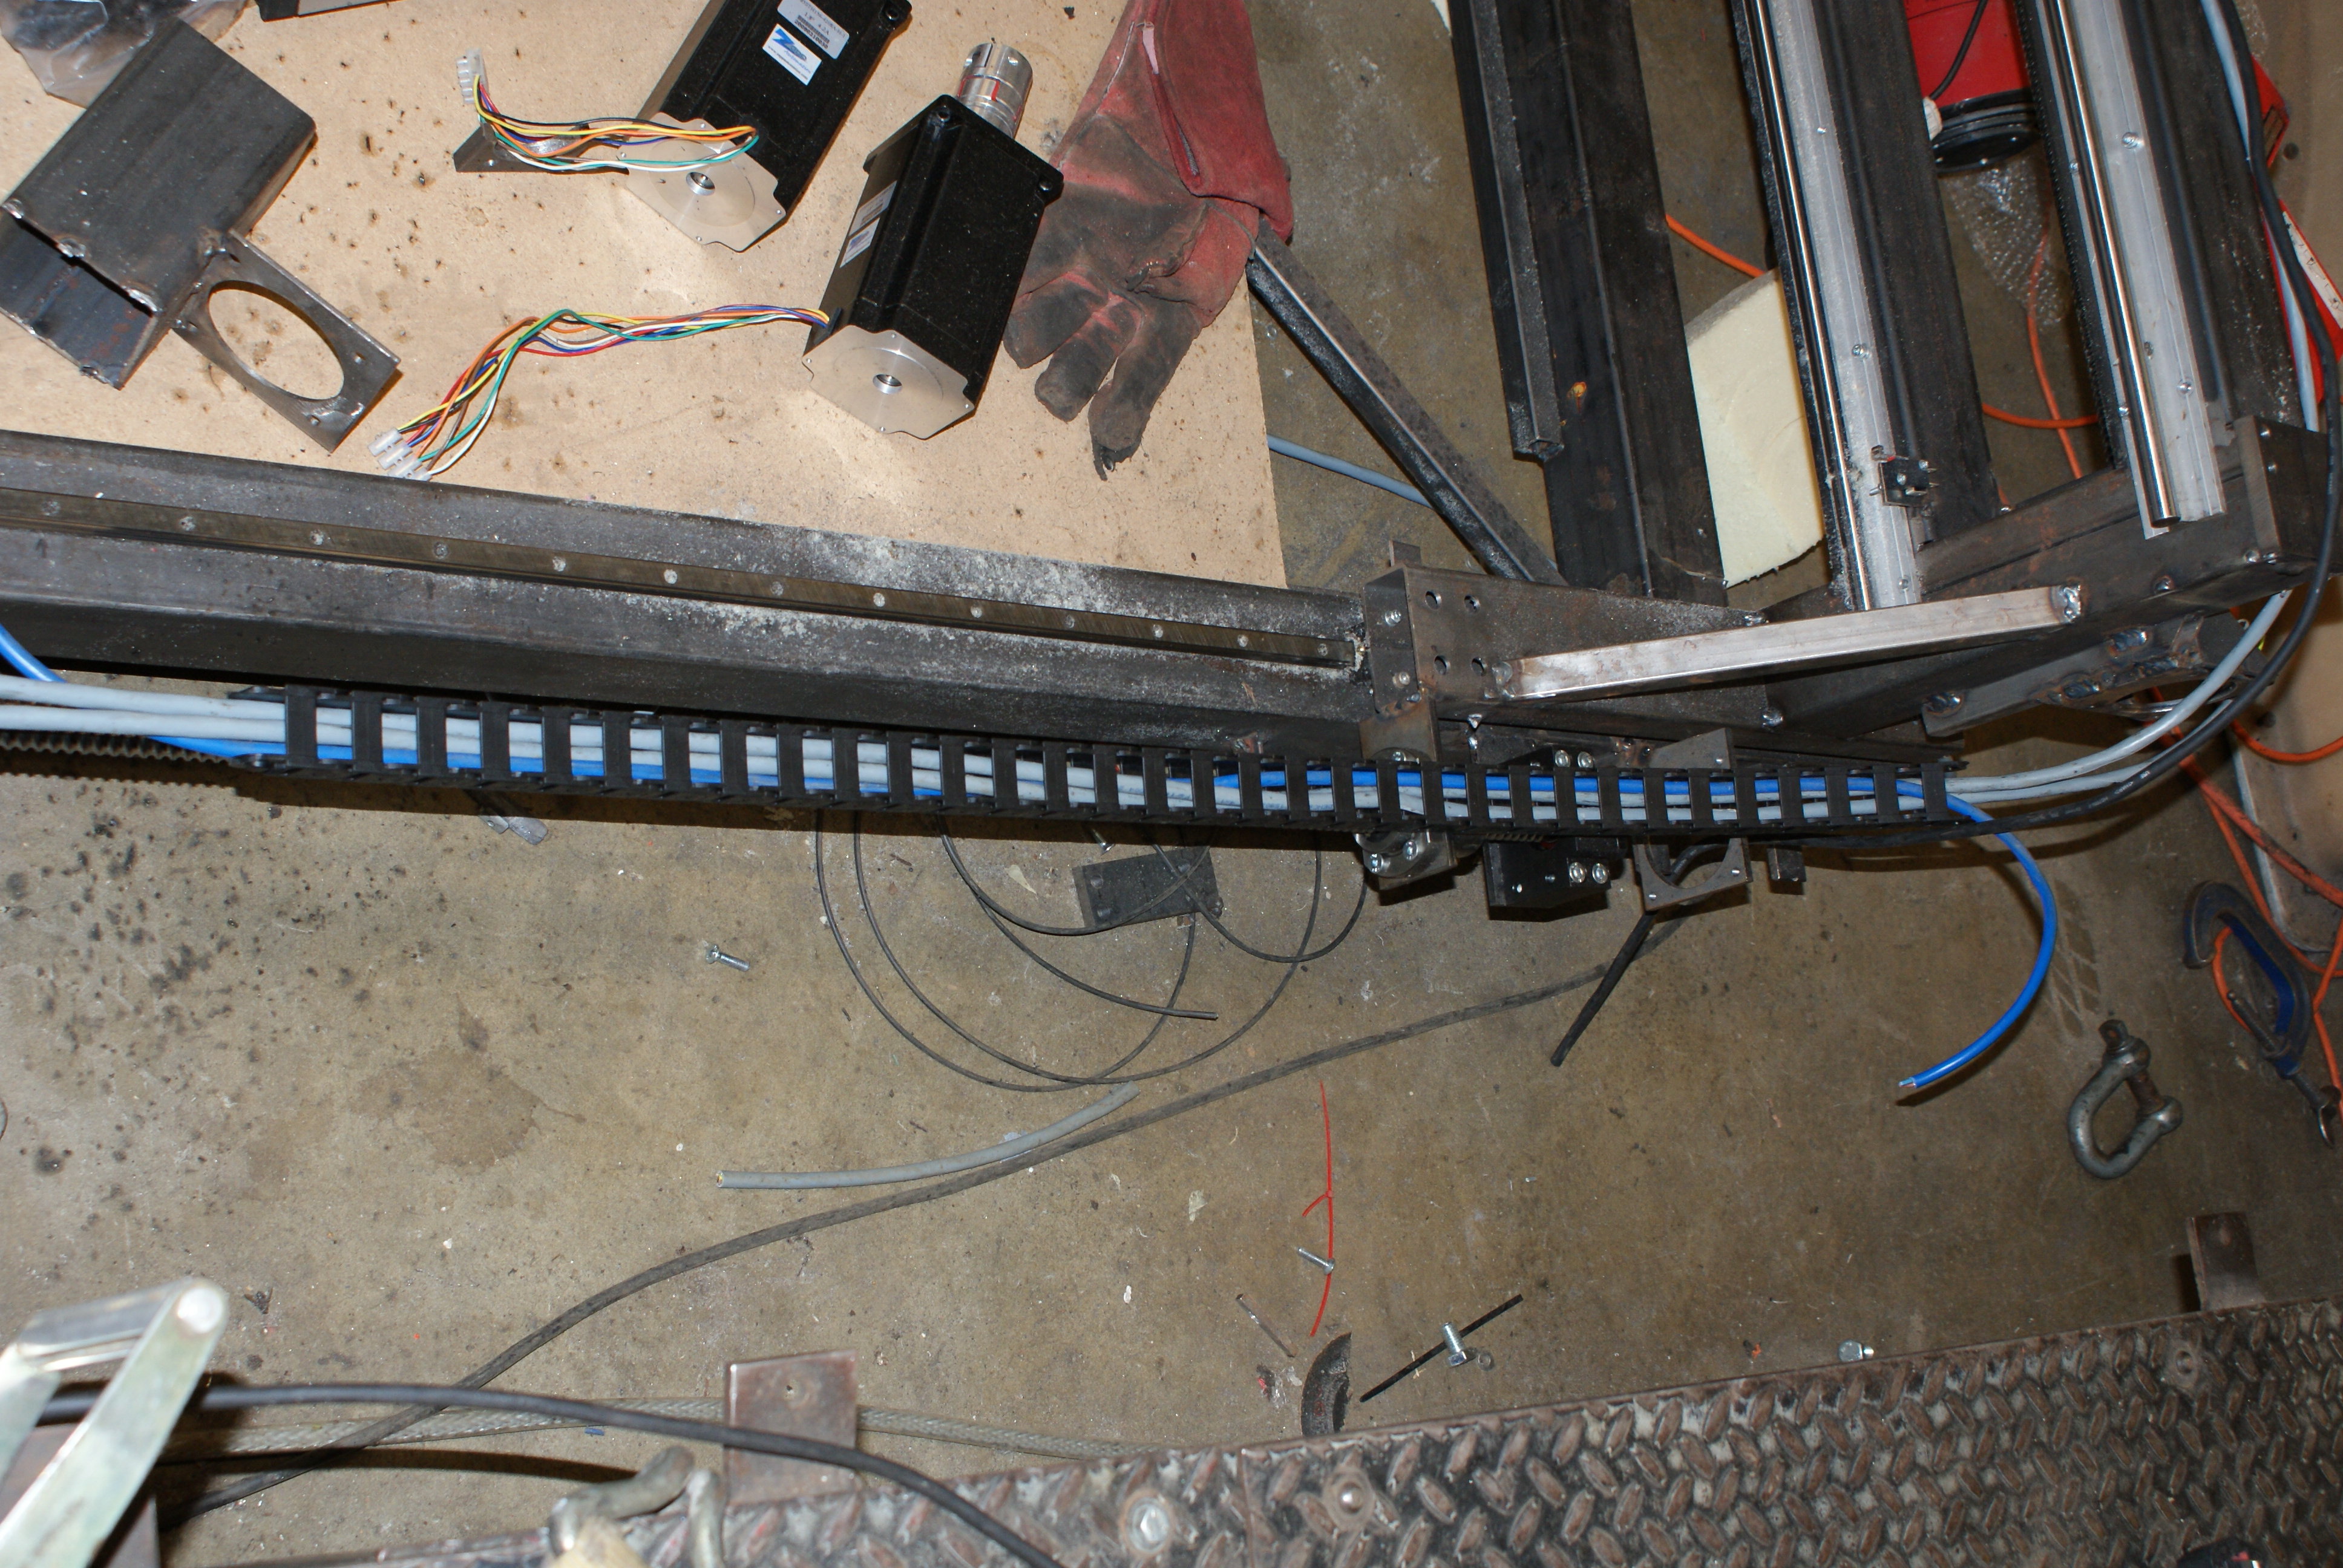
For the Y-axis, I just fed the cables through, and laid the conduit in roughly the right place:
Next, I got all the cables the right length (although the Z-axis motor cable might be a tad too short, which is a shame because it's the longest cable).

I then used an old off-cut of plate to mount the top chain conduit to the Z-axis block:

And then pushed it over to the other side to see how it looked.
In order to do the Y-axis, I'll need to get a shield for the ballscrew, and mount it on top of there. I did buy some guttering to make a shield, but it was just too small.