STLCutter 2 - Day 7
I accidentally overwrote day 7, so I've had to rewrite it.
Since my motor couplings weren't going to arrive until tomorrow, I couldn't finish off the motor mounts - so I started by replacing all the bolts with longer cap-head bolts and washers. This took a long time, as there were quite a few in tough positions.
I ended up with a blister on my finger from tightening them with an allen key, and I also ran out of washers.
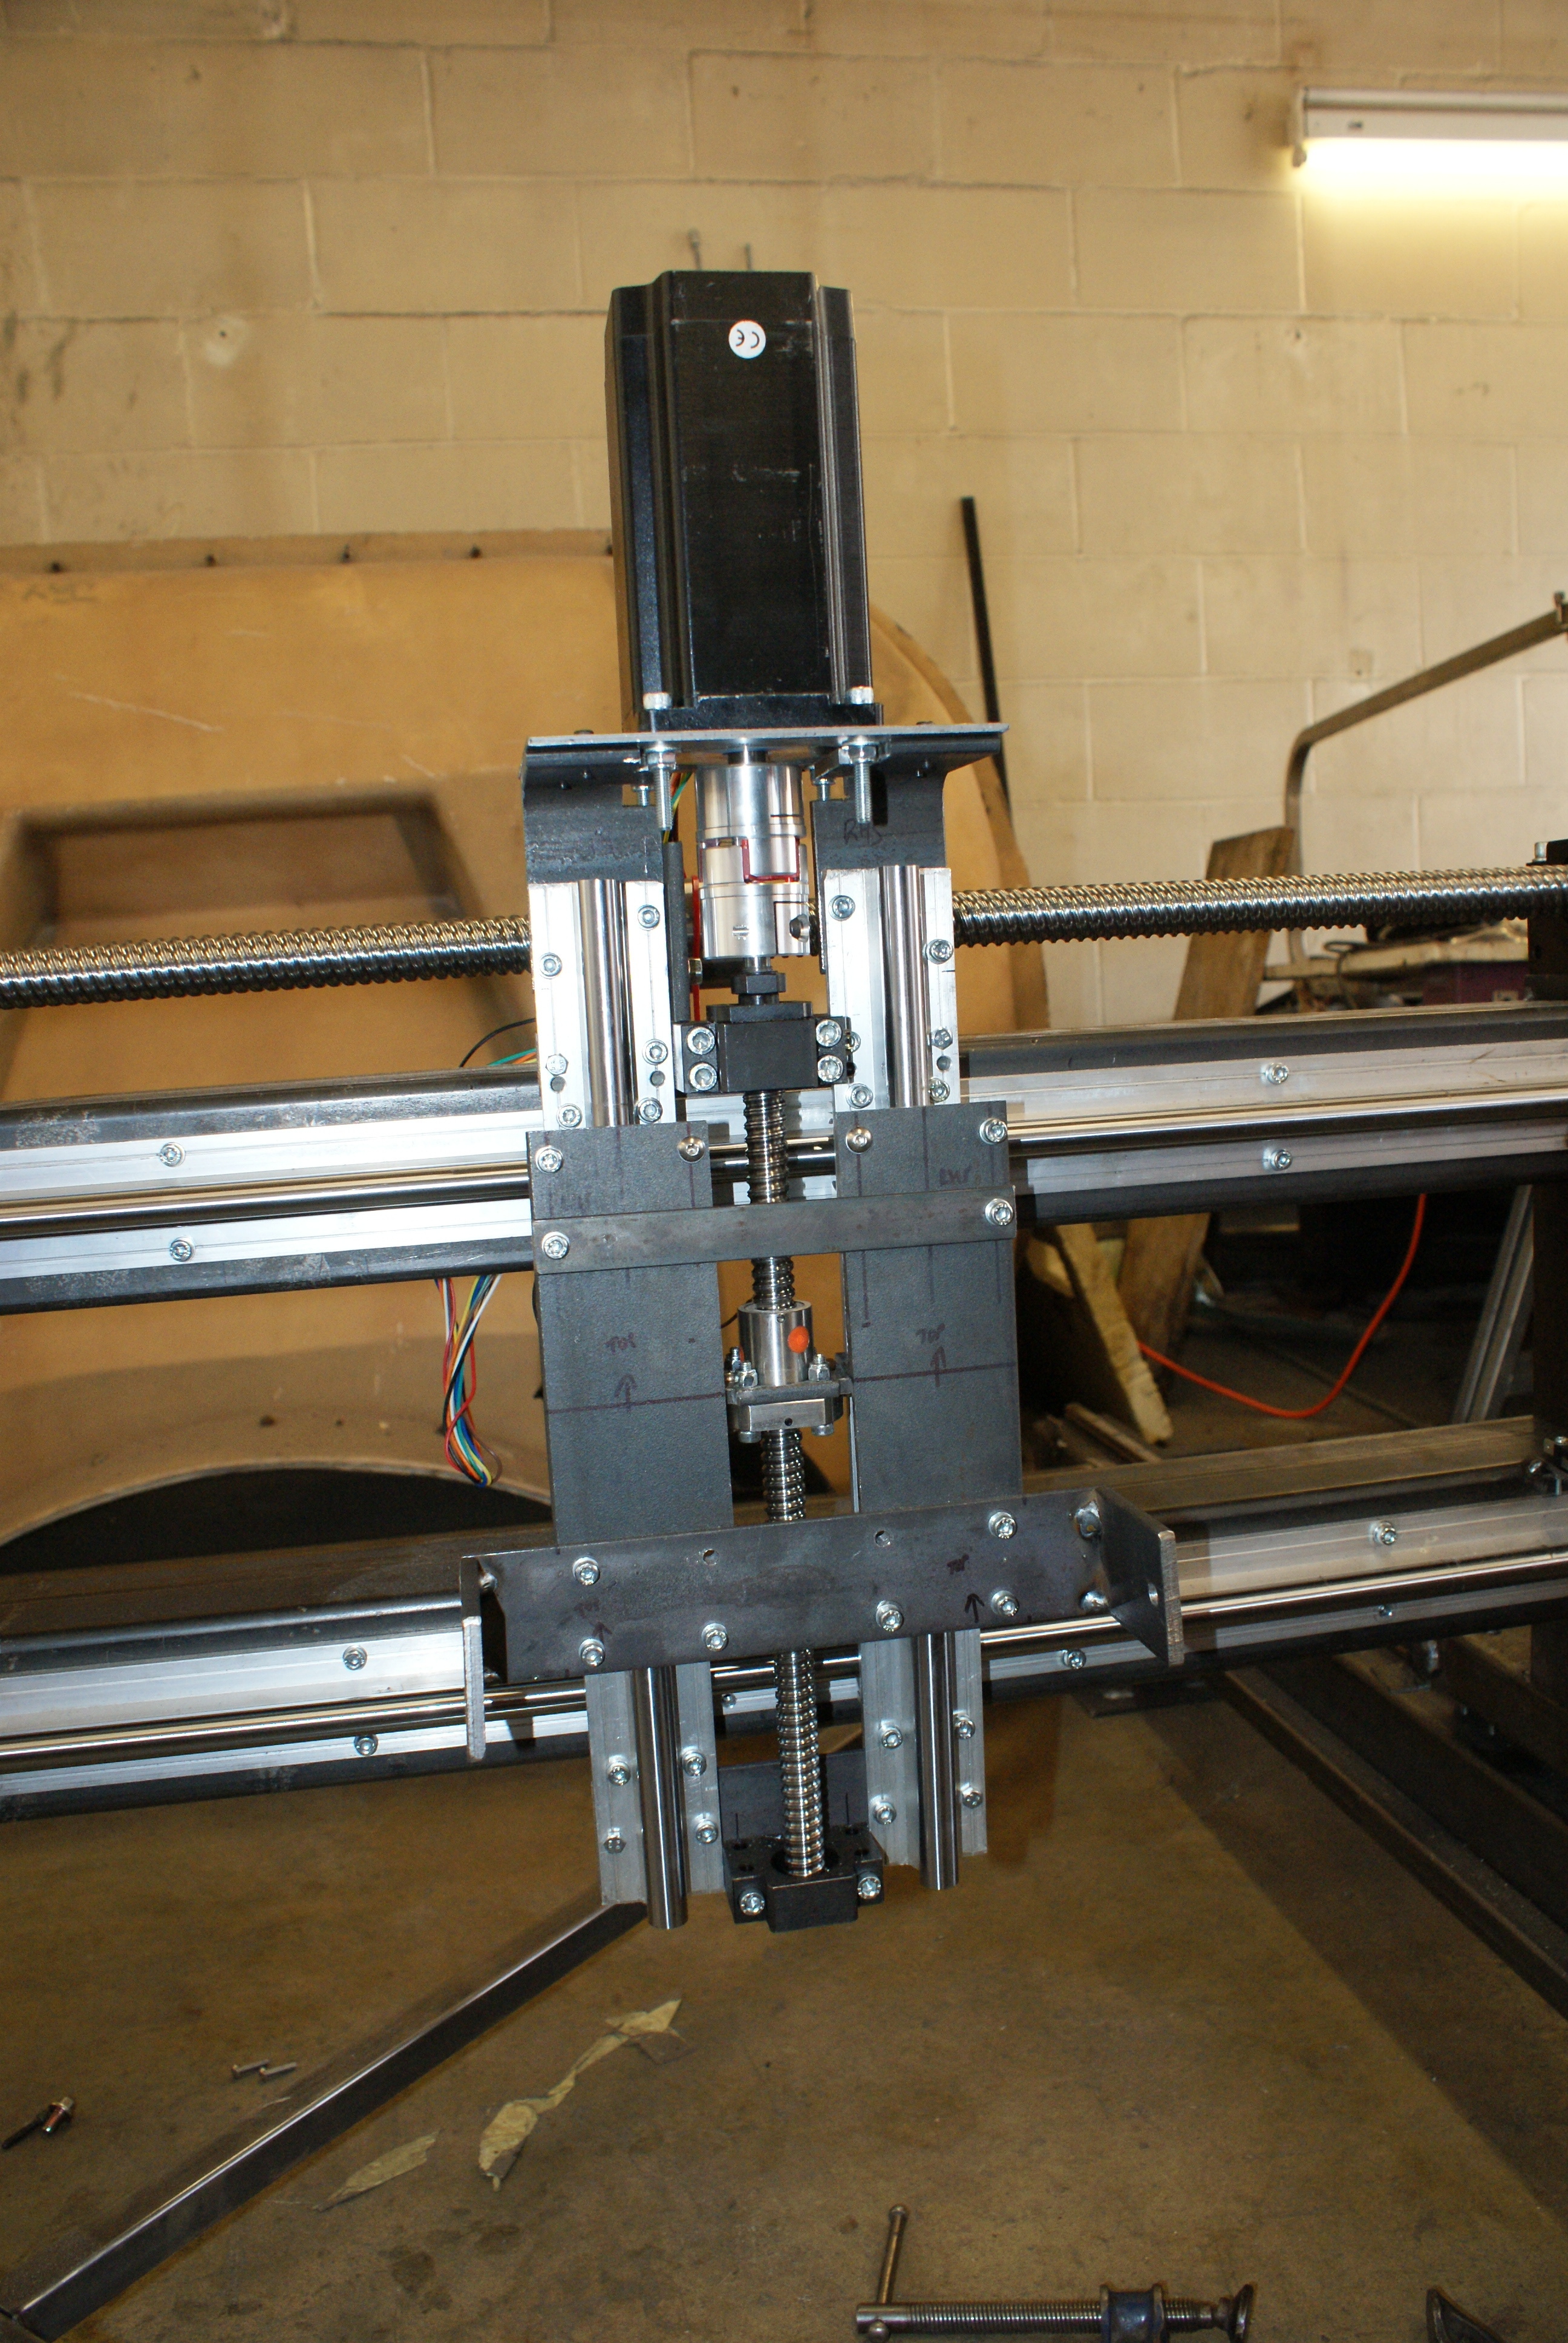
I then had to spend some more time getting everything running a bit more smoothly (all to do with alignment), and aligning the Y-axis frame so it was square with the X-axis.
I then planned the wiring - first of all, the Z-axis cable:
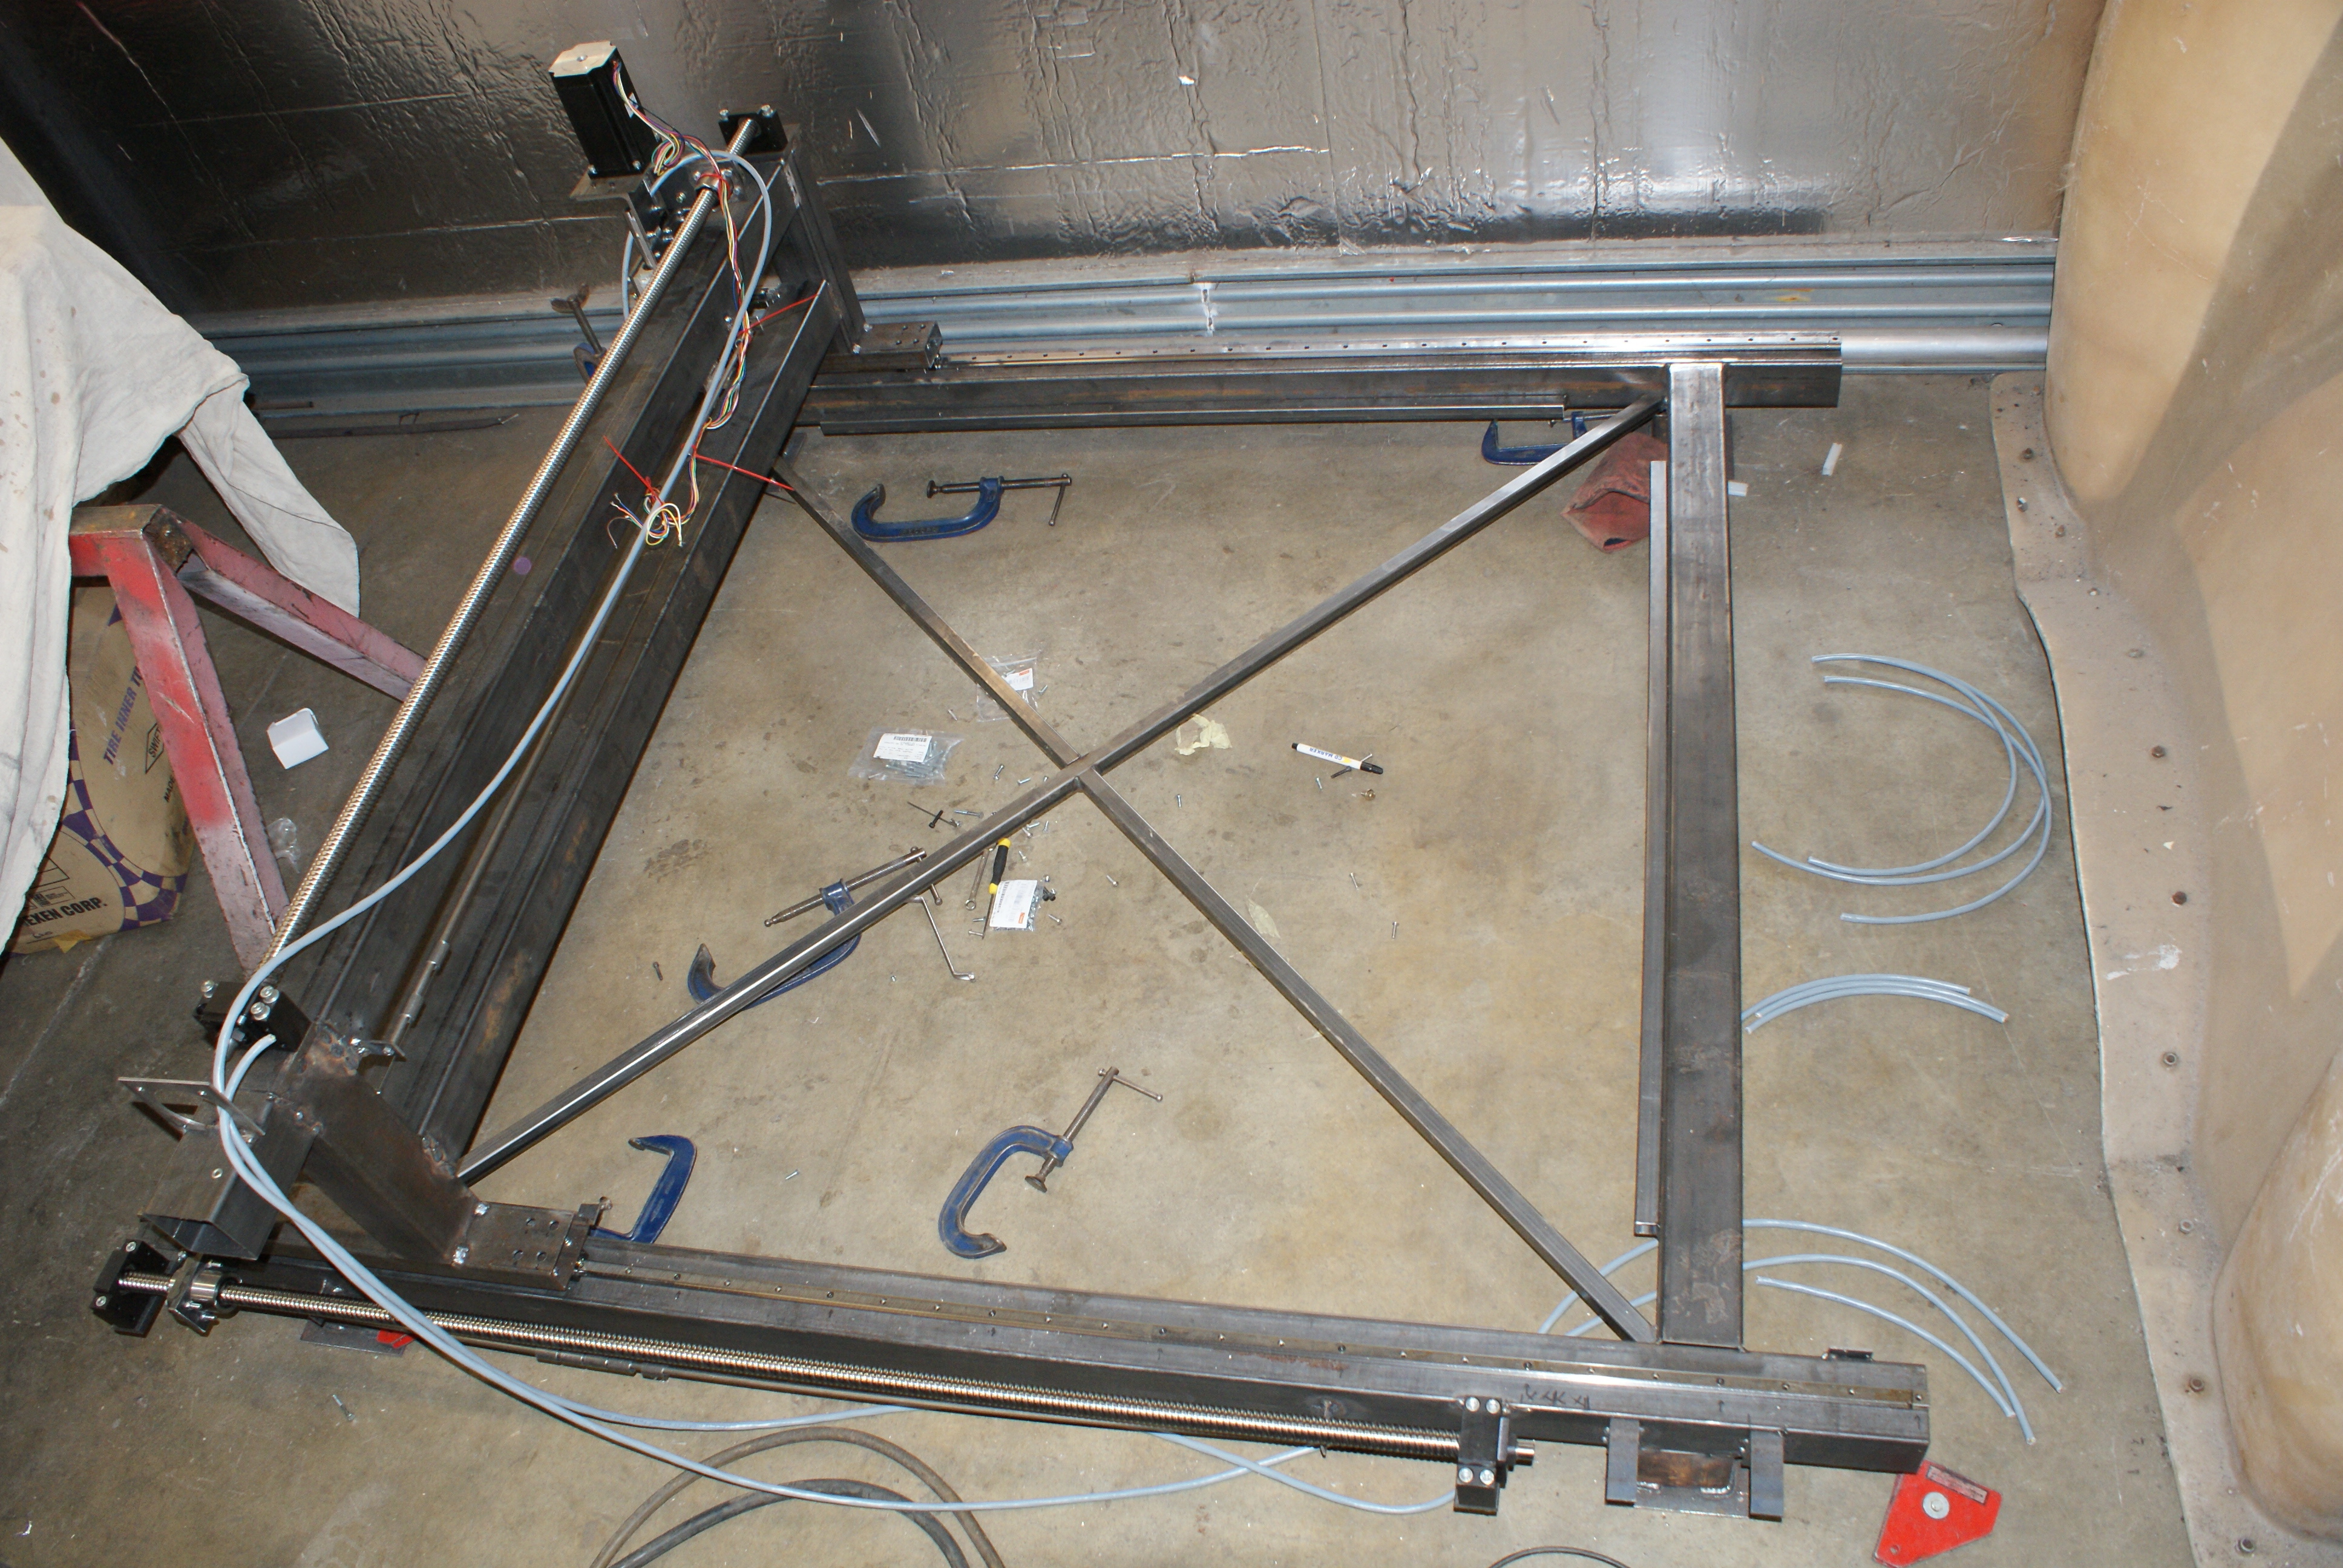
And then the Y-axis:
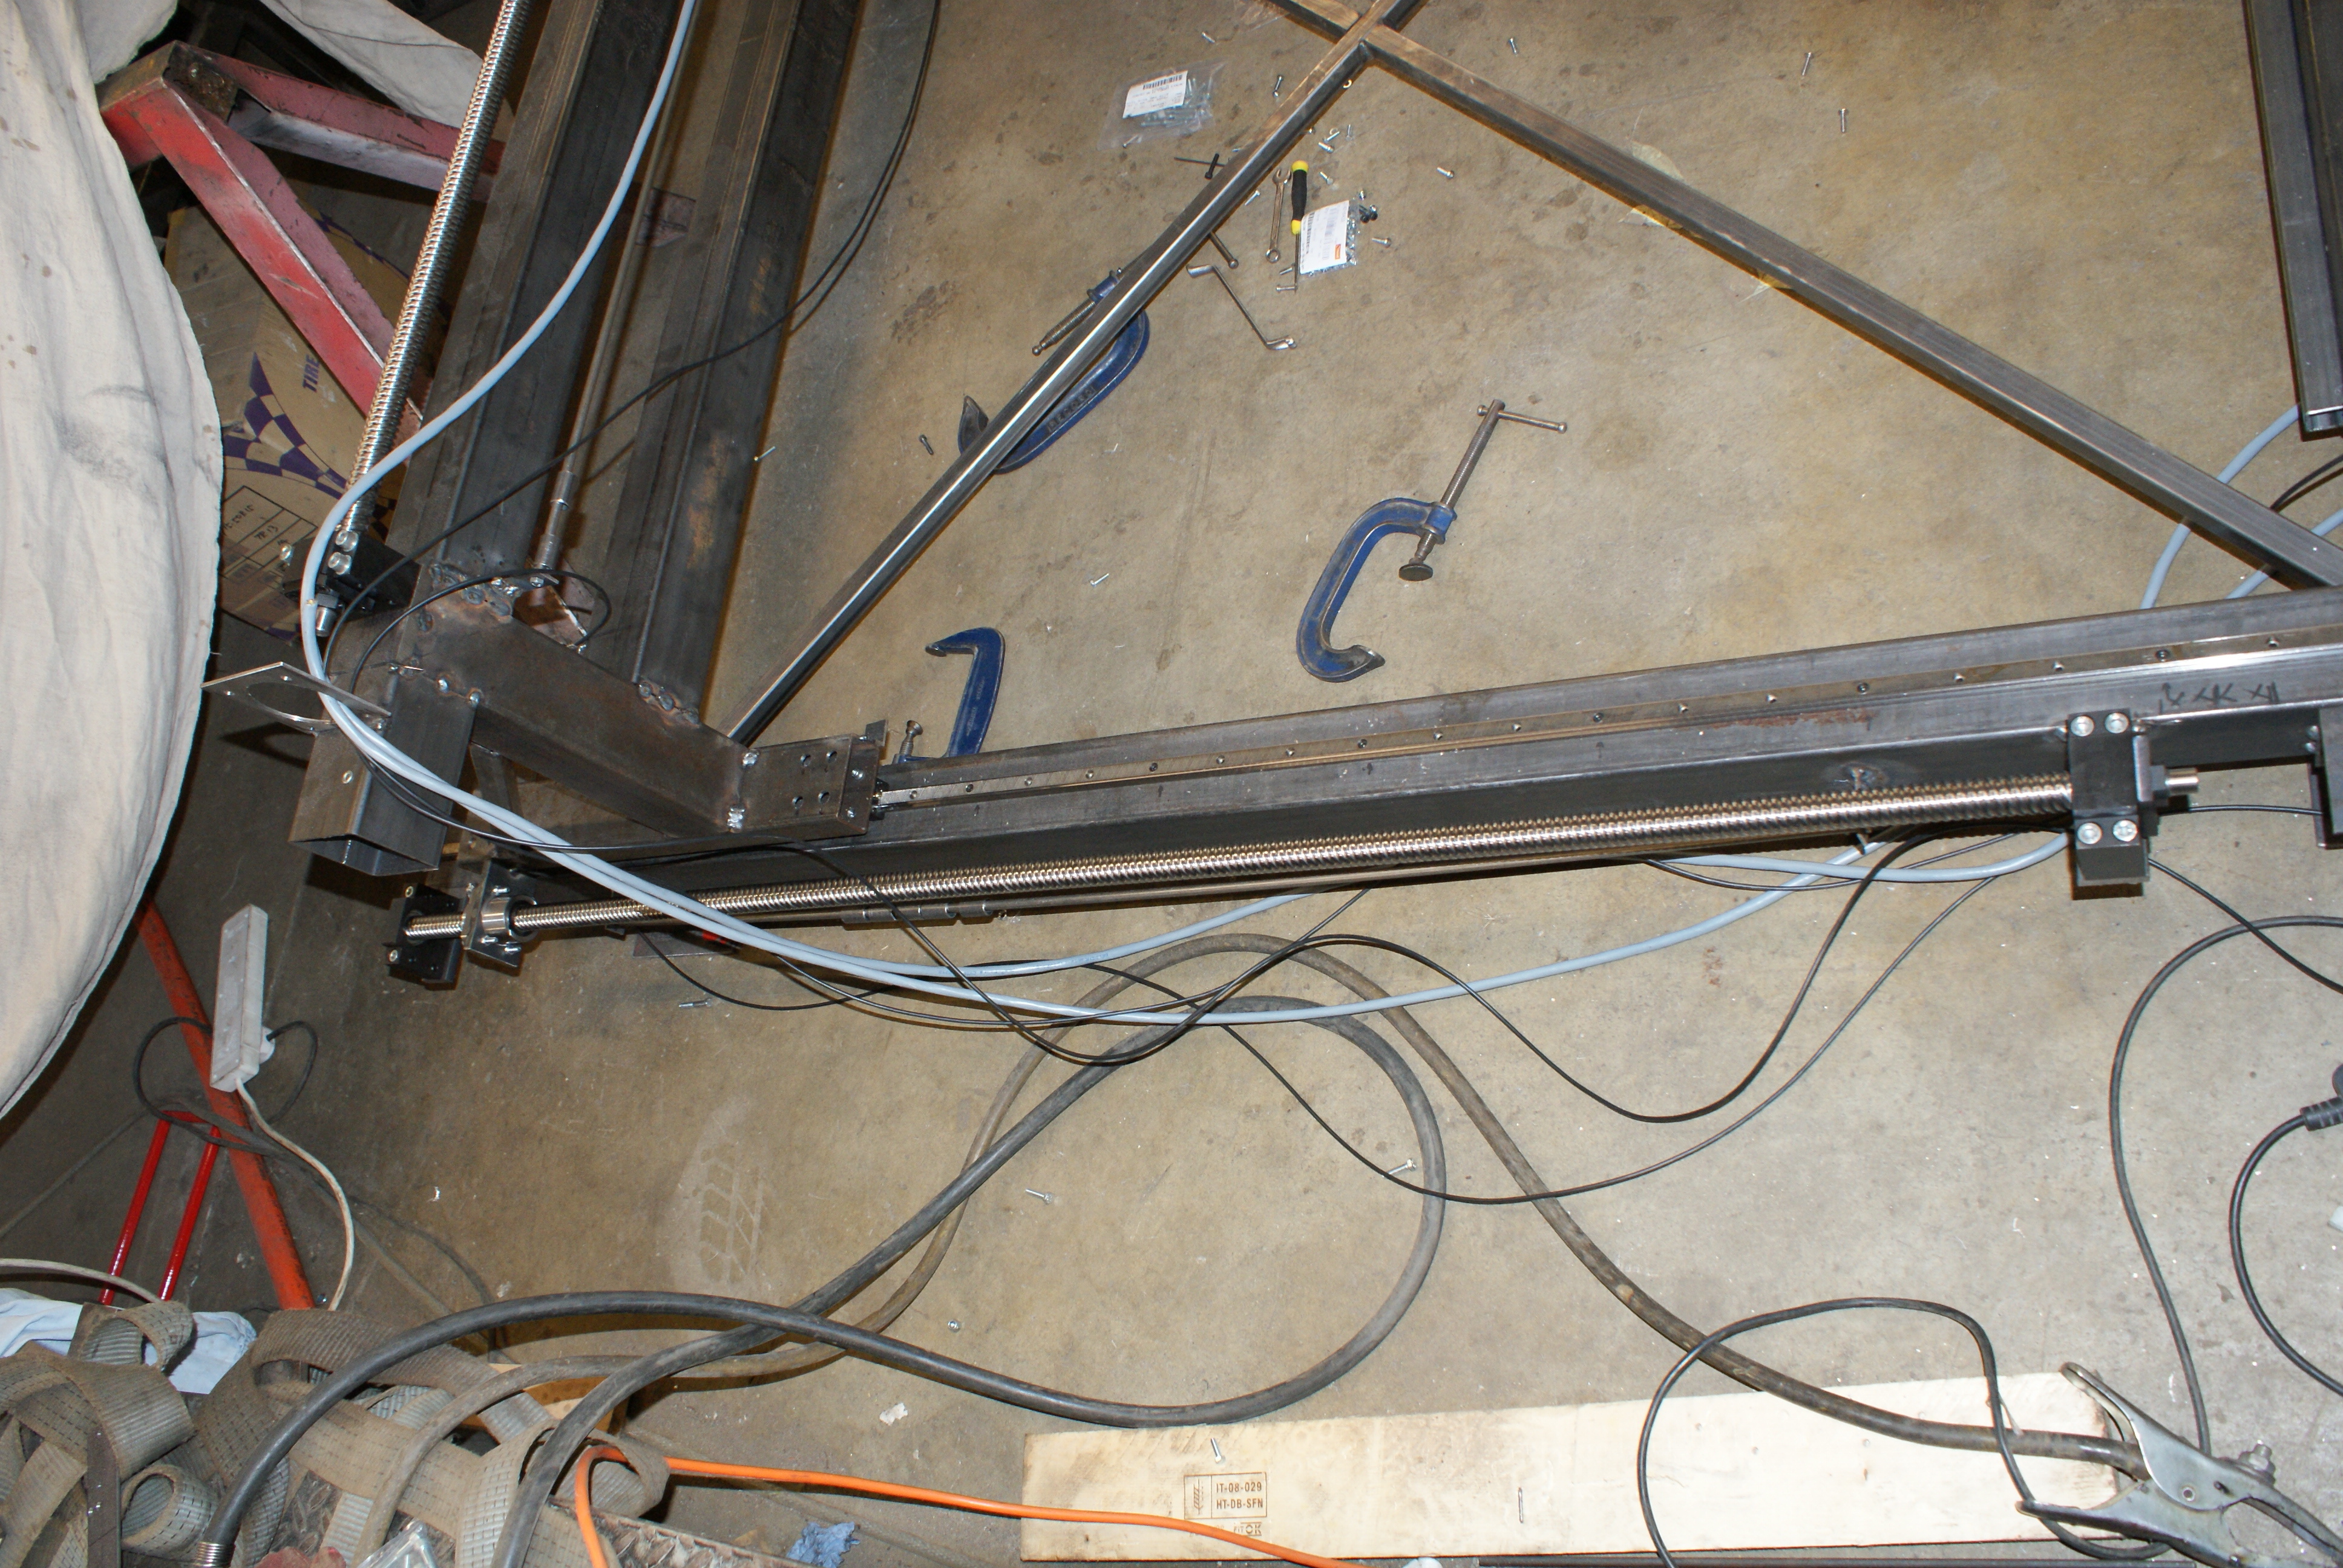
The X-axis cable is really short, so I didn't picture it. I had also bought just enough cable for this, but not really enough to mount the motor drivers that far away from the frame.
Luckily, Keith has some 12-core cable that can provide enough current, and also a long printer port cable, so I've got a couple of options.
I've got some reed switches arriving which I'll use to replace the limit switches, and also add some home switches in place.